⚒ ARC Raiders Crafting Calculator
Plan ARC Raiders blueprint batches with scrap, electronics, mechanical parts, rare components, station level, squad sharing, extraction risk buffer, craft time, and material shortfalls.
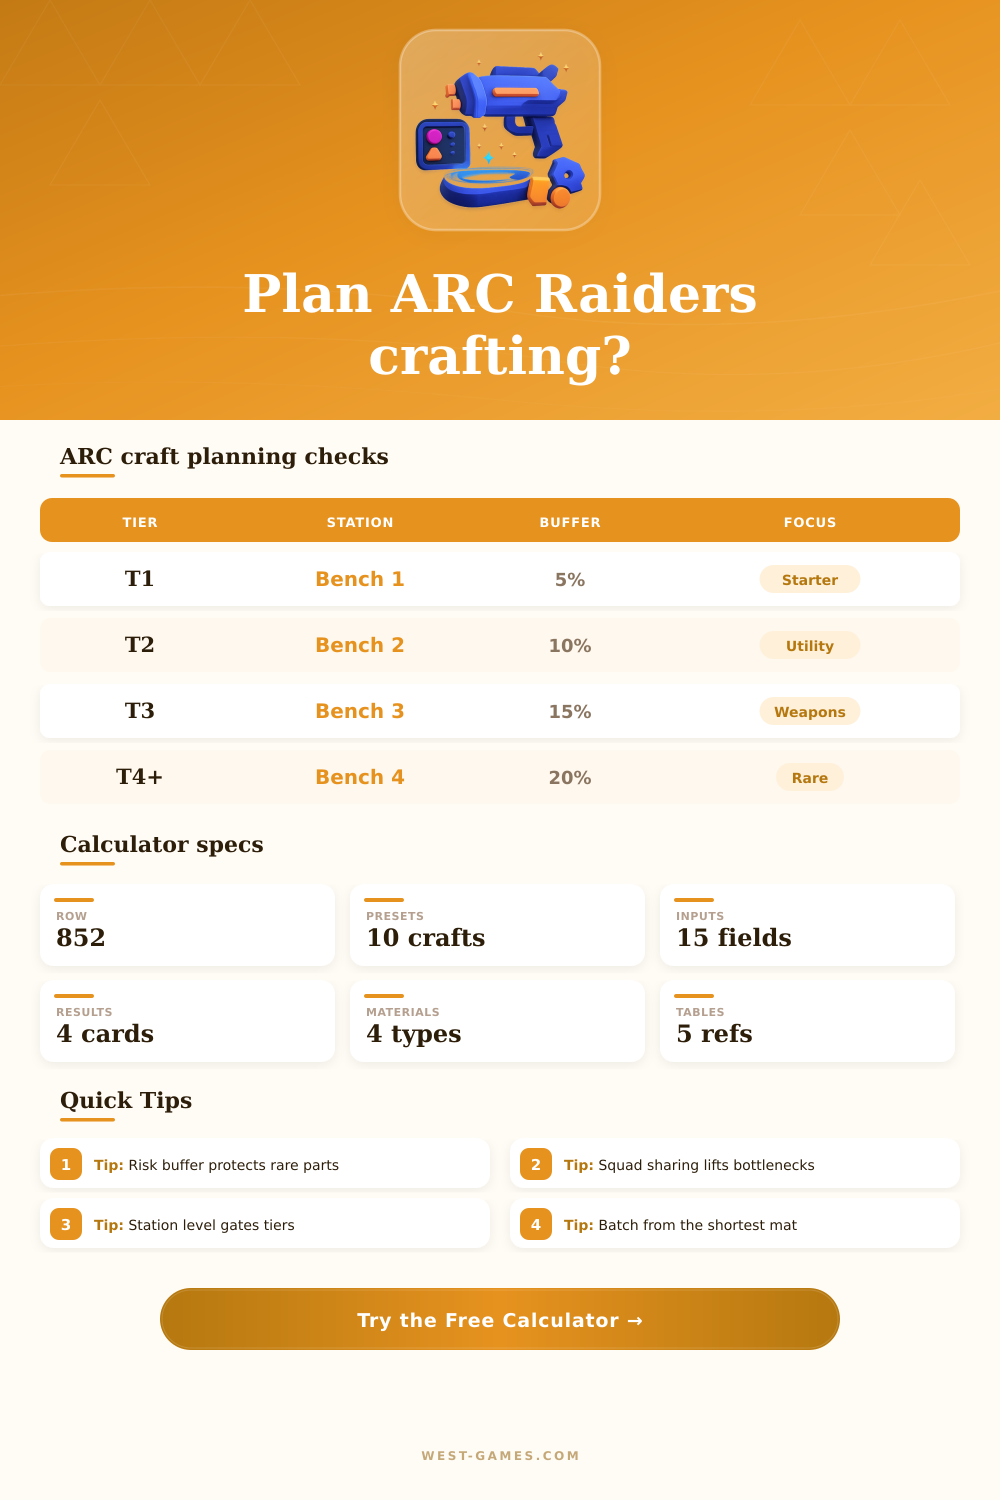
| Blueprint tier | Station target | Buffer range | Planning focus |
|---|---|---|---|
| Tier 1 - Improvised | Station 1+ | 5% to 8% | Quick starter tools and recovery crafts |
| Tier 2 - Standard | Station 2+ | 8% to 12% | Ammo, patches, and regular raid supplies |
| Tier 3 - Advanced | Station 3+ | 12% to 18% | Weapon mods, scanners, and utility batches |
| Tier 4 - Military | Station 4+ | 18% to 25% | High-value devices and squad preparation |
| Tier 5 - Prototype | Station 5 | 25%+ | Rare components and pre-planned extracts |
| Material | Typical source | Common use | Risk note |
|---|---|---|---|
| Scrap | General salvage | Ammo, plates, patches | Runs out in bulk crafts |
| Electronics | Devices and wiring | Scanners, traps, shield cells | Often becomes the mid-tier bottleneck |
| Mechanical parts | Machines and weapons | Mods, repair kits, charges | Protect for squad gear loops |
| Rare components | High-risk loot | Prototype and device crafts | Use the largest extraction buffer |
| Sharing level | Material boost | Best use | Watch item |
|---|---|---|---|
| No shared stash | 0% | Solo queue and personal kits | Keep a bigger buffer |
| Duo top-up | 12% | Two-player utility batches | Split rare components clearly |
| Three-player pool | 25% | Ammo, shields, and repairs | Confirm who crafts first |
| Full squad plan | 40% | High-tier device or weapon prep | Agree on reserve stock |
| Station gap | Craft access | Speed effect | Material effect |
|---|---|---|---|
| Below tier | Blocked | 0 output | Materials preserved |
| Meets tier | Allowed | Normal | Normal use |
| +1 level | Allowed | 5% faster | 1% efficiency credit |
| +2 levels | Allowed | 10% faster | 2% efficiency credit |
| +3 levels | Allowed | 15% faster | 3% efficiency credit |
| Preset | Tier | Output | Scrap | Electronics | Mechanical | Rare |
|---|---|---|---|---|---|---|
| Field Patch Bundle | T1 | 2 | 10 | 1 | 2 | 0 |
| Light Ammo Refill | T1 | 30 | 18 | 0 | 3 | 0 |
| Signal Scanner Tool | T3 | 1 | 16 | 12 | 5 | 1 |
| Shield Cell Batch | T2 | 3 | 14 | 8 | 2 | 0 |
| Weapon Mod Kit | T3 | 1 | 28 | 10 | 16 | 2 |
| ARC Trap Charges | T4 | 2 | 22 | 18 | 12 | 3 |
| Repair Plate Stack | T2 | 4 | 24 | 2 | 10 | 0 |
| Breach Charge Run | T4 | 1 | 30 | 14 | 20 | 4 |
| Heavy Ammo Reserve | T3 | 24 | 36 | 4 | 12 | 1 |
| Rare Device Assembly | T5 | 1 | 42 | 30 | 22 | 8 |
Presets are editable planning estimates for an ARC Raiders-style crafting bench. Replace any material values with your exact blueprint before committing rare components.
It’s frustrating to come back from a risky mission in ARC Raiders only to find you have barely enough scrap to go out again. Because crafting is a logistical problem, it becomes an exercise in grinding. Trying to make advanced weapon modifications or prototype something new mean accounting for material shortages, squad coordination, station levels and more. If you don’t account for the possibility of losing equipment during extraction, you will be disappointed when you try to manage your inventory.
You provide details from your blueprint(s) into the calculator above, and it does all the math for you, saving you the time doing math in your head when looking at your stash. It also makes you think about things most players don’t consider until it’s too late (like extraction risk buffer). That’s important as it sets aside a percentage of materials just in case something goes wrong during extraction. Without it, one bad run could mean you lose the ability to make those vital items for days on end.
How to Use the Calculator for ARC Raiders
How do you know what to keep in reserve vs what you can actualy use? The calculator will figure that out for you. It turns an exercise in chaos (a.k.a. It turns looking through your inventory into a purposeful strategy session where you know exactly what each mechanical part and each electronic component should be doing.
It’s also important to understand which materials will bottleneck you. While scrap tends to be plentiful (and burn up fast in mass production of things like repair plates or ammo), rare components and electronics is limited and determine how much you’ll be able to accomplish. They need to be farmed deliberately, meaning they should be part of your overall route planning based off your needs.
As the tables on the page demonstrate, each next tier of blueprints requires an increased station level, and a greater safety margin to back it up. A Tier 4 military piece of gear simply won’t work unless you’ve got at least a Station Level 4 bench. It’s not a recommendation; it’s a hard gate. And if you’re waiting for material stockpiles to overcome that fact, you might as well hang up your tools. Your infrastructure must support it first.
Another wrinkle is Squad sharing. Resources get pooled. If you’re a single player then any materials shortages is all on you. But if you’re playing as part of a squad, you need to coordinate. And the calculator reflects that: depending on whether you play solo, with two people, three, or as a full squad, it recalculates how many materials you have access to.
It is not just about adding numbers together. It is about asking, “How can we use our work together to get the most out of it?” Making a plan for a full squad will let you build better devices that no one person could manage alone. But that’s only if everyone agrees ahead of time on who makes what, and who gets to hold reserves. The result section displays the comparison grid so you know exactly how much more output you’ll see if you share vs. Going it alone. In many cases, that will determine if you go gear up for a big raid, or grind through another hour of gathering minor objectives.
It’s a resource of time as well, which many people forget about. With queue times and other station efficiency bonuses factored into the tool, it will let you know whether or not your crafting goal can be achieved in a reasonable amount of time. It’s better to have fewer, complete batches rather than half-assed ones sitting around for days; it locks up resources and makes your inventory stay still.
Preparation is key in raiding, and ultimately that’s what the calculator does for you. The calculator lets you walk into a zone knowing exactly what repairs and ammo you have ready. But this calculator removes that uncertainty, turning unclear goals into things you can naturaly do. It informs you when it’s time to pull up stakes, and when you’ve pushed too far.
When you understand where the bottlenecks lie in materials and respect your buffer zones, you stop reacting to scarcity and begin to manage it. Because that change, going out in a panic vs. With a plan, is different than playing casually and dominating high end content every time. You should of crafted before loading the gun. Let the raid take care of itself.