Dark Souls 2 Armor Calculator
Compare DS2 armor pieces by physical defense, elemental defense, poise, Vitality equip load, roll distance tier, and PvE or PvP loadout role.
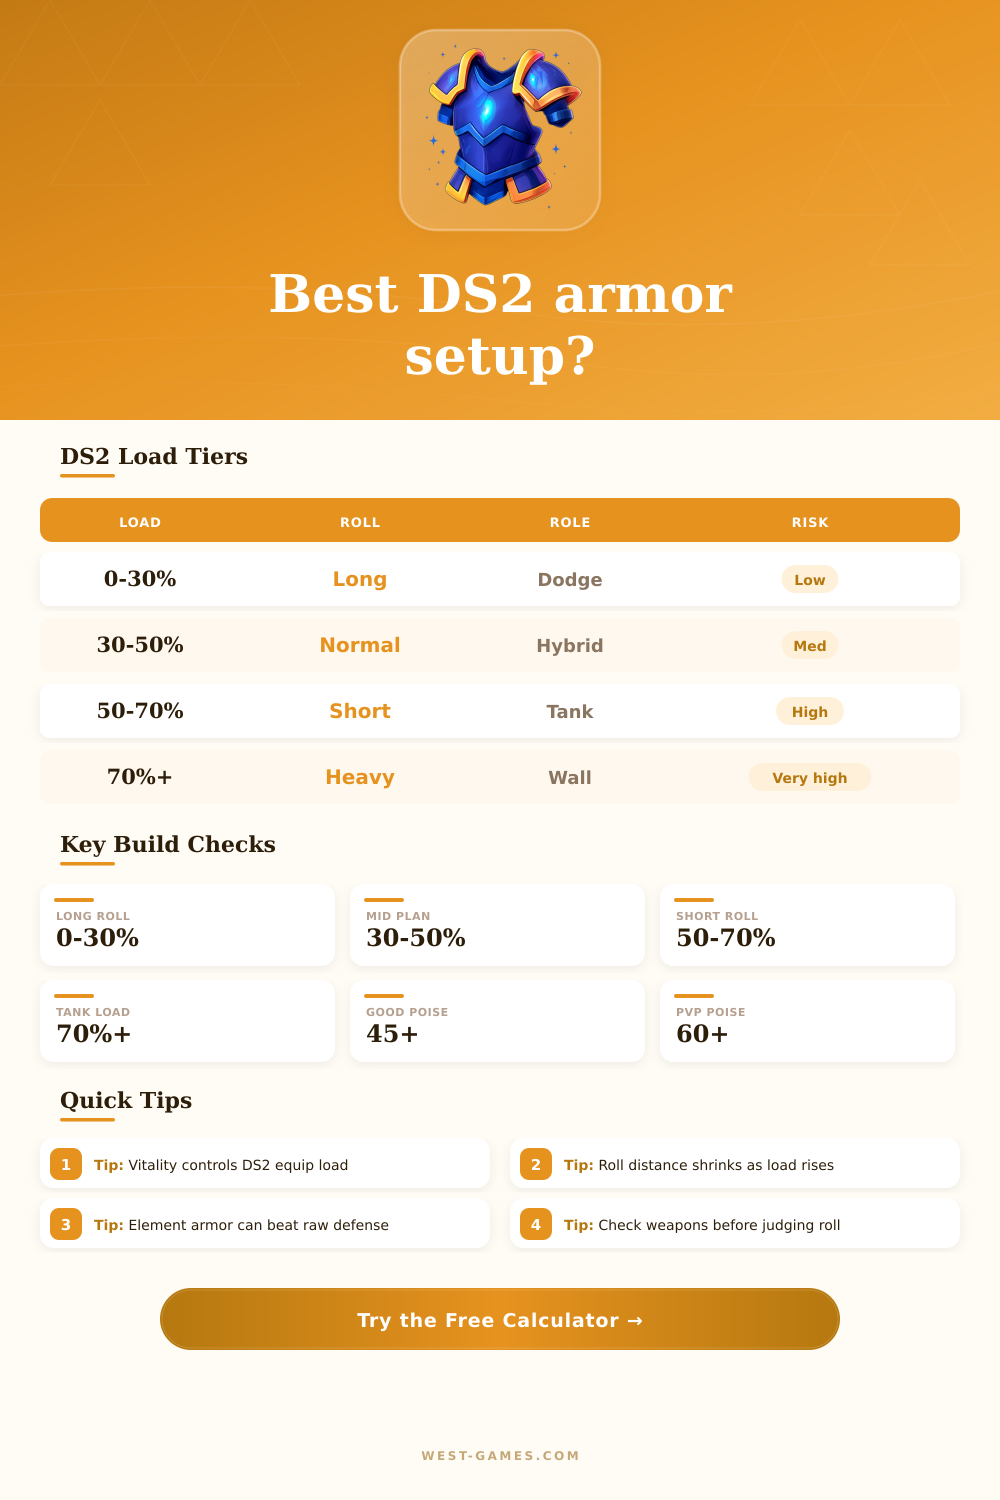
| Equip Load Percent | DS2 Roll Distance | Planning Meaning | Common Loadout Use |
|---|---|---|---|
| 0% to 30% | Long roll distance | Best spacing and recovery feel | Flynn builds, casters, dodge-first PvP |
| Over 30% to 50% | Standard roll distance | Good movement with real armor | Quality knights, co-op, flexible PvE |
| Over 50% to 70% | Short roll distance | Noticeable distance loss for more armor | Shield tanks, poise traders, boss walls |
| Over 70% to 100% | Heavy roll distance | Very short roll and high commitment | Deliberate tanks with shield discipline |
| Over 100% | Overburdened | Movement plan has failed | Lower armor, raise Vitality, or add load ring |
| Total Poise | Build Feel | Armor Direction | Mode Note |
|---|---|---|---|
| 0 to 15 | Very light | Robes, fashion, Flynn-style sets | Use roll distance and spacing, especially in PvP |
| 16 to 35 | Light stability | Alva, Llewellyn, mixed cloth and metal | Comfortable PvE with moderate weapons |
| 36 to 59 | Trade capable | Drangleic, Faraam, Vengarl mixes | Good hybrid zone if load stays below 70% |
| 60+ | Heavy trade plan | Havel, Smelter, Vengarl heavy pieces | Strong poise identity, but roll distance is costly |
| Ring Setup | Modeled Effect | Best Use | Tradeoff |
|---|---|---|---|
| Royal Soldier's Ring | Raises maximum equip load | Moving armor from heavy to short or standard roll | Does not add defense by itself |
| Third Dragon Ring | Raises load and survival score | Finished PvE and PvP hybrid builds | Valuable slot pressure |
| Steel or Quartz Rings | Add focused physical or elemental defense | Boss-specific and arena matchup swaps | Narrower than all-purpose rings |
| Flynn's Ring | Rewards low maximum load plans | Light weapons and long roll builds | Conflicts with heavy armor and load rings |
| Preset | Core Armor Idea | Likely Strength | Watch Point |
|---|---|---|---|
| Forest Exile Scout | Light mixed cloth and leather with low weapon weight | Long roll distance and safe stamina flow | Poise is intentionally low |
| Drangleic Mid-Roll Knight | Classic knight armor with a shield and weapon package | Balanced physical defense and manageable load | Needs Vitality if weapons get heavier |
| Havel Iron Keep Wall | Maximum armor identity with load rings | Physical defense and poise trades | Roll distance remains short or heavy |
| Black Witch Element Ward | Element-focused robe set for spells and hexes | Magic, lightning, and dark defense | Physical hits punish mistakes |
| Llewellyn Arena Skirmisher | Efficient medium armor for duels | PvP role fit and standard roll distance | Lower raw poise than heavy sets |
Beyond the damage reduction that armor provides in Dark Souls 2 is the effect that armor has on your roll distance, your poise, and the amount of stamina that you burn while you play. Each of these element must be taken into consideration when you form your character and your specific type of armor loadout. For example, players who want to be the most mobile during duels will have a different type of armor load than players who want to hold there ground with other players in co-op mode.
For players who want to survive the bosses, a different load is required than players who want to dominate the dueling arenas. For players who are just starting out in the game, it can be difficult to form an understanding of how armor weight interacts with Vitality and roll distance. However, the calculator that is available for players can allow players to form a loadout that will work best for them by inputting four pieces of armor, their Vitality stat, Agility stat, and the type of enemy threats that they will face.
Using the Armor Calculator: How Weight Affects Roll, Poise and Stamina
Each of these variables will impact the outcome of the calculation of the armor’s benefits. For instance, players’ Vitality stat will determine their maximum load, while their Agility will impact the length of their frames when rolling. Furthermore, if a player inputs their type of enemy that they expect to encounter in the game, the armor will shift towards more physical defense or more elemental defense.
Players who want to use their armor to gain as high a poise value as possible will find that their armor will include more weight. This additional weight will reduce their roll distance, which can make it more difficult for them to utilize their attacks. Furthermore, if players increase their poise value to a very high percentage, but their load percentage also increases to a high value, such as above seventy percent, their play style will likely only work with enemies who are already in there desired position.
This same principle can be applied to the defense of their armor against elemental attacks. While robes may provide more defense against elemental attacks than metal armor in some cases, they leave players vulnerable to physical attacks from their enemies. By using the threat selector in the armor calculator, players can choose if the additional defense from the armor against elemental attacks is worth the potential loss of that same defense against physical attacks by their enemies.
Another type of armor that players can use is load rings. These types of ring can have a significant impact upon a player’s armor load. For instance, wearing a royal soldiers ring will convert a short roll to a more standard roll for the player.
The armor calculator allows players to choose whether the ring slot will be used for its defensive properties or for allowing players to wear more heavier armor. This same selection is true for Flynn’s ring. Flynn’s ring is useful for players with a low maximum load for their character, but adding armor will reduce the benefit of Flynn’s ring.
One of the most common mistake in the game is to focus upon only one value for a player’s armor load while ignoring others. For instance, many armor builds focus upon maximum physical defense for their armor but end up creating a load that is too heavy for the character to wear for long periods of time. Similarly, players who maintain under thirty percent for their load will be able to roll farther in their character, but they will have little poise to be able to take incoming attacks.
While the armor calculator will not make a choice for players in the game, it will make these tradeoffs visible to the players. Another of the most important attributes for players is Agility. Agility will effect every roll that the player makes in the game.
If a player has high Agility for their character, they will have a higher value for their iframe (inverse frame) window. This iframe window will matter more the shorter that their roll distance is. For instance, a character with a fifty-five percent load will have more Agility than another character with the same load but with lower Agility stats.
While the Armor Calculator will take into account the Agility stats of the player for both roll tier and agility comfort. These reference tables allow players to understand what type of armor will provide their character with what type of roll distance. If a player’s armor provides their character with a short roll distance, they can choose to ignore such a selection or they can form their armor load to provide the same benefits to their character.
The player can also form their character around specific weapons or spells. For instance, fast weapons benefit more from mobility while slow weapons benefit more from having good poise. The mode selector will allow the same armor to be tested in various modes of the game so that players can see how the armor will perform with others in co-op mode or in duels.
This type of armor calculator is essential for players who play various modes in the game. The true value of the armor calculator is that it removes the guesswork in armor loadout decisions that would otherwise be required. While the player still must make a decision of the type of character that they want to play, the calculator will make it easier for players to ignore the potential of the numbers getting in the way of that decision.
Thus, the armor calculator will allow players to form their desired armor loadout, but the final test of its effectiveness is when enemies begin to swing at them.