XCOM Hit Chance Calculator
Estimate displayed hit chance, outcome bands, crit/graze behavior, cover penalties, range modifiers, height bonuses, weapon mods, and expected damage for XCOM-style shots.
| Tiles | Short weapons | Medium weapons | Long weapons | Best use |
|---|---|---|---|---|
| 1 | +40 aim | +20 aim | -30 aim | Shotgun, pistol, close flank |
| 5 | +23 aim | +13 aim | -18 aim | Close rifle and shotgun pressure |
| 10 | +2 aim | +4 aim | -3 aim | Neutral zone for most rifles |
| 11 | 0 aim | +3 aim | 0 aim | Sniper penalty ends |
| 16 | -12 aim | 0 aim | 0 aim | Rifles stay stable; shotguns fade |
| 25+ | -30 aim | 0 aim | 0 aim | Squadsight or long map shots |
| Situation | Aim effect | Crit effect | Damage note | Calculator input |
|---|---|---|---|---|
| Exposed or flanked | No cover defense | Use flank crit bonus | Best expected damage swing | Check flanked |
| Low cover | -20 hit chance | Usually blocks easy crits | Can be offset by scope or high ground | Low cover |
| High cover | -40 hit chance | Often makes direct fire poor | Explosives or flank improve math | High cover |
| Hunker down | Doubles cover defense | Usually poor crit target | Force movement or wait if possible | Hunker checkbox |
| Flying / innate defense | Extra defense value | Depends on unit and game | Does not always use cover icons | Target defense |
| Model | Hit chance meaning | Critical handling | Graze handling | Use when |
|---|---|---|---|---|
| XCOM 2 vanilla / WOTC | Displayed chance after additive aim math | Crit occupies part of the hit band | Dodge can convert hits into grazes | Default modern XCOM shots |
| Enemy Unknown / Within | Aim minus defense, clamped, plus range | Crit is estimated after a hit lands | No normal graze band | Classic EU/EW planning |
| Long War 2 | Displayed chance includes close-roll grazes | Crit promotes graze to hit and hit to crit | Default +/-10 graze band | LW2 and similar modded rules |
| No crit or graze | Hit chance only | Ignored | Ignored | Conservative baseline |
It’s time for your last action point. Your soldier sweats inside their digital helmet while enemy hides behind a concrete barrier. Do you shoot now, risking wasting a turn? Or do you move in, then try again for a better angle tomorrow?
That moment of indecision, that’s XCOM. Getting it right isn’t about having the most kickass gear. Instead, success rely on mastering the math underneath the percentage. After all, what use is the best scope if you don’t know if it’s realy “worth” the resources?
How to Win XCOM by Doing the Math
That’s where the above calculator come in: after entering your cover and aim values, it will crunch the numbers and save you from guesswork.
Additive This system is additive at its core. Take away your soldiers’ aim, add on bonuses based off scope and height, then remove cover and defense from the target. The concept is simple enough. However, it’s easy to misinterpret in practice.
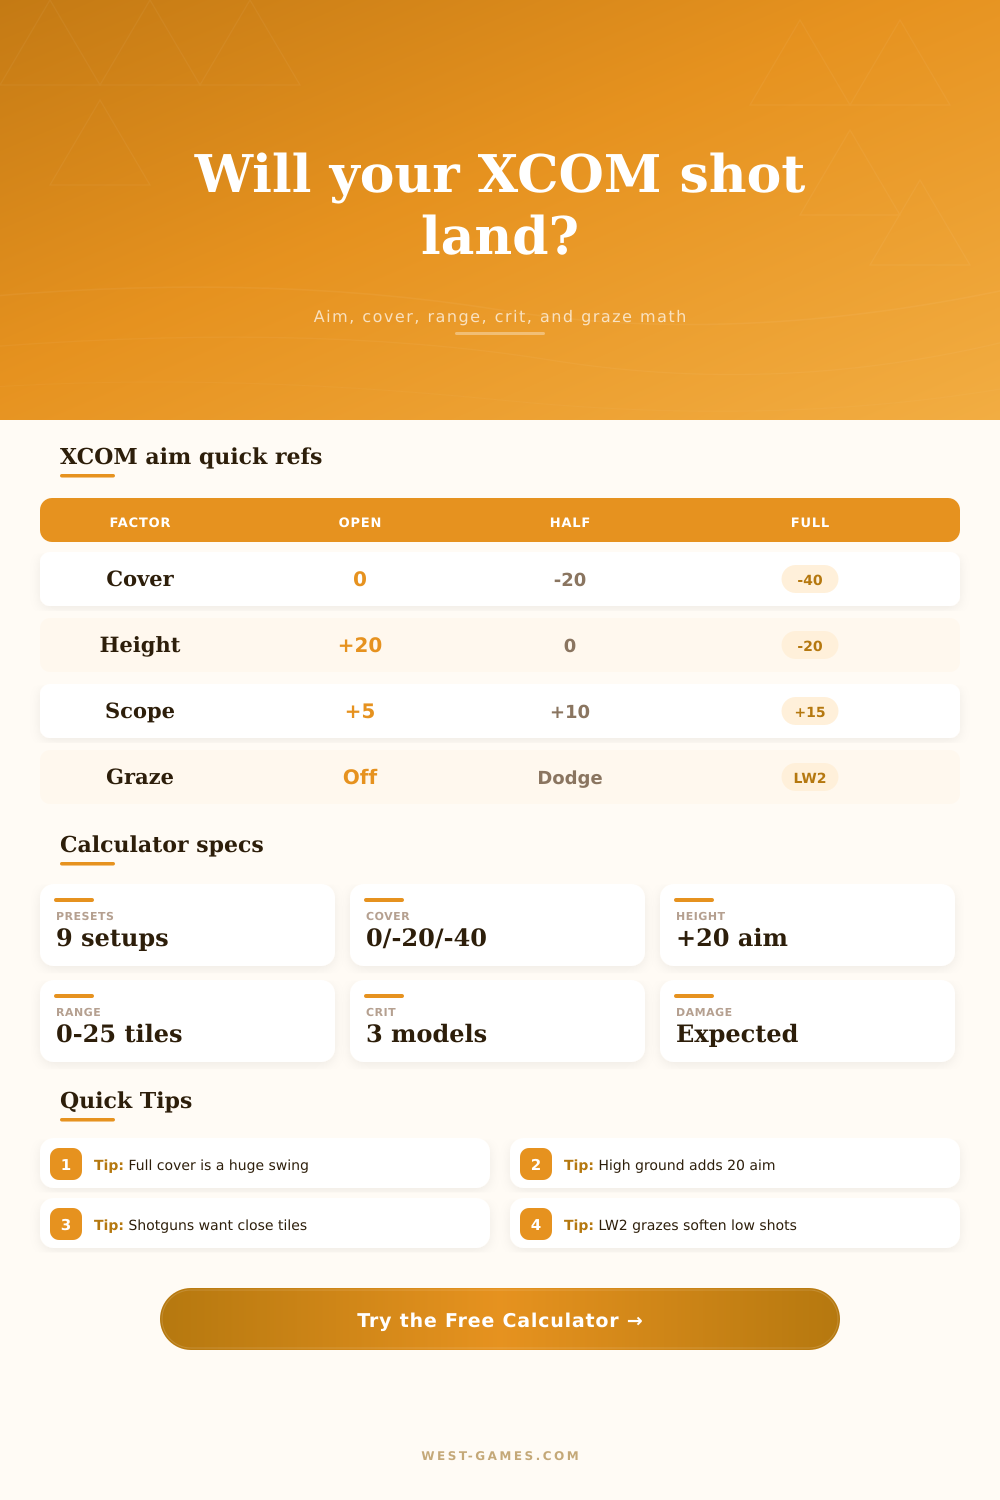
For example getting high ground will add 20 points to your aim. This completely nullifies penalties for low cover and makes a huge difference. That means that snipers on rooftops are far more oppressive then riflemen on the ground. The page has a clear reference table laying all of that out. You can see how range modifiers will change the equation greatly based on weapon class.
Full cover costs 40 points because it acts as a great equalizer. Shooting into full cover is typically a bad idea unless you’re flanking the target, and even then it depends on whether your soldier has exceptional aim.
This isn’t a binary decision of “will I hit?” but “what’s the expected value of me trying.” If I miss, I give my opponent a free turn. What do they do with that? Will they advance? Kill my soldier? Will they lose control of the map? Instead of just showing hit chance, the tool shows you expected damage which helps you make this tradeoff. Sometimes it’s better to have a fifty percent chance to deal four damage than a seventy percent chance to deal two. Think of it in terms of damage per action, not just success rate.
Distance is important. Sniper rifles excel at long range, but have big problems up-close. Shotguns work wonders at point blank range, but are pretty terribel farther out. There’s a setting for all of this in the calculator, which allows you to check it out and understand what changes with distance.
Do you have to memorize each table? Nope. Just know that if you push your shotgun user too far back, they’ll be tanking their aim before you know it. Similarly, pull your sniper too close and you’re wasting their critical hit potential and hurting there overall accuracy.
Then there are the critical hits. There is a slice of your hit chance taken up by criticals in XCOM 2. So if it shows that you have a ninety percent hit chance, that means an eighty-five percent normal hit and five percent crit. That five percent crit could becomes a graze if you dodge.
Long War 2 adds a unique band for graze that shakes things up. The tool takes that into account and lets you model shots on heavily modded games or even vanilla games. It keeps you from making the all too common mistake of thinking everything will do full damage.
Grazes don’t do full damage. They soften targets and can turn a fight you were losing into a fight you win.
The last variable is armor. Defense prevents the bullet from landing. Armor prevents it from hurting. Not the same thing. High defense, low armor? Still vulnerable if you hit them. Still gettin’ some of that. Low armor, high defense? Don’t want to miss. Both are something you need to deal with.
You can plug in post-pierce and post-shred armor levels into the calc. Why? Because sometimes you’ll shoot an enemy so hard that they barely take damage. Which is totally fine because you’re planning on doing several shots. Yep, you’re intentionaly shooting at an enemy and making sure your armor breaking works before unleashing your heavy guns.
XCOM is a game of managing uncertainty. There’s no way to control the dice. All you can control are the odds. Understanding how ranges, cover, and aim work together makes your skills matter more than luck. Panic becomes planning.
When you’re facing down a shielded Sectoid Commander next time, don’t guess. Do the math. That twenty point high ground bonus? Yeah, that’s still here waiting for you.