🏰 Tower Defense Wave HP Scaling Calculator
Model tower defense enemy HP by wave with linear, exponential, power, or hybrid growth, then add boss multipliers, armor, resistance, tower DPS, time-to-kill, and leak risk.
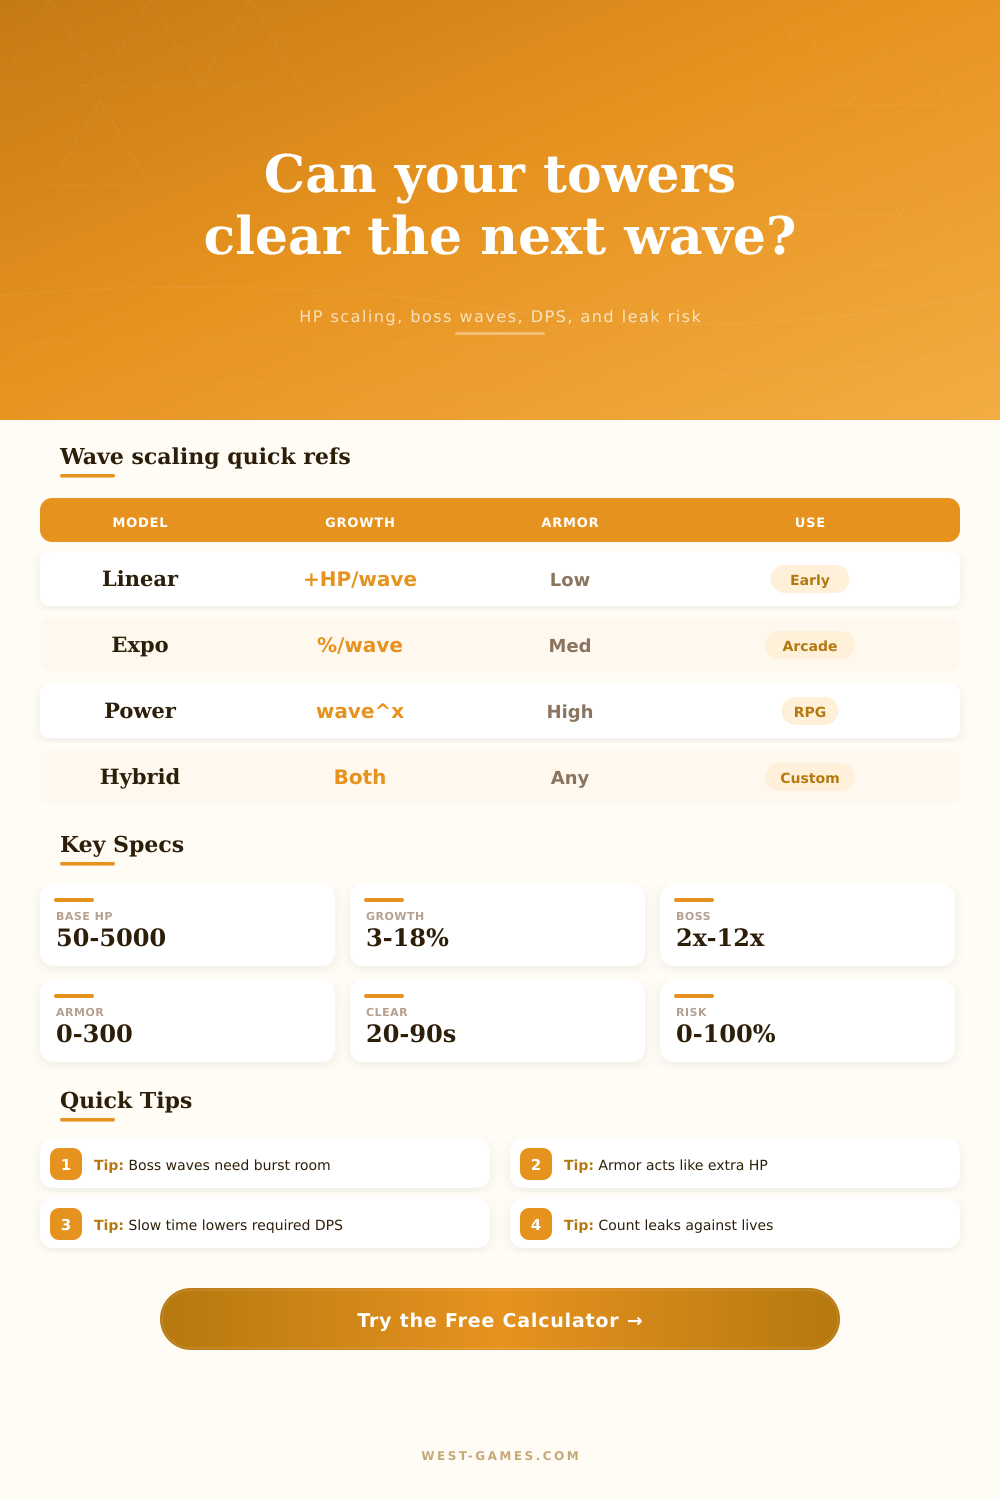
| Model | Formula | Strength | Watchout |
|---|---|---|---|
| Linear | Base HP + flat HP x (wave - 1) | Easy to balance and read | Can feel too gentle in endless modes |
| Exponential | Base HP x (1 + growth%) ^ (wave - 1) | Strong late-game ramp | Small rate changes become huge later |
| Power | Base HP x wave ^ exponent | Useful for RPG-like scaling | Wave 1 equals base only when exponent math is planned |
| Hybrid | (Base + flat x wave index) x stepped compound growth | Good for campaign-to-endless curves | Needs clear step size and rate notes |
This is a balancing calculator, not a save-file parser. Use the formula that matches your tower defense rules, mod, or spreadsheet.
| Input | Calculator treatment | Practical meaning | Best adjustment |
|---|---|---|---|
| Armor | Final armor / (final armor + constant) | Converts armor into extra effective HP | Add penetration or lower armor constant |
| Resistance | EHP divided by (1 - resistance) | Resistance stretches the full HP pool | Use damage type matchups or vulnerability |
| Uptime | Available DPS x uptime percent | Models range gaps and overkill waste | Improve coverage or add splash targeting |
| Stall time | Route time + bonus seconds | Gives towers more seconds to apply DPS | Use slows before raising raw damage |
| Profile | Wave shape | Enemy mix | Calculator setting to watch |
|---|---|---|---|
| Early campaign | Linear or low exponential | Many normal creeps | Effective HP per enemy |
| Boss checkpoint | Exponential with multiplier | One boss plus support creeps | Boss TTK and burst window |
| Armor lane | Moderate HP with armor | Slow durable units | Armor mitigation and penetration value |
| Endless mode | Exponential, power, or hybrid | Large HP pools | DPS required slope by future waves |
Wave twenty has loaded, and you feel unstoppable… You still have more than enough lives left to go. You place your towers perfectly. Then wave twenty-one loads, and before you know it, a single armored dude walks on screen. Your carefully positioned towers might as well be made of paper. The enemy is shrugging off damage that once reduced enemies to ash within half a second. Your towers didn’t weaken. Instead, the underlying math changed unexpected.
Tower defense balancing isn’t usually about raw firepower. It’s about rate. It is about how quickly the enemy health pool increases versus how quickly your damage output scale. If you can’t keep up with that ratio then no matter how many towers you own, you’ll lose.
Understanding Tower Defense Math
Enemies has some sort of hidden curve defining their durability in most games. A basic one, like linear, will add same amount of health each wave. That’s straightforward; easy to understand; it makes sense. But it’s kind of flat after wave fifty. This works fine for early content. Most of us find ourselves facing exponential growth. Each wave increases health by a certain percent. Sounds reasonable at first, but then you compound that percentage for twenty rounds and bam! Those numbers are out-of-control. Once you choose the model, the calculator takes care of the math for you, avoiding the pain of trying to figure out how to compound percentages yourself.
All you need to do is find out what model your game employs. If you’re making an educated guess, check a couple waves. If it jump by a tiny bit from wave ten to eleven, you’ve probably got linear or power-based. But if it jumps by a lot, and it keeps getting bigger and bigger, it’s exponential.
There’s another wrinkle: Boss waves. These bosses may have six times the health of a regular wave, but it is based off the already scaled health for that wave. So, a boss at wave 50 isn’t simply six times more powerful than a mob at wave one. It’s six times more powerful than a mob at wave 50. This is important because there is a cap on your burst damage. Maybe your best tower does three thousand damage per second. How long do you think it’ll take to kill the boss? Does it last less time then it took to kill? Then you leak. Even though your overall wave damage looks impressive, you missed a short window of time.
Then there’s resistance and armor. Resistance doesn’t just take away amount of damage from an attack. It diminishes impact of that attack in most systems. This then becomes a multiplier against the enemy’s effective health. So while a high armor unit might have low raw health it takes forever to kill because every shot does less work. This is because the attack isn’t doing as much work. The tool factors this in by translating armor into effective health points. Then you know exactly what you’re working with. How long it’ll actualy take to kill something. Is your total damage output over the route time equal to or greater than its effective health? If so, good news you’ll win.
Nothing else matters. Increase your damage output. Decrease the enemy’s armor through penetration. Or, slow them down to buy yourself more time. Slows get underrated. They don’t look sexy in a stats screen. But slowing an opponent 50% effectively doubles your damage output. It gives you time. Time is the resource you can realy bet on. When you’re hurting for damage, a weak damage tower isn’t always as good of an investment as a slow tower. Inputting stall time into the calculator reveals how many more DPS you receive from those seconds. Remember, it’s not all about shooting faster; it’s about making the target stay in range for longer.
And then there’s leak risk: How much chance do your enemies have of reaching your base before you take them down? That’s based on their spawn rate, your own damage, and your life count. One missed shot or one slow spawn can be difference between winning and losing if you’re right on the edge. That’s laid out in the reference table on the page, and it tells you exactly what your safety margin is given different inputs. Play with it. Test different scenarios. Increase your damage by ten percent, for example. Or add a slow tower. Which will lower the leak risk more effective?
A tower defense run isn’t a matter of raw strength. It’s a question of time, effective health, and how these things relate to each other through their own growth curves. What happens when you get past the health bar and begin to understand the numbers beneath? You stop guessing what towers to upgrade next because now you’re figuring out which one closes the gap. Now it’s a matter of planning, and not so much luck. Eventually, that curve is going to steepen again. But it won’t if you would of had the data on your side. Then you’ll be ahead of it.
You know the feeling. Wave twenty wipes clean, and you feel invincible. The problem is getting wave twenty-one to remind you why you were wrong.