🎮 Smash Bros Rage Calculator
Estimate Ultimate or Smash 4 rage multiplier, adjusted knockback, stale and charge effects, KBG/BKB behavior, and the percent shift where a move starts to threaten a KO.
| Attacker percent | Ultimate multiplier | Smash 4 multiplier | Practical reading |
|---|---|---|---|
| 0% to 35% | 1.000x | 1.000x | No rage boost is applied yet. |
| 75% | About 1.035x | About 1.052x | Small boost; mostly matters near KO range. |
| 100% | About 1.057x | About 1.085x | Visible rage smoke begins around this area. |
| 125% | About 1.078x | About 1.117x | Kill moves start shifting several percent earlier. |
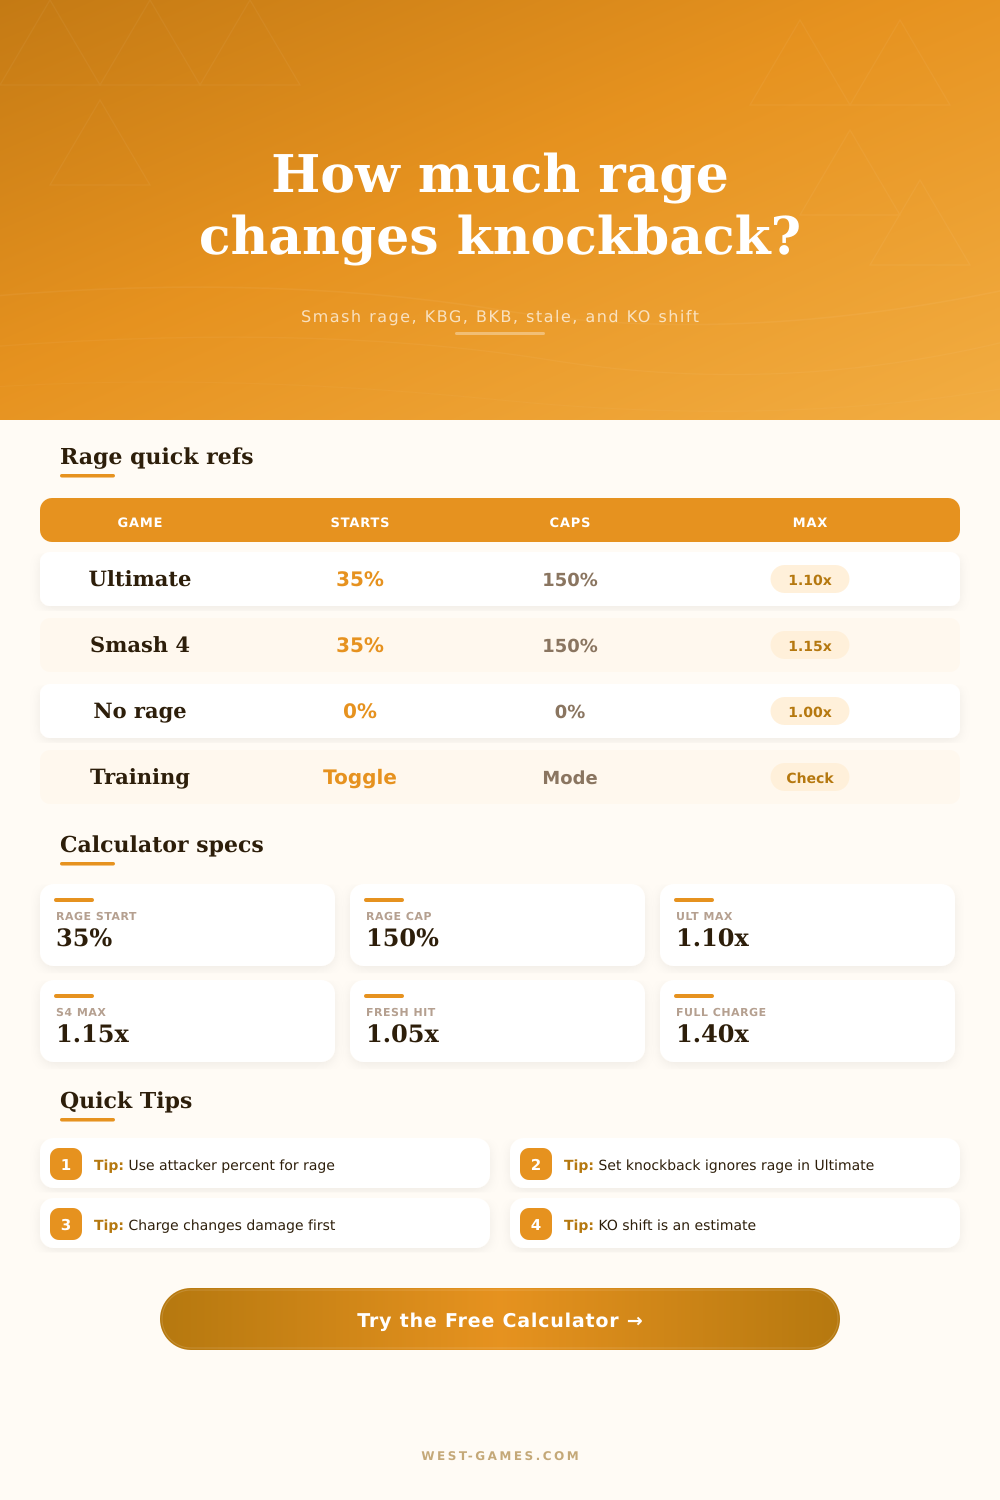
| 150% and higher | 1.100x | 1.150x | Rage is capped; extra attacker damage does not add more rage. |
| Input | What it changes | Common range | Use in this calculator |
|---|---|---|---|
| Damage | Raises target post-hit percent and damage term. | 4 to 25% | Modified by stale and charge before knockback is estimated. |
| KBG | Controls how hard knockback scales at higher percents. | 60 to 130 | Enter move KBG directly; the calculator divides by 100. |
| BKB | Adds baseline launch strength. | 15 to 90 | High BKB moves feel strong even at lower percents. |
| Weight | Heavier targets receive less knockback. | 77 to 135 | Use a known fighter weight or leave near Mario at 98. |
| Modifier | Typical value | Applied to | Important note |
|---|---|---|---|
| Fresh move bonus | 1.05x | Damage | Real matches usually use fresh or stale states, not exact base damage. |
| Stale move | 0.85x to 0.97x | Damage | Repeated successful hits reduce practical damage and knockback potential. |
| Smash charge | Up to 1.40x | Damage | A full charge greatly changes the post-hit percent and knockback term. |
| Launch rate | 0.5x to 2.0x | Knockback | Use the custom multiplier for altered rule sets or training tests. |
| Set knockback | Move-specific | KB model | Ultimate removes rage from set knockback, unlike Smash 4 behavior. |
| Shift size | Meaning | Best use | Check before trusting |
|---|---|---|---|
| 0 to 2% | Small rage effect | Low KBG or far-from-KO setups. | DI and position may hide the difference. |
| 3 to 6% | Noticeable rage effect | Common kill confirms near the edge or top. | Retest with stale moves enabled. |
| 7% to 12% | Large rage effect | High KBG finishers and charged hits. | Stage, platform, and character weight matter a lot. |
| Over 12% | Extreme setup | Smash 4 max rage or very strong modifiers. | Confirm in Versus or Training with matching settings. |
This tool estimates launch strength. Real KO percent also depends on launch angle, DI, LSI where applicable, stage blast zones, position, gravity, fall speed, air friction, walls, platforms, and move-specific properties.
Super Smash Bros also include a system called rage which increases effectiveness of your attacks as you recieve more damage. The longer you can survive, the stronger you become. However, this only goes up to a certain point; after reaching 35 percent damage, the game provide you with a bonus to knockback. That bonus grow as you accumulate more damage, eventually capping off at 150 percent. When that happens, your attacks deal 1.10 times more damage. That’s the multiplier for Super Smash Bros Ultimate. Smash 4 had a higher cap: 1.15 times.
Knowing about that advantage allow you to make smart choices about whether or not to throw yourself into danger. It tells you that a risky move could work despite your current level of damage. This mechanic doesn’t apply to the person getting attacked; it applies to the attacker. So it’s the percentage of damage you deal that will be used by the game to determine amount of knockback. It’s a nice easy-to-understand idea, since all you need to keep in mind is your own damage percentage. Your attacks send opponents flying sooner if you have higher damage then they do. That’s particularly handy when facing heavier characters such as King Dedede or Bowser.
How the Rage System Works
Check out the page’s calculator and it’ll tell you exactly what the knockback units and KO threshold shifts is. But in general: The greater the damage, the bigger the knockback.
Rage doesn’t operate in isolation however; you also has to consider how strong your moves are. If your move has high knockback growth, then when your damage go up, so will your move’s danger, and rage enhances this further. On the other hand, if your move have low knockback growth, then the base knockback determines how dangerous the move is, and rage makes it feel less inconsistent across varying damage values.
Staleness and freshness factor in here as well. As you repeatedly spam a single move, it lose damage over time. That lower damage value mean your target has less post-hit percent to give to you, causing the knockback calculation to be weaker. Rage partially counters this loss, though not enough to save a move that’s been spammed too often.
Another element of the equation is charging attacks. They increase the post-hit percentage before applying knockback, and they also does additional damage, which increases the percentage after knockback. That’s a bit of a double-whammy: increased damage causes increased post-hit percentage, causing increased knockback. And all of it times your bonus from Rage. If you’re really serious about punishing an opponent’s mistakes, a well-charged smash attack can be a guaranteed kill, rather than a potentially disastrous one.
To approximate what that means, you can play around with the tool on the page to see the difference between hitting them normally vs. You could of use a charged attack at different levels of staleness. These changes also let you see how the multiplier change at specific percentages, like 100 or 75, by using the reference tables on the layout. This means you have some sort of idea of what’s going on without having to do any complex calculations in your head when you’re in a match.
Depending on your current rage level you can adjust threshold for kills. So if you’re sitting at 100 percent damage, then you’ll be able to get kills at a lower percentage than normal. This creates a larger window of opportunity, important in higher levels of play where the margins are razor thin. You want to know the safest route to getting that kill, and rage adds that security blanket. The calculator also take out the guesswork for theorycrafting. Exact KO thresholds change and exact units of knockback exist, and it will tell you precisely how much sooner you can send an opponent flying with your up-smash or forward smash after being hit.
You learn to know your characters’ limits through muscle memory, and it gives you confidence in your finisher move after you’ve been ground down. Being knocked back puts you at a disadvantage, but the rage system flips that momentum so that getting beat up becomes a way to gain an advantage. When you understand the numbers, it’s not about gambling anymore, it’s about hitting them where they need to go, every single time. That’s the difference between good players and great players.