🎮 Smash Bros Knockback Calculator
Estimate Smash knockback from percent, damage, target weight, knockback growth, base knockback, stale move scaling, rage, launch angle, DI choice, launch speed, and distance to the KO line.
| Victim percent before hit | Post-hit percent | Knockback | Launch speed | Distance signal |
|---|---|---|---|---|
| Run the calculator to fill this table. | ||||
| Target type | Weight value | Estimated KB | Initial speed | Survival note |
|---|---|---|---|---|
| Run the calculator to fill this table. | ||||
| Variable | Meaning | Calculator field | Handling note |
|---|---|---|---|
| p | Target percent after the hit | Victim percent + stale-adjusted damage | Stamina Mode is not modeled; use normal percent battles. |
| d | Damage contribution | Move damage with stale/fresh adjustment | Ultimate and Smash 4 use only part of stale/fresh for knockback damage contribution. |
| w | Target weight | Target weight value | Weight-independent moves set this to 100. |
| s | KBG divided by 100 | Knockback growth | A KBG of 110 is entered as 110 and converted to 1.10 internally. |
| b | Base knockback | BKB | Added after the percent, damage, weight, and KBG portion. |
| r | Ratio modifiers | Rage, launch rate, extra ratio | Rage, launch rate, crouch-like adjustments, and custom modifiers multiply final KB. |
| Reference | Value | Use in calculator | Practical note |
|---|---|---|---|
| Tumble threshold | About 80 KB | Status signal | Below this, the hit is usually combo or positioning oriented. |
| Side KO reference | About 172 to 205 KB | Manual KO threshold | DI and position can swing this heavily. |
| No-DI center reference | About 186 KB | Default threshold | A SmashWiki reference for center Final Destination with a Sakurai angle. |
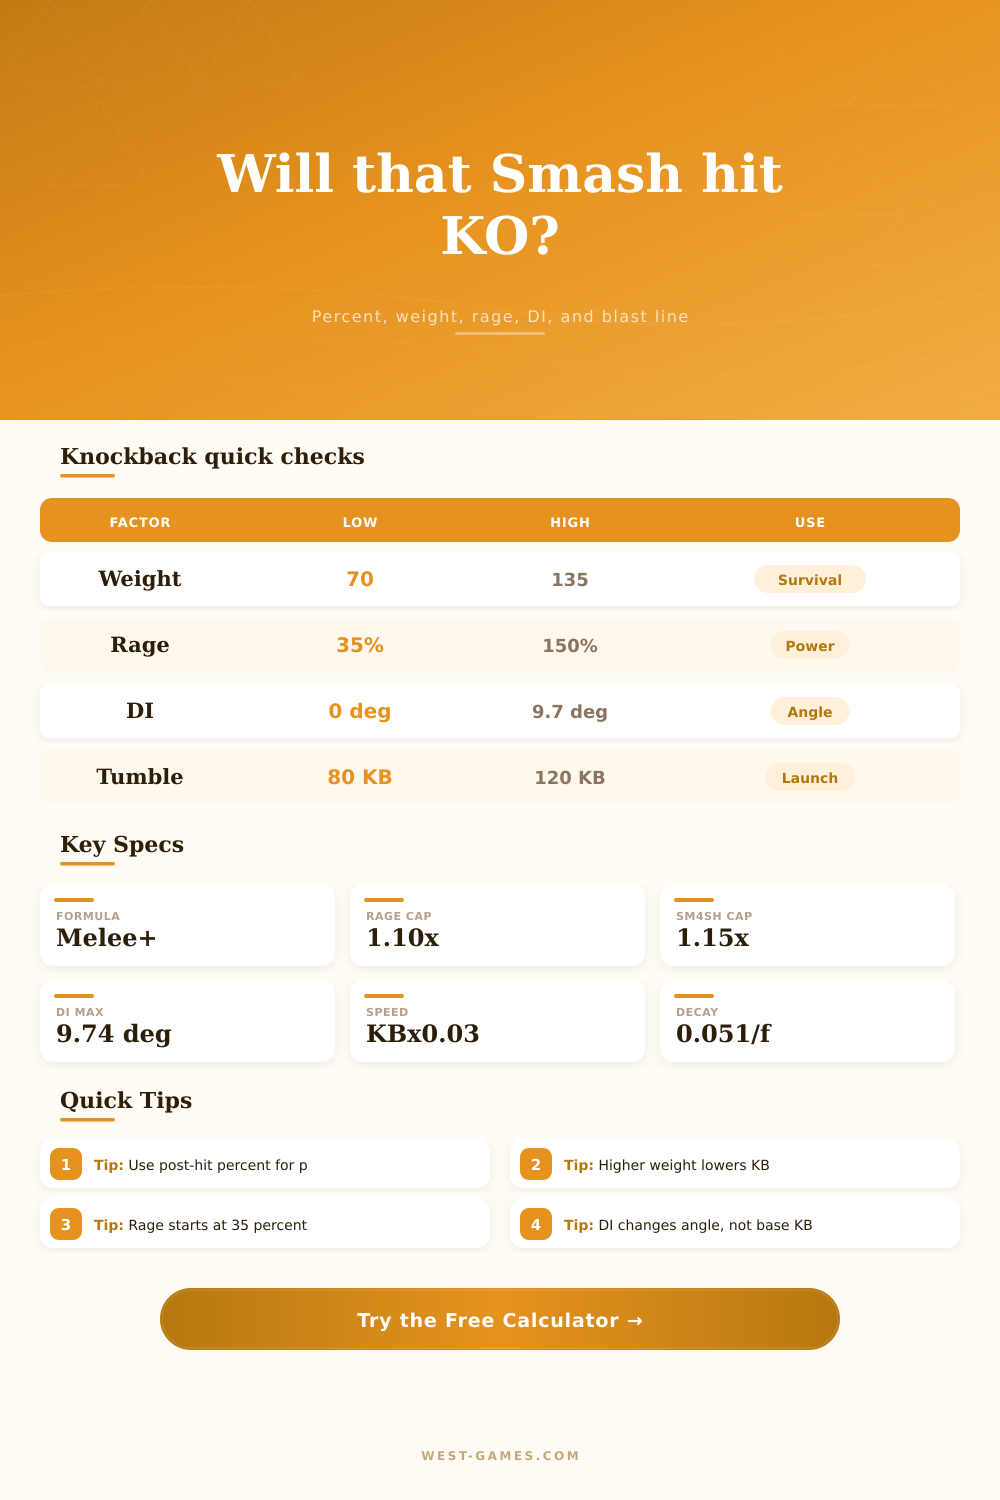
| Launch speed | KB x 0.03 | Speed result card | Momentum then decays by about 0.051 per frame. |
| Ultimate DI cap | About 9.74 deg | DI estimate | Applies as an angle estimate in this simplified tool. |
| Sakurai angle | 361 input | Enter 0, 32, or 45 manually | This calculator does not auto-resolve the special 361 angle. |
| Character or band | Weight | Use case | Knockback expectation |
|---|---|---|---|
| Pichu | 62 | Very light target | Launches much farther from the same hit. |
| Fox | 77 | Light fast faller check | Useful for side-KO and combo tests. |
| Mario | 98 | Middleweight default | Good neutral comparison target. |
| Samus or Terry band | 108 | Heavyweight comparison | Needs more percent or stronger KBG. |
| Ganondorf | 118 | Super-heavy planning | Often survives side hits longer. |
| Bowser | 135 | Heaviest common benchmark | Lowest KB from normal weight scaling. |
| Mechanic | Modeled value | Input field | Limitation |
|---|---|---|---|
| Ultimate rage | 1.00x to 1.10x | Attacker percent | Starts at 35% and caps at 150%. |
| Smash 4 rage | 1.00x to 1.15x | Game mode and attacker percent | Modeled as a linear planning curve. |
| Stale damage | Damage x stale multiplier | Stale selector | Move queue history is entered as one multiplier. |
| Knockback stale term | 30% of stale difference | Direct damage toggle | Matches the common Smash 4 and Ultimate planning formula. |
| DI | Angle shift estimate | DI selector | Does not simulate hitlag, position, walls, or recovery. |
| KO line distance | Distance along chosen axis | KO distance model | Simple distance score, not exact blast-zone physics. |
The physics in Smash Bros is governed by different rules then what we think is logical. A heavy attack could feel like you landed it well, but it’s based off vector and mass rather than your intention. Knowing how these work versus just guessing are what makes you good.
Since the days of Melee, knockback works on a very simple formula that isn’t based on feeling, but instead on data points. Not all knockback scale linearly. What will launch a light character might not have same effect on heavy character. In fact it’s largely dependent upon weight. This is where the calculator come into play.
Why Math Is Important In Smash Bros
By taking into account the base knockback value as well as weight of the target, the calculator figures out if it was deadly or a combo set-up. Without math you don’t really know what to expect from your attack.
The Rage mechanic builds up the damage/launch force based on their opponents’ percent. In Smash 4 and Ultimate, this range from thirty-five to one-hundred-fifty percent. A late-game smash hit will not only deal additional damage but also increase the launch force. Before committing to an attack, you need to consider this multiplier. Otherwise, you could of ended up going out of bounds while your opponent recovers.
Reducing damage does not change direction of the launch, which is called directional influence, or DI. While a good steer may transform a horizontal launch into a vertical one and keep you closer to the center of the stage, a bad steer will shoots you right down the blast line. The tool takes that difference in angle into account when estimating where you’ll land. In high-level play, that make a huge difference as it impacts your survival options.
Repeated use of a move also decrease its knockback and damage due to stale move data. While not so noticeable in the heat of battle, over time this can affect combo string. For example, if a forward aerial kills at 80% health, it might just juggle after being used five times in a row. You can tweak stale multipliers via the calculator. It’s easy to get carried away with base stats and forget what went into them; this let you match your expectations with reality.
Each of these hits is also viable depending on geometry of stage as well. How far away is it from the blast line? Is it launching horizontally at edge of the stage or from the middle of it? You can input this into the tool as well and it connects those numbers to real world space, grounding the calculation in actual space where the match is being played. That’s when those variables become a science.
It goes from guesswork to strategic decision making. It becomes about using information instead of gut feeling. And in that moment, before you even land the hit, it’s already determined if it will have an impact or not. That’s what gives one person the advantage more then another in tournament competition.