⛏ Satisfactory Node Output Calculator
Calculate raw miner production, belt-capped output, resources per hour, power draw, shards, machine demand, and overflow for Satisfactory resource nodes.
Plate and rod input
One rich surface node
Normal node doubled
Mk.3 fully clocked
| Miner | Normal base rate | Impure output | Normal output | Pure output | Base power |
|---|---|---|---|---|---|
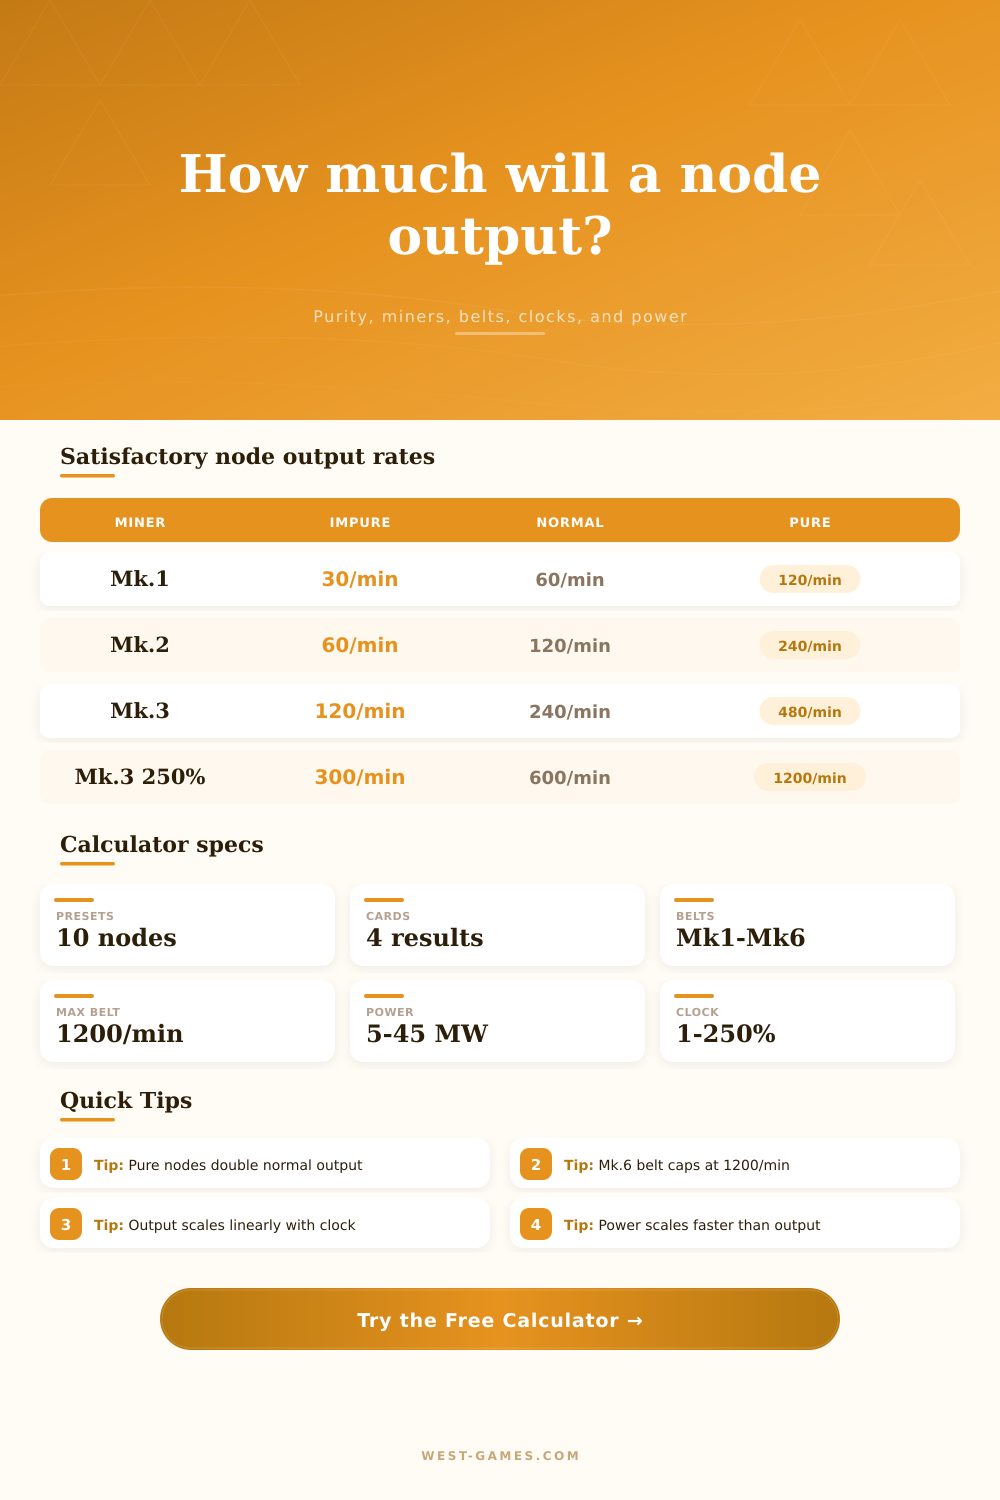
| Miner Mk.1 | 60 resources/min | 30/min | 60/min | 120/min | 5 MW |
| Miner Mk.2 | 120 resources/min | 60/min | 120/min | 240/min | 15 MW |
| Miner Mk.3 | 240 resources/min | 120/min | 240/min | 480/min | 45 MW |
Output formula: normal base rate x purity multiplier x clock speed percent / 100. Purity multipliers are 0.5 for impure, 1 for normal, and 2 for pure.
| Belt mark | Throughput cap | Fits 120/min? | Fits 480/min? | Fits 780/min? | Fits 1200/min? |
|---|---|---|---|---|---|
| Conveyor Belt Mk.1 | 60 resources/min | No | No | No | No |
| Conveyor Belt Mk.2 | 120 resources/min | Yes | No | No | No |
| Conveyor Belt Mk.3 | 270 resources/min | Yes | No | No | No |
| Conveyor Belt Mk.4 | 480 resources/min | Yes | Yes | No | No |
| Conveyor Belt Mk.5 | 780 resources/min | Yes | Yes | Yes | No |
| Conveyor Belt Mk.6 | 1200 resources/min | Yes | Yes | Yes | Yes |
The belt immediately connected to the miner matters because miners output through one port before any splitter can divide the line.
| Clock speed | Output multiplier | Power multiplier | Shards needed | Mk.3 power | Pure Mk.3 output |
|---|---|---|---|---|---|
| 50% | 0.5x | 0.40x | 0 | 18.0 MW | 240/min |
| 100% | 1.0x | 1.00x | 0 | 45.0 MW | 480/min |
| 150% | 1.5x | 1.71x | 1 | 77.0 MW | 720/min |
| 200% | 2.0x | 2.50x | 2 | 112.5 MW | 960/min |
| 250% | 2.5x | 3.35x | 3 | 150.9 MW | 1200/min |
Power examples use base MW x (clock / 100)^1.321928. Output is linear with clock speed; power is not linear in current clock math.
| Planning question | Input to change | Formula affected | Warning sign | Useful result |
|---|---|---|---|---|
| Can this miner feed my recipe block? | Demand per minute or machine count | Usable output minus demand | Negative balance | Demand Balance card |
| Is the first belt too slow? | Connected conveyor belt mark | Minimum of raw rate and belt cap | Overflow above zero | Bottleneck breakdown rows |
| What does overclocking really add? | Clock speed percent | Base rate x clock percent / 100 | Power per resource rises | Power Draw card |
| How many machines fit this node? | Machine input per minute | Usable output / machine rate | Utilization over 100% | Machine capacity rows |
| How much is produced over time? | Runtime window in minutes | Usable output x minutes | Batch shortfall | Resource batch row |
The calculator keeps raw miner output separate from usable belt output so a high-clock node does not hide a logistics cap.
When you finally discover an untainted Iron Node in Satisfactory for the first time, it’s exciting. You spot the shining resource and think “jackpot!” You quickly set down some miner. You prepare yourself to be flooded with resources so you can unclog all your bottlenecks. Then you add a Mk.1 belt to the output and watch helplessly as half the ore stack onto the floor.
What use is all that ore? Why is it so annoying? This rookie mistake shows the main problem with managing resources in the game. What appears on the node isn’t the full picture, there are practical things to consider after extraction.
Don’t Waste Your Ore
Where most people get hung up is on understanding their belt capacity vs. This refers to their miner output. This is where the calculator (above) come in to help untangle things: It divides up usable throughput from raw production. In other words, it tells you how much the miner puts out vs. It tells you how much makes it down the line. Because hooking a strong miner up to a weak belt does nothing except create an incredibly space-efficient waste.
So you plug your own miner mark into the tool, input its planned connection to the belt and node’s purity, then it will tell you if you’re making a pipeline or a resource parking lot.
Node purity is simple math but also very easy to misunderstand. Pure nodes multiply the normal rate by two. Impure nodes divides it by two. It’s a simple multiplication factor, with huge effects for designing your factory.
Running mk.3 miners on pure nodes? Good luck keeping up with the throughput. That’s huge throughput that will quickly outpace early-game belts. And the base rates is clear from the reference tables on the page. At normal speed, a mk.3 on a pure node will get you four hundred eighty resources/minute. That’s a heckuva lot of stuff to try to move. Either you’ll want some splitters and some careful routing to spread out the flow, or you’ll want belts capable of moving that much.
This formula gets even more complicated when you factor overclocking into it. Your miners will produce linearly as they get faster, but they’ll consume electricity at an increasingly rapid pace. That’s what the exponent model on the calculator displays and why it matters so much if you want to plan out your power grid.
You may assume that doubling your clock speed will double your miner’s efficiency, but it’ll typically triple its power usage. And that’s why the power draw column on result is so important. It makes you realize how costly those few extra chunks of ore are in terms of energy. A high-output node can become more of a liability then an asset, crashing your grid instead of feeding it.
It’s also about planning for demand. You don’t want to simply suck up resources; you want to suck up only what your machines require. With the tool, you can enter how much of any resource is needed by downstream machine, or even enter in your desired demand. Then it will tell you whether you’ve built enough (or too many) miners, starving your assembly line but wasting power, or too few (and vice versa).
That’s the art of building factories. It keeps production flowing steadily without overflowing, cluttering your base. Overall, making a good factory in Satisfactory is all about managing your power, your logistics, and your extraction. Overclocking has an energy cost (don’t forget! Your belt cap matters), too, don’t dismiss it! This table and these tools are meant to remove some of the guessing from those choices. Let them supply the hard numbers, so you can concentrate on the creative task of linking it all up.
Once you have that sweet node ticking along, the machines are humming and the belts are full. Well, then it’s real satisfying. But first, you should of know precisely what you’re getting from that ore.