Resistance Stacking Calculator
Model game resistance stacks with additive capped resist, multiplicative defensive layers, enemy penetration, vulnerability, true damage share, and effective health from the same hit profile.
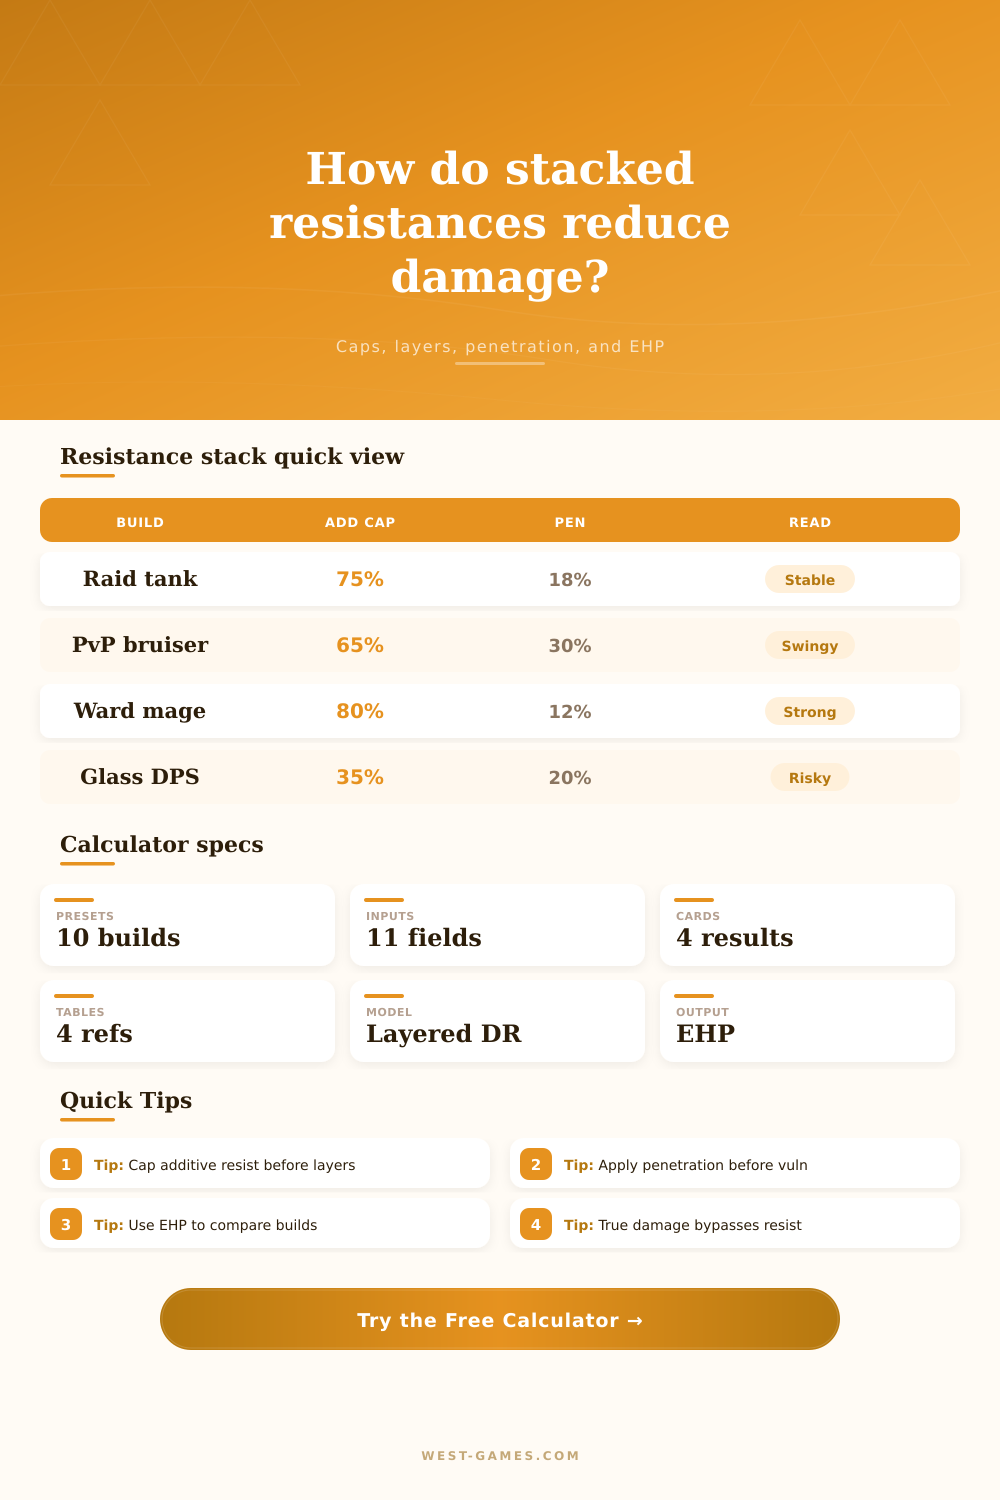
Stack order: base, aura, and gear resistance add together and stop at the selected cap. Penetration reduces that capped value. Multiplicative layers then reduce the remaining damage, true damage bypasses resistance, and vulnerability increases the final taken amount.
Calculation Breakdown
Stack Read
Ready: choose a preset or edit values to calculate capped, penetrated, and layered resistance.
No Penetration
Shows how much mitigation the build would have if the enemy did not pierce capped resistance.
No Layers
Removes independent fortify, guard, barrier, and stance multipliers from the same stack.
Cap Waste
Reports additive resistance above the cap before penetration is applied.
True Damage
Expected raw portion per hit that bypasses the resistance stack entirely.
| Game style | Typical cap | What stacks additively | Practical read |
|---|---|---|---|
| Action RPG baseline | 75% | Gear, aura, flask, charm | Overcap helps only against curses, shred, or penetration rules. |
| High cap endgame | 80% to 90% | Max-res mods plus normal resist | Small cap increases can create large EHP gains. |
| MOBA defenses | Soft curve | Item resistance or armor stats | Penetration often cuts final value before damage is taken. |
| Survival gear set | 50% to 75% | Suit pieces and consumables | Flat hazards may ignore part of the stack. |
| Layer | Stack method | Example | Why it matters |
|---|---|---|---|
| Additive resist | Add then cap | Base plus gear | Can waste points once the cap is reached. |
| Penetration | Subtract after cap | Boss pierce | Makes overcap valuable in games that support it. |
| Multiplicative DR | Multiply remaining damage | Fortify or stance | Stacks cleanly without exceeding 100% reduction. |
| Vulnerability | Final damage multiplier | Debuff taken | Can undo a strong resistance sheet value. |
| Enemy effect | Input field | Stack position | Calculation note |
|---|---|---|---|
| Resistance penetration | Enemy penetration | After cap | Turns 75% capped resist with 25% pen into 50% effective resist. |
| Resistance shred | Enemy penetration | After cap | Use the total shred if the game subtracts it from your capped value. |
| Negative resistance | Base or gear | Before cap | Enter curses or broken armor as negative additive resistance. |
| True damage | True damage share | Bypass split | This portion is not reduced by resistance or DR layers. |
| Final reduction | Damage taken | EHP multiplier | Build read |
|---|---|---|---|
| 25% | 75% | 1.33x | Light mitigation, still burst sensitive. |
| 50% | 50% | 2.00x | Solid middle point for repeated hits. |
| 75% | 25% | 4.00x | Strong against the matching damage school. |
| 90% | 10% | 10.00x | Usually requires caps plus independent layers. |
| Preset | Best use | Main risk | Adjustment to test |
|---|---|---|---|
| Raid Element Tank | Repeated boss magic and physical hits | Penetration reducing capped resist | Raise cap or reduce vulnerability before adding small aura values. |
| PvP Anti-Mage | Burst spell duels and arena windows | High pen plus vulnerability spikes | Compare one more multiplier against raw overcap. |
| ARPG Max Res | Endgame elemental mapping | True damage and unavoidable hits | Increase HP if final reduction already exceeds 80%. |
| Hardcore Balanced | Mixed unknown content | Split damage schools and bypass effects | Lower true damage share only when the encounter confirms it. |
Why? Because you just spent hours farming for that sweet gear set that turns out to be totally useless against this one boss who seem immune to your defenses. It’s infuriating. The answer usually lies in not understanding how resistance actualy stacks in the math engine behind the graphics. You just spent hours farming for that sweet gear set, only to find it is totally useless against this one boss that appears to be resistant to everything. It’s infuriating and the answer lies (usually) in not understanding how resistance actually stacks in the underlying math engine behind the graphics.
Enter: the calculator above which run the complex mitigation formulas for you so you don’t have to do the math…just the strategy. Mastering these mechanics remove guesswork and transforms your character’s survivability into precision engineering.
How Game Defense Math Works
The biggest pitfall for new players is believing there is no limit to how much additive resistance you can get. The truth is that almost every game has a hard cap on additive resistance. All of those buffs you gets from flasks, auras, gear bonuses, armor sets, and base stats from class levels all go into one pool. As soon as you reach max allowable percentage, any additional points you gain will be entirely wasted. Pursuing endless resistances are a waste of time. Unless you know the exact ceiling for your build, don’t waste more resources.
Enemy Penetration make things interesting. Penetration is essentially a post-cap penalty. So, let’s say you maxed out your resistances and boss has a lot of armor pierce. They’ll be able to chew away at your actual effective defenses pretty badly. That’s why this sort of interaction is so important; it means that sometimes having a bit of resistance over the cap does matter. It’s sort of like a cushion against the incoming penetration. Overcap without penetration? It is just wasted points. What happens if you overcap with lots of penetration in your fight? Those extra points is there to protect you from unexpected damage increases.
And then there are the multiplicative layers. These work along an entirely different axis. Barrier effects eat up another chunk of incoming damage in addition to your existing percentage damage resistance. Fortify buffs stacks their own percentage cut on top of each other and don’t trigger diminishing returns. Guard stances does something similar. These aren’t additive stats and they don’t normally have diminishing returns because they stack separately. Your stance take off another 15 per cent, which stacks cleanly against the 80 per cent cap on your resistance for exponentially greater survivability.
That’s how vets leave newbies in the dust. It isn’t enough to rely on unchanging gear stats all day; you need to activate those separate layers right when the heavy hits begins to arrive.
But then there’s true damage; a problem unto itself. Pure damage types don’t care about anything we’ve talked about yet. They’re impervious to armor, shields, and resistances. Active damage reflection mechanics and your actual health pool are the only forms of protection from true damage. In other words, how long you last will be mostly determined by your effective HP, and the higher an enemy’s power gets and the more they lean into bypass effects, the harder you’ll take a licking. Sure, you may have 90% resistance to physicals, but what if 30% of the boss’s damage is true? You’re actualy absorbing way more then what meets the eye.
Now that we’ve got those out of the way, let’s talk effective health. When comparing any two builds, you can clearly see that one has more health with moderate defense, while the other has high resistances but lower base HP. Both might soak up sustained fire just fine, but the first will likely fall sooner against burst damage because it lacks margin for error. That really comes down to damage profile and length of fight. High mitigation percentage works well in short fights while long sieges tends to reward raw sustain and durability instead of the highest possible defensive stack.
So that’s the gist of it: building a tank isn’t about maxing out any one system; instead, it’s about finding an equilibrium between the two conflicting systems that will give you just enough multiplicative layering to get past the effective reduction cap while maintaining sufficient additive resistance so that you can hit said cap quickly. Then there’s the matter of having a bit of health to soak up the occasional true damage that’ll inevitably come your way. The rest is math. The calculator does it for you based off your circumstances. But knowing how all these elements play together when things go wrong is the strategy. Find that balance and you won’t be fretting over taking a bad shot and being wiped.