🌡 Radiator Size Calculator
Estimate PC watercooling radiator surface area from CPU and GPU heat load, coolant-to-ambient delta, fan speed and noise target, thickness, fin density, case restriction, 120/140 mm sections, and headroom.
Models one extra 120 mm radiator fan position.
Models one extra 140 mm radiator fan position.
Moves one fan/noise tier higher with the same radiators.
Models a 12 percent GPU/CPU power reduction.
| Fan target | Approx RPM | 120 mm at 10°C | Planning use |
|---|---|---|---|
| Silent | 600-750 | 55-70 W | Large loops, low noise, low coolant delta. |
| Quiet | 800-900 | 75-90 W | Good daily target for mesh cases. |
| Balanced | 950-1100 | 95-110 W | Matches the popular 100 W per 120 mm section rule. |
| Performance | 1250-1400 | 120-140 W | Useful when radiator space is limited. |
| High airflow | 1700-2100 | 160-190 W | Trades noise for compact radiator area. |
Actual radiator testing varies by model, fan pressure, coolant flow, case air temperature, and test method. Treat watts per section as planning capacity, not a guarantee.
| Radiator | Sections | 120 equivalent | Typical fit note |
|---|---|---|---|
| 120 | 1 x 120 | 1.0 | Rear exhaust or compact auxiliary radiator. |
| 240 | 2 x 120 | 2.0 | CPU-only or supplemental GPU loop area. |
| 360 | 3 x 120 | 3.0 | Common front or top main radiator. |
| 280 | 2 x 140 | 2.7 | Often close to a 360 in face area. |
| 420 | 3 x 140 | 4.1 | Strong quiet-loop option when the case fits it. |
The calculator uses 140 mm face area as 1.36 times a 120 mm section, before applying the same thickness and airflow modifiers.
| Core type | Quiet fans | Fast fans | Best match |
|---|---|---|---|
| Slim low FPI | Good | Moderate | Low-noise builds and top mounts. |
| Slim medium FPI | Good | Good | General custom-loop planning. |
| Thick low FPI | Good | Strong | Push-pull or pressure fans. |
| Thick dense FPI | Weak | Strong | High RPM where noise is acceptable. |
| Very thick core | Mixed | Strong | Space-limited cases with fan pressure. |
Thicker is not automatically quieter. Low-RPM fans may not use the extra core depth well if fin density and restriction are high.
| Coolant delta | Noise target | Radiator signal | Practical meaning |
|---|---|---|---|
| 5-7°C | Silent | Very large | Needs generous surface or external radiators. |
| 8-10°C | Quiet | Strong | Common custom-loop target for daily gaming. |
| 11-15°C | Balanced | Normal | Often acceptable if component blocks are efficient. |
| 16-20°C | Audible | Limited | May be fine for short loads, but water runs warm. |
| 20°C+ | Loud | Undersized | Add surface, lower watts, or accept high fan speed. |
Coolant delta is coolant temperature minus radiator intake air temperature. Component core temperature also includes block, die, paste, and mounting resistance.
| Loop profile | Typical heat | Quiet target | Balanced target | Watch item |
|---|---|---|---|---|
| CPU-only gaming loop | 90-180 W | 240 or 280 | 120 or 240 | CPU package spikes and case intake temperature. |
| Midrange CPU + GPU loop | 350-500 W | 420 or 2 x 240 | 360 plus 120/240 | GPU board power usually dominates heat. |
| High-end 4K gaming loop | 550-750 W | 2 x 360 or 420+360 | 480+360 or high RPM 2 x 360 | Coolant delta and fan noise rise together. |
| Creator CPU + flagship GPU | 700-900 W | External or 3 radiators | 2 x 420 or 3 x 360 | Sustained render heat, not just gaming peaks. |
| Dual GPU compute loop | 900-1300 W | External radiator bank | Large internal plus external | Pump flow, coolant limit, and room heat. |
When you drop a gigantic 480 millimeter radiator into your case’s front, it can makes you think: “Engineering won!” Your loop look complicated, with glowing reservoirs and snaking pipes. Then you run some stress tests, and learn that sheer surface area doesn’t always mean thermodynamic success. Coolant temps rise and fans engages, as you discover that heat loss rely on both temperature difference and air flow. It’s difficult to size a radiator, since bigger isn’t necessary better.
To find the right balance between noise and cooling capacity, you need to calculate your thermal load and then size your radiator accordingly. Fortunately, plugging in your GPU and CPU power outputs will do all the math for you using the calculator above (no more guesstimating airflow penalties or factors).
How to Choose the Right Radiator Size
The first step is to determine how much total heat you are generating. That includes your CPU, GPU, and any other component like memory that add heat. It also includes pumps or other cooling equipment. A 25W CPU doesn’t sound like much, but throw in a 300W GPU and suddenly the whole rig is pushing hundreds of watts.
The calculator works around that because it allow you to enter sustained wattages instead of just reading off the marketing name. A 120w Ryzen might actualy draw more power at load than that, and a limited power GPU might be held down from its rating. The best bet is to plug in real numbers based on what your system read with your workload. Don’t undersize for an overnight render you’re not doing OR oversize for the max that will rarely happen. You should of planned for that.
With the heat load established, we’re into the meat of the trade off. How hot do you want your coolant? How much warmer than the room temperature do you want the water to be when it leaves the radiator? That’s the delta T, the difference between what enters the radiator for cooling and what leave. The closer the difference is to zero, the better your component temperatures, but at the cost of more radiator space to be efficient. The more temperature rise you allow, the less radiator you’ll need.
On the other hand, if you want the fluid to warm up by only five degrees, you will need a huge radiator or very dense fins. But there’s a catch with those dense fins: they limit airflow realy badly while providing extra surface area per cubic inch. So unless you have very powerful static pressure fans to drive air through them, a dense radiator won’t function well at low fan speeds. It may actualy perform worse than a thin radiator at low speeds due to lack of air penetration into the fin stack. It accounts for those real world limitations with the ability to input fin density and fan speed into the calculator.
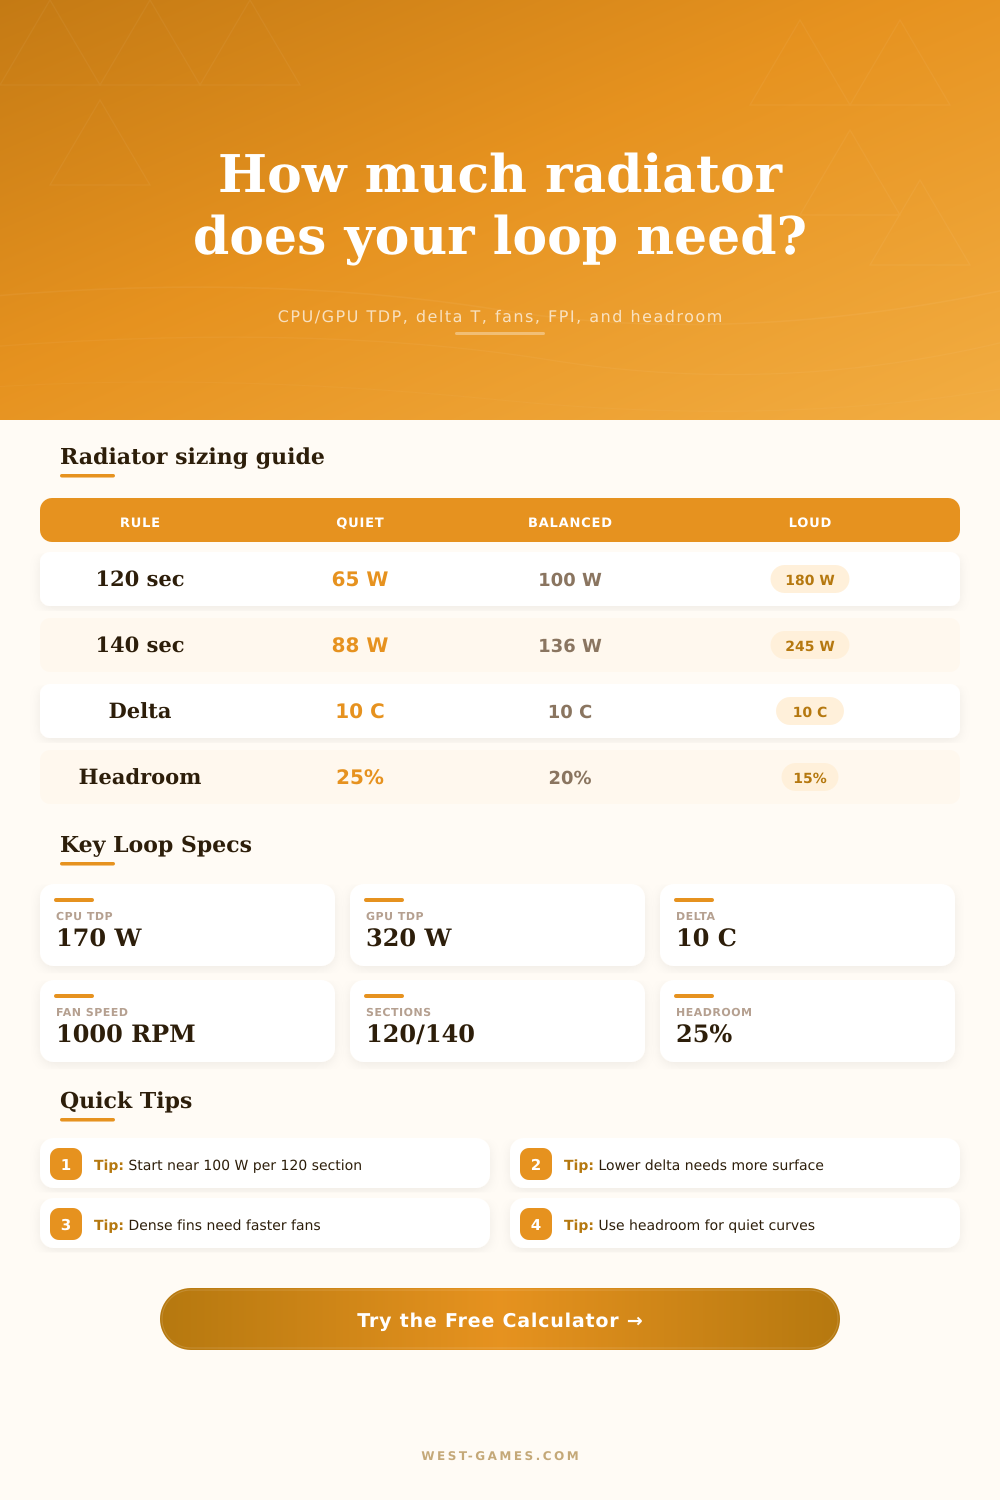
At two thousand RPMs, the fan can clear almost two hundred watts off of one section (loud profile), but it can do so quietly. At six hundred RPMs (silent profile) it might only clear sixty watts (and be very quiet). That’s a huge difference in capacity. For anyone who values quiet, you’ll probably have to jump up to a larger size radiator or maybe even add another section completely. This chart on the page clearly shows what happens when you increase fan speed which dramatically impact the watts per section figure.
Remember that not all variables is annoyances; noise is also something that can be measured in terms of thermal performance. Not only does the internal hardware matter, but so does the airflow around that hardware. A fresh stream of incoming air from a front-mounted radiator will do wonders compared to a radiator sitting atop a glass case spewing hot air back into itself. To account for this, you can set whether your airflow path is open or restrictive. This means that if your case is more like a glass box… And doesn’t let air circulate well, then your radiator has to work a little bit harder to push heat out into an already-warm area. Adding some headroom to your calculation helps offset this inefficiency. It’s a tiny buffer, but it keeps the whole system from choking if the ambient room temperature increases on a sweltering summer afternoon.
So what is the result? A water-cooled loop is all about compromise. Thermal room to acoustic output to physical space. What’s right depends entirely on your needs: your thermal goals, your noise floor, and the size of your case. Want something super quiet but don’t mind it taking up half your desk? Go big with the radiator(s) and whisper-quiet pumps. Need something stealthy enough to fit under your monitor? Run a tight loop with screamingly loud fans. It’s all about understanding the compromises you’re making when you select your parts. Know your thermal, set your noise, and fill in the gaps with surface area. That’ll help you keep that coolant cool while keeping your PC from sounding like a jet engine.