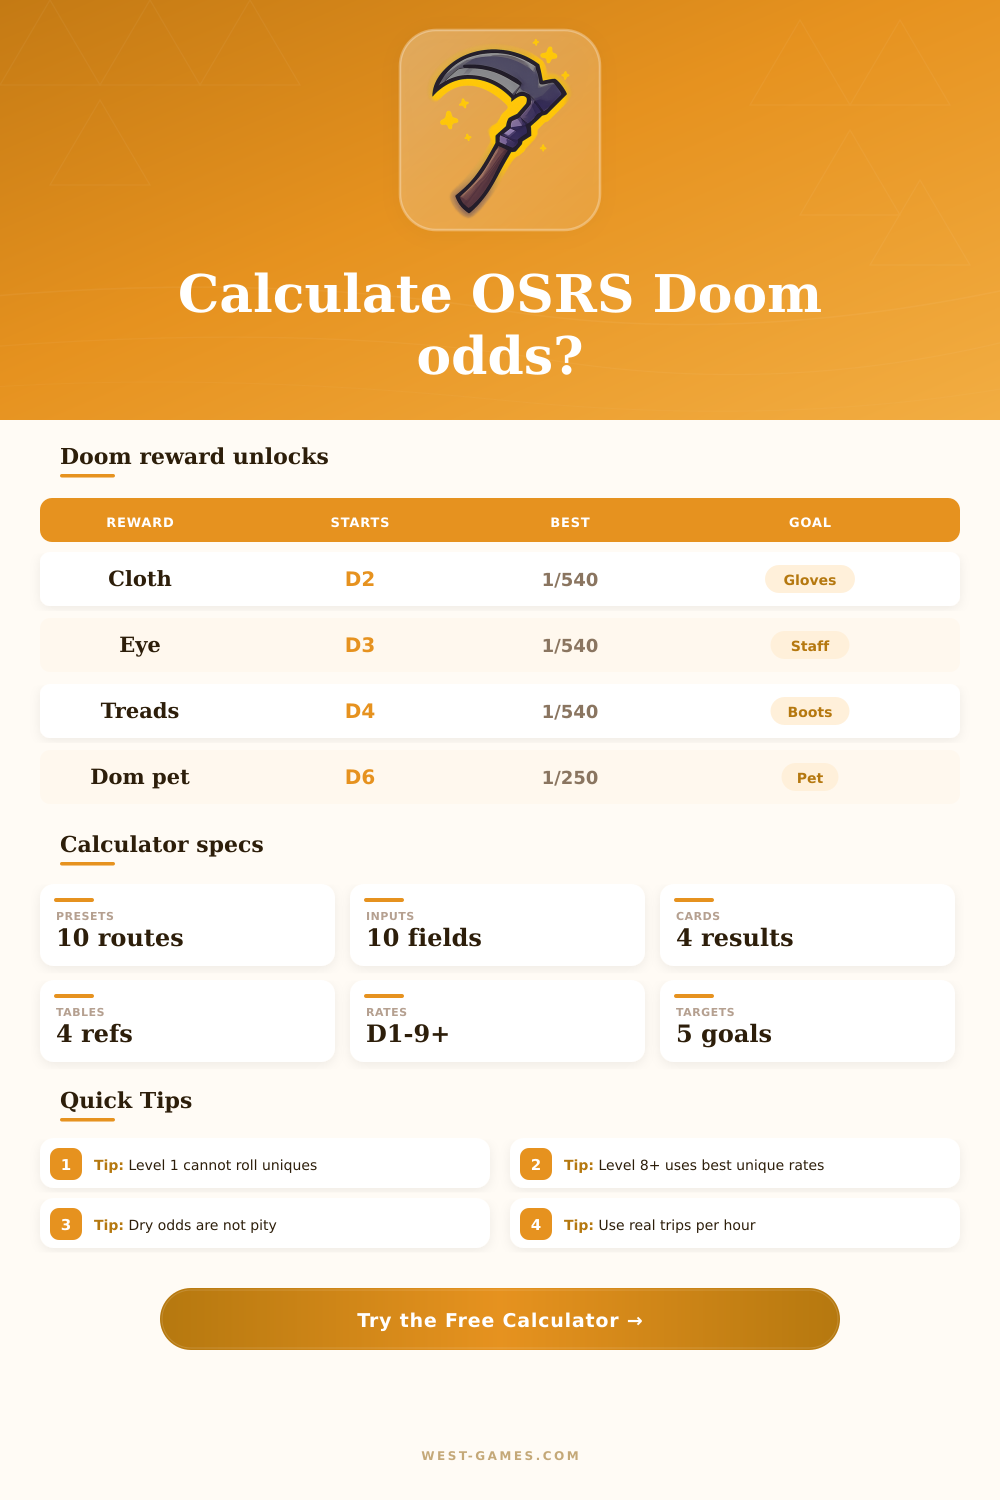
🔥 OSRS Doom Drop Rate Calculator
Plan The Doom of Mokhaiotl delves with official level-based denominators, target reward copies, dry streak probability, chance by kill count, personal loot share, and time-to-drop estimates.
| Delve level | Mokhaiotl Cloth | Eye of Ayak | Avernic Treads |
|---|---|---|---|
| 1 | No roll | No roll | No roll |
| 2 | 1 in 2,500 | No roll | No roll |
| 3 | 1 in 2,000 | 1 in 2,000 | No roll |
| 4 | 1 in 1,350 | 1 in 1,350 | 1 in 1,350 |
| 5 | 1 in 810 | 1 in 810 | 1 in 810 |
| 6 | 1 in 765 | 1 in 765 | 1 in 765 |
| 7 | 1 in 720 | 1 in 720 | 1 in 720 |
| 8 | 1 in 630 | 1 in 630 | 1 in 630 |
| 9+ | 1 in 540 | 1 in 540 | 1 in 540 |
The any-unique target is calculated as 1 minus the chance that none of the eligible unique rolls hit at that delve level.
| Delve | Pet rate | Loot modifier | Calculator use |
|---|---|---|---|
| 1 | No roll | -50% | Climb filler |
| 2 | No roll | -35% | Cloth unlock |
| 3 | No roll | Normal | Eye unlock |
| 4 | No roll | +5% | Treads unlock |
| 5 | No roll | +10% | Mid climb |
| 6 | 1 in 1,000 | +12% | Pet unlock |
| 7 | 1 in 750 | +14% | Safer deep |
| 8 | 1 in 500 | +17% | Strong loop |
| 9+ | 1 in 250 | +20% | Best pet |
Loot modifier is reference context only; this calculator focuses on unique and pet probability, not normal loot value.
| Route | Target style | Eligible kills | Planning note |
|---|---|---|---|
| Delve 1-4 | Unlock uniques | 2-4 | Learning and first clears |
| Delve 1-6 | Pet unlock | 2-6 | Adds Dom roll at level 6 |
| Delve 1-8 | Stable uniques | 2-8 | Near-best unique rates |
| Delve 1-9 | Max table | 2-9 | Best unique and pet rates |
| Camp 8+ | Repeat deep kill | All kills | Use when only deep kills count |
| Output | Formula | Input used | Meaning |
|---|---|---|---|
| Per-kill chance | Average p | Selected path | Weighted route rate |
| Trip chance | 1 - product fail | Kills per trip | At least one hit |
| Chance by KC | 1 - fail^KC | Future kills | Target in plan |
| Dry chance | fail^done | Completed kills | No target yet |
| Expected kills | copies / p | Target copies | Long-run average |
That changes once you clear The Doom of Mokhaiotl for the first time. You’re pumped up after finishing the Gauntlet tutorial, and now anything seem possible. That’s when reality hits. So you try again. And again. All that’s on-screen is a few generic resource.
That’s when math stop feeling academic and becomes a tool to survive. Knowing what the true probability is behind those rolls will prevent you from tilting because of randomness. What once felt like a tedious grind becomes a manageable project with real milestones.
Use Math to Manage Your Time and Feelings
That’s the problem: all kills aren’t equal for rewards. Different delve level have wildly different rates. Lower levels gives you virtually no shot at anything special; higher levels tighten the odds significantly. To get into the 1 in 540s you need to stick around high delves, period. And you must do this repeatedly to feel the reward rates.
That’s where the calculator comes in (above); it crunches numbers for you, so you don’t have to average through multiple rate changes manually. Simply specify if you’re camping out on a higher level delve or if you’re grinding your way up from zero each attempt, and it’ll adjust based off that difference. Why does it matter? Because the act of getting to a deeper delve has its own random factor, and camping out in one disregards that element of risk entirely.
Players often mistakenly think that if they get in a dry spell, something must be wrong with the game’s mechanics. But it isn’t so complicated. Probability doesn’t remember anything. It’s equally probable you’ll get dropped on your next kill as it was than your very first one. Even if the odds are pretty good, a long dry spell isn’t abnormal, after all, this is simply the nature of independent events.
By entering your current kill count into the tool, you’ll be able to see just how statistically likely your actual streak really is. Realizing that a three-hundred-kill dry run is completely reasonable is soothing. It keeps you from losing your cool and quitting. It also prevents you from switching up your strategy based off an emotional response instead of cold hard data.
Another essential part is time management. Raw stats alone don’t convey this aspect. Sure, you need to factor in your play speed (with a bit of extra time built-in for the inevitable death), but then there’s the matter of whether you’re playing by yourself or as part of team. Odds-wise, what you get back depends on how loot is divided up. With this interface you can dial in to account for those factors.
How much slower will a team be versus solo? Do you want to model a solo run where you keep everything, or a team effort where shares are divided? Does that unique item you want justify the amount of time you’ll spend getting it rather than spending that time elsewhere? It makes you think about what you are giving up, and it makes you consider whether that item is even worth the time.
Farming for Doom uniques is ultimately both an art and a science: Half depends on knowing where to go and how best to improve your route; half depend on being patient. Luck will play a huge factor, there’s no avoiding that, either. You should of seen it coming. It’s not about defeating randomness so much as respecting it.
These estimates allow you to do just that by taking away any guesswork. You’re not wondering when to call it quits or whether you should push forward. Instead, you know exactly how many kills is realistic so you can make an informed decision. This moves the mental effort from anxiety to strategy, which is what transforms a grind into a triumph.
Knowing the journey in advance makes the eventual drop feel like it was earned even though the odds were never truly in your favor. That feeling of having control over the unknown is what makes this worthwile.