🎮 Inflation RPG Drop Rate Calculator
Estimate itemKakuritu, Luck curve pressure, item-slot selection, single-run odds, and long farm attempts for Inflation RPG equipment and gem drops.
| FEPV range | BEIT formula | Farm meaning |
|---|---|---|
| 500 or less | (FEPV x 4 + 1000) / 6 | Early areas need little LUK to move the curve. |
| 501 to 1000 | (FEPV x 4 + 2000) / 6 | Starter bosses begin resisting low-LUK farms. |
| 1001 to 2000 | (FEPV x 4 + 4000) / 6 | Mid farm targets punish unfocused stats. |
| Above 2000 | (FEPV x 3 + 4000) / 5 | Late bosses need huge LUK for small gains. |
FEPV is the final enemy point value. Area level is only a rough substitute when exact enemy data is unknown.
| LUK gate | Bonus span | Practical read |
|---|---|---|
| 2,000 | up to 0.15 | Early LUK gives visible movement. |
| 25,000 | up to 0.15 | Strong early-farm breakpoint. |
| 300,000 | up to 0.30 | Main mid-game farm ramp. |
| 500,000 | up to 0.35 | Late farm improvement slows. |
| 1,000,000 | up to 0.15 | Final push before heavy caps. |
After bonuses, FLV is softened above 1.0 and again above 2.0, then capped at 3.5 and floored to two decimals.
| Enemy slots | Slot 1 | Slot 2 | Slot 3 |
|---|---|---|---|
| 1 listed item | Best target | Not used | Not used |
| 2 listed items | Good coverage | Needs LUK | Not used |
| 3 listed items | Common roll | Moderate roll | Hardest roll |
| Already maxed item | Can waste roll | Can waste roll | Can waste roll |
The target slot result shows how much of the first-stage item selection currently reaches your desired entry.
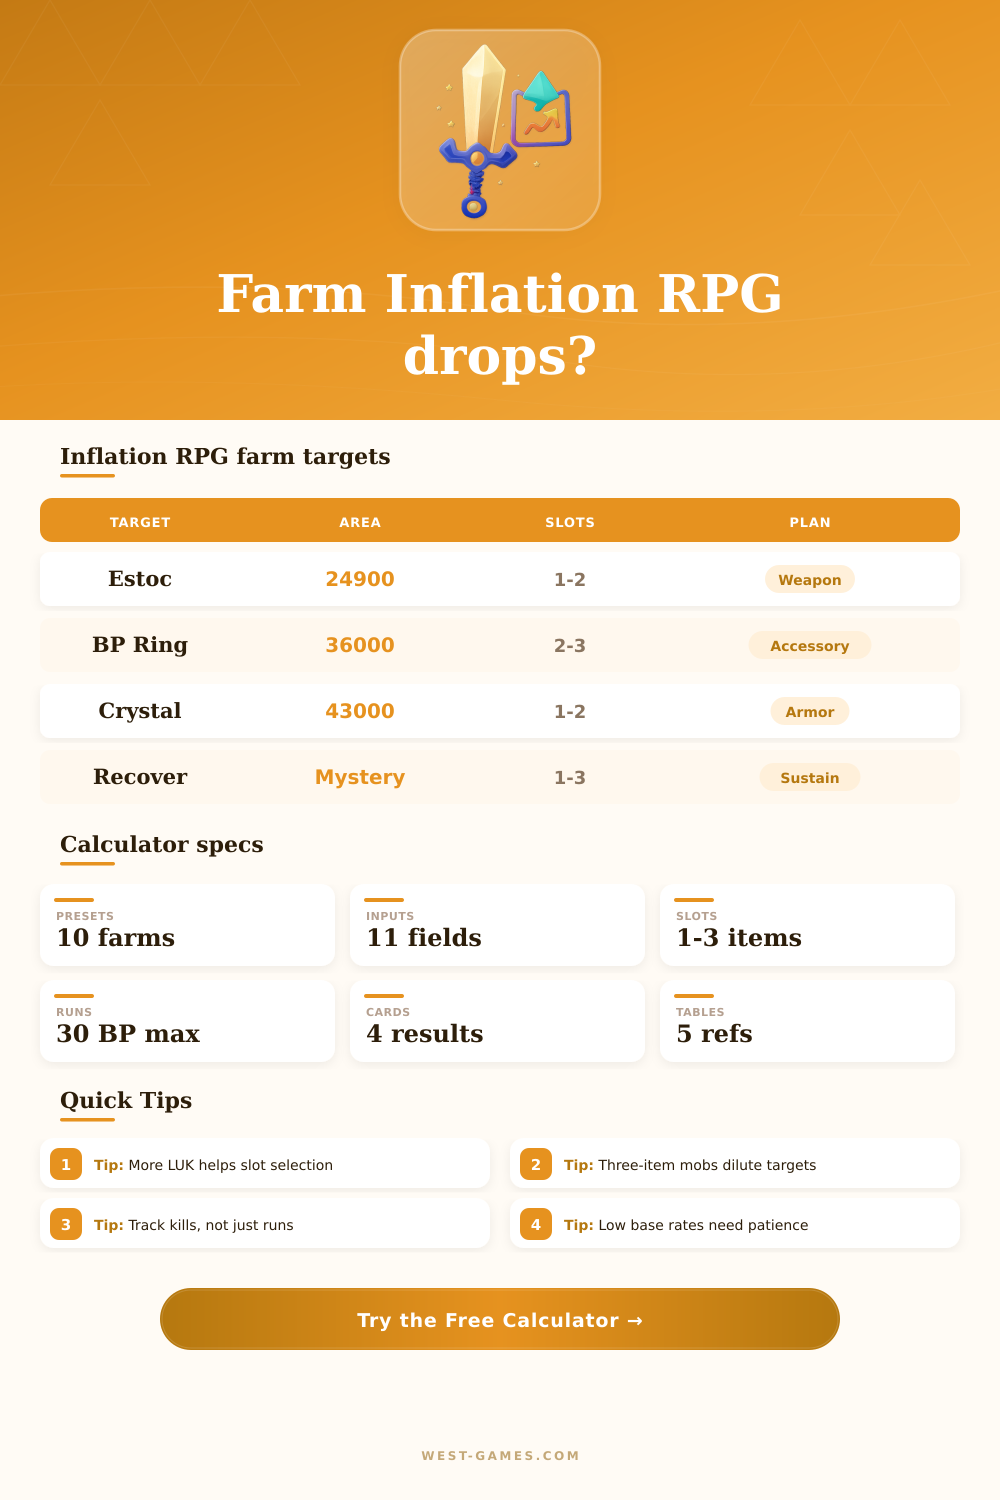
| Target | Known area | Typical slots | Why farm it |
|---|---|---|---|
| Estoc | 24,900 | 1 to 2 | Post-shop weapon upgrade route. |
| Green Light Sword | 27,200 | boss | Maze boss weapon progression. |
| Rare Armor | 13,311 / 13,333 | 1 to 2 | Dragon armor replacement. |
| Crystal Cape | 43,000 | 1 to 2 | Heaven-area armor target. |
| Battle Point Ring +4 | 25,555 / 36,000 / 37,777 | boss | More battles for later routes. |
| Recover Necklace | Mystery | 1 to 3 | Damage-to-HP sustain accessory. |
Use the target profiles as starting points, then adjust base rate and slot number to match your own drop notes.
| Preset family | Default logic | Change first | Watch result |
|---|---|---|---|
| Early Fox / 777 / 2222 | High target kills, low enemy value, LUK ramping. | Target kills per run | Run chance |
| Great Sphinx gems | Three slots, equal gem competition, moderate base rate. | Target slot and copies wanted | Expected copies |
| Equipment hunts | One or two slots, lower base chance, fewer safe kills. | Base item roll chance | Runs for 90% |
| Boss accessories | Few kills per run, heavy stat burden, useful duplicate target. | Non-LUK stat load | Effective chance |
For route planning, compare whether a stronger setup adds more target kills or whether a LUK setup increases FLV without losing too many battles.
The other is when you fight a boss for hours and nothing drop. That’s almost always due to not understanding how the game calculates things, though luck still plays a part. Raw percentage numbers is misleading in this inflation RPG with layered mechanics. For example, if there’s a two percent chance of something dropping, it doesn’t mean you’ll get it after 50 kills.
Your character has to filter through several layers before an item even comes into play. This first filter is based off whether or not the monster will drop something at all. For this step, Luck are an important factor, but it isn’t a linear one. Luck hits certain limits where it provide less and less benefit. Once you put in your current stats and enemy point value, the calculator above figure out those numbers for you. This avoids having to guess about how much extra Luck helps at higher levels. On paper, you may have fifty thousand Luck, but that’s largely wasted effort if the monster is weak. If you’re up against a late game boss, however, then your Luck need to be huge simply to maintain the drop window. The tool converts those abstractions into a single number, which represent the Luck multiplier your character actualy provides, taking into account caps and penalties.
How Drop Rates Really Work
Then, the game has to choose what slot of enemy’s inventory to look at. That’s frequently the hidden bottleneck. A lot of monsters have 3 distinct items in them. To get the third one, the game has to pick that specific line at random first. More items on monster means much less chance that it’ll choose your item. Imagine a raffle where the guy running it chooses what box your ticket is inside before he checks whether or not it’s a winner. You might have the best luck possible for actual item, but if the game doesn’t ever choose THAT slot…you got bupkis. That slot pressure also goes a long way towards explaining why some farms feel impossible even with high stats.
Finally, there’s what I call the base rate; i.e., what is the rate at which that specific item drop? If your luck is high enough to get it to drop in this run, and the game chooses your slot as the drop target, then the item must have some chance (otherwise why put an item in there?). Rare items don’t drop often because of this last test. Whether it’s 1%, it doesn’t matter; that’s hard to achieve even with a million battles.
In fact, it will let you specify any item-specific bonus. You can add things like extra drops from special fields or any other type of modifiers from difficulty mode. It’ll combine all those independent probabilities and show you the run-level picture. It’s better to know your chance per full run rather then your chance per kill since you’re bound by battle points. The battle point limit affect how you plan around the farm. You might consider adding more damage gear. By killing more monsters, that should work right? Normally it does. But if you’re adding damage and defense, you are also adding weight to your character sheet. In certain cases, it could mean you lose the benefit of your Luck multiplier because there’s just too many other thing on your sheet. Kicking monsters in the face fast vs maximizing your drop multipliers is an equation with trade-offs. The page has a comparison grid to show what those trade offs look like across various gear combination. Pure Luck may have less DPS but it means every roll matters. Balanced hybrids allows you to go further into a run without sacrificing drops by as much.
There’s this tendency for people to obsess about getting a ninety percent chance of success. That’s something in their head. That’s a number they’re shooting for that causes them to grind away when they should of been done. You should focus on how many copies you expect within a realistic timeframe. When the math says you’ll have a fifty percent chance of getting an item copy after 10 runs, then realize that you’re wasting your time and shouldn’t change up what you do for an extra go. Patience is part of the equation. Blind patience isn’t though. Tweaking things marginally doesn’t always help as much as adjusting kills per run does.
It’s a lot like that with farming: it’s not really about finding that ideal balance of stats as much as it’s managing your expectations in the light of whatever constraints you’re working under. Stacking your Luck fights the filters. You pick enemies who make item slots easier to fill. You realize that certain items are just time sinks. The point isn’t to beat the algorithm but know how it behaves so you don’t waste turns fighting it when it has already made up its mind.