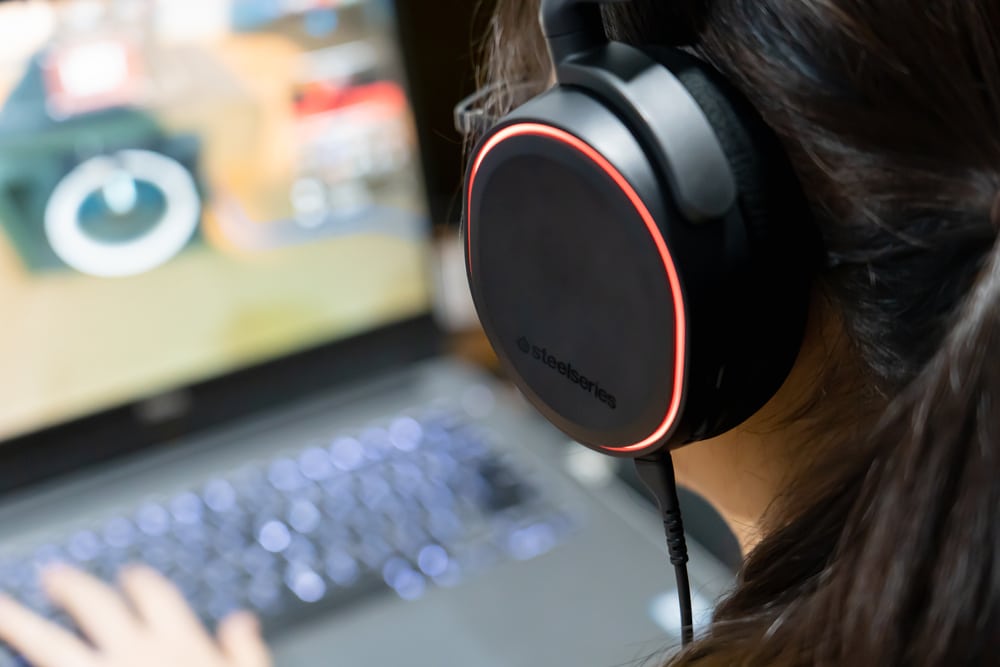
Steelseries produces the greatest headphones on the market and setting them up is a very simple process. They are not only robust but also feel great to the touch. This article will tell you how to set up SteelSeries Arctis Pro Wireless on your PC or laptop. Just by following these simple steps, you should be able to use your headphones without any issues:
How to Setup SteelSeries Arctis Pro Wireless?
1. Unboxing the Headphones
It is compulsory to look at the items in the box very closely as any missing cables might make the setting up process difficult. Therefore, it is mandatory to check for the following things in your box,
- Headphones
- Transmitter box
- USB audio cable
- Power cable
- Mobile charging cable
- Mobile audio cable
- Optical cable
- Two batteries
- Pop filter for mike
When you have made sure that you have all of these things present inside the box, it is time to start the set-up process. Otherwise, immediately contact the person you bought these headphones from.
2. Connecting to PC
After all the things have been aligned, use the USB audio cable and sometimes the power cable to connect to the PC. First, connect the USB audio cable to the mini-USB audio jack on the transmitter base station. This will connect it to your PC and power on the transmitter. However, if you need to charge the extra battery that comes with the box and always keep the transmitter on then connect the power cable to a USB on the PC.
3. Setting Up the Software
Now it is time to make your PC accustomed to the headphones. Right-click on the sound settings at the bottom left of your screen and then click on the “Playback devices”. After that click on the ‘Arctis Pro Wireless game’ as your default setting, you need to keep in mind that it will have a few other endings with chat as well. Selecting these will make the headphones operate abnormally and you might believe that they are not working.
Select ‘Arctis Pro Wireless chat’ as your default communication device. This will shift the default settings to your headphones and make the sound smoother and streamlined. The next step is to shift from the “Playback” tab to the “Recording” tab from the top and set your ‘Arctis Pro Wireless chat’ as your default input device. After that just by pressing ‘OK’, the software part would complete.
4. Power On the Headphones
Place the charged battery in the headphones. Now press and hold the power button for a few seconds until the white LED appears. This means that your headphones are now on and you can connect the Bluetooth. Press the button next to the power button and the LED turn blue meaning that it is ready to pair. If the headphones have not been connected before then they will automatically go to pairing mode. Go to the Bluetooth connection area and choose your headphones to start your experience.
Here is how to set up SteelSeries Arctis Pro Wireless for the first time on your PC.
