🌾 Farming Sim Field Yield Calculator
Estimate Farming Simulator field area, crop liters, yield bonus, effective work rate, harvest time, straw output, and trailer loads from field dimensions or a known hectare/acre size.
Highest common grain liters per hectare, supports straw, and uses a standard grain header.
GrainClassic starter crop with straw output and straightforward grain harvesting workflow.
StrawLower volume crop with no straw, useful when trailer movement should stay light.
No strawRoot crop volume climbs quickly, so trailer capacity matters more than header speed.
RootLarge single-cut volume and multiple cycles can turn a small field into many loads.
Multi-cut| Crop | Base yield L/ha | Straw or swath | Typical harvest setup | Planning note |
|---|---|---|---|---|
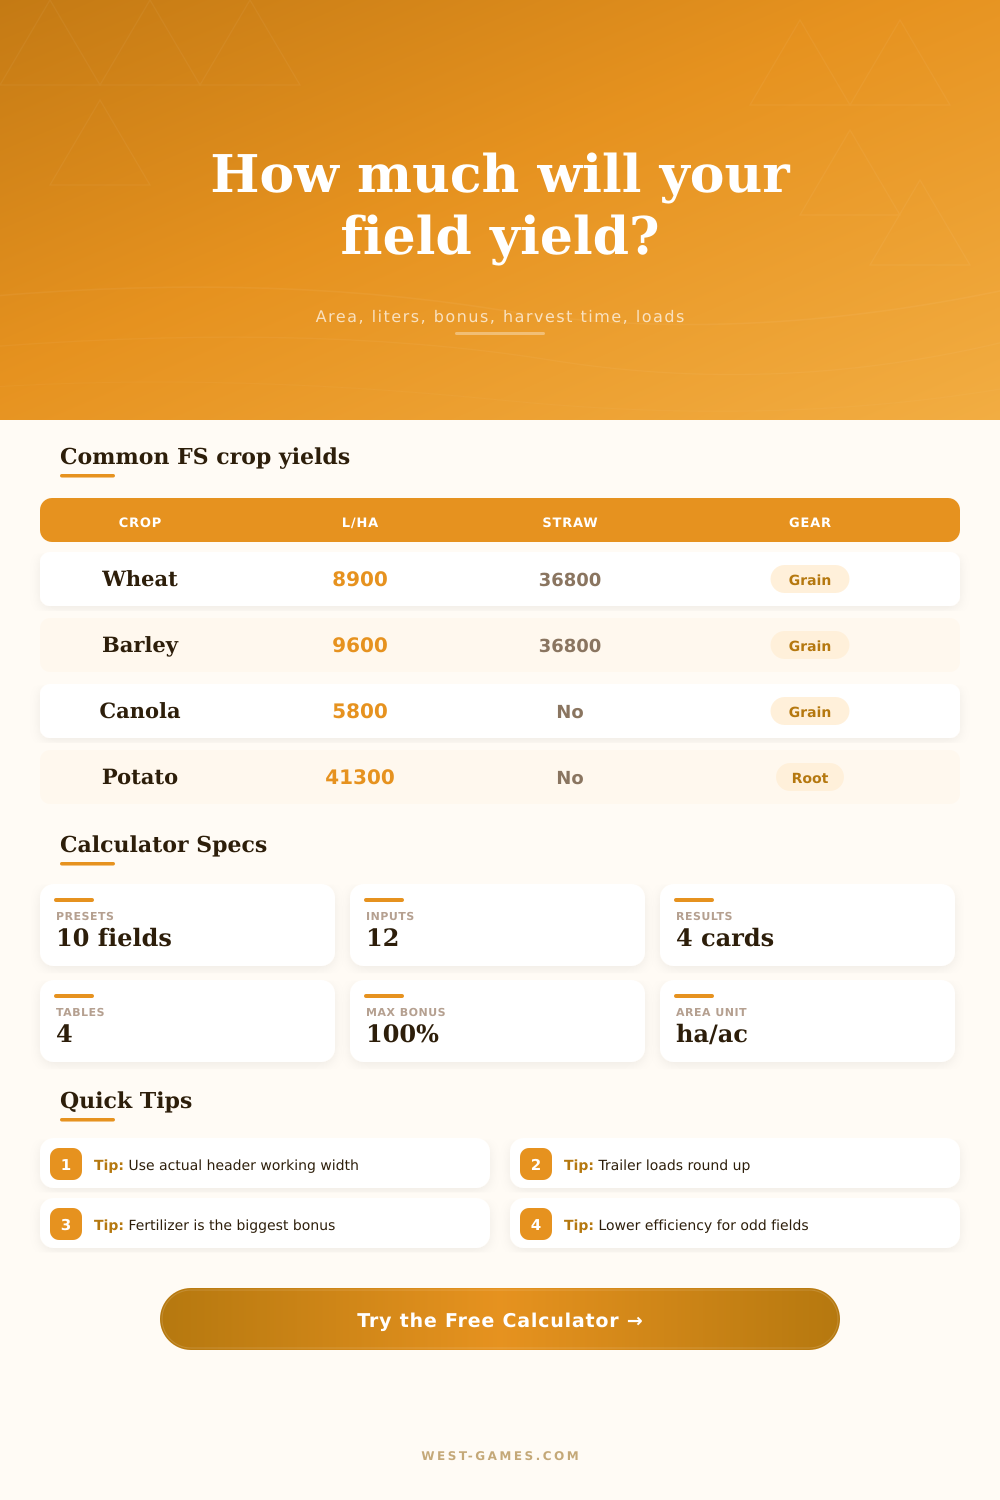
| Wheat | 8,900 | 36,800 L/ha straw | Combine with grain header | Good baseline for grain field estimates. |
| Barley | 9,600 | 36,800 L/ha straw | Combine with grain header | Highest common grain volume in this set. |
| Oat | 5,700 | 36,800 L/ha straw | Combine with grain header | Lower grain liters, still useful for straw planning. |
| Canola | 5,800 | No | Combine with grain header | Moderate fill volume and simple unload planning. |
| Sorghum | 8,200 | No | Combine with grain header | Similar planning flow to wheat or barley. |
| Soybeans | 4,500 | No | Combine with grain header | Low trailer volume for the same field area. |
| Corn | 9,200 | No | Combine with corn header | Switch header type before comparing work rates. |
| Sunflowers | 5,200 | No | Sunflower or corn-capable header | Smaller volume, usually fewer unload stops. |
| Potatoes | 41,300 | No | Root harvester | Huge volume; capacity and unload route dominate. |
| Sugar beet | 57,800 | No | Beet harvester | Very high volume per hectare. |
| Grass | 43,700 | No grain straw | Mower or forage pickup chain | Multiply by planned cuts per year. |
| Cotton | 4,970 | No | Cotton harvester | Low liters, but separate bale handling. |
Reference values are field-planning liters per hectare. In-game mods, map rules, Precision Farming behavior, and difficulty settings can alter the displayed field bonus.
| Field condition | Typical bonus | Calculator effect | When to adjust | Notes for yield planning |
|---|---|---|---|---|
| Two fertilizer stages | 45% | Adds 0.45x base yield | If only one stage is active | Usually the largest single yield improvement. |
| Weeds controlled early | 20% | Adds 0.20x base yield | If weeds were sprayed late | Late herbicide or missed weeds can reduce the real bonus. |
| Required plowing done | 15% | Adds 0.15x base yield | If plowing is off or not needed | Root crops and periodic plowing rules vary by settings. |
| Lime applied when needed | 15% | Adds 0.15x base yield | If the field does not request lime | The field info panel is the best final check. |
| Mulched stubble | 2.5% | Adds 0.025x base yield | If crop does not leave stubble | Small modifier, but large fields make it visible. |
| Rolled after seeding | 2.5% | Adds 0.025x base yield | If rolling is skipped | Do it after seeding for the sowing-state bonus. |
The full-care preset uses 100%. Custom mode lets you enter the exact yield bonus shown by the in-game field info panel.
| Tool example | Width | Speed | Raw ha/hr | At 80% efficiency |
|---|---|---|---|---|
| Small grain header | 5.0 m | 10 km/h | 5.00 | 4.00 ha/hr |
| Medium grain header | 7.6 m | 10 km/h | 7.60 | 6.08 ha/hr |
| Large grain header | 12.0 m | 10 km/h | 12.00 | 9.60 ha/hr |
| Corn header | 9.0 m | 10 km/h | 9.00 | 7.20 ha/hr |
| Root harvester | 3.0 m | 8 km/h | 2.40 | 1.92 ha/hr |
| Mower set | 9.5 m | 18 km/h | 17.10 | 13.68 ha/hr |
Capacity formula: working width in meters x speed in km/h / 10 x efficiency. Harvest time is field hectares divided by effective ha/hr.
| Generic capacity | Best fit | Wheat at 1 ha and 100% | Sugar beet at 1 ha and 100% | Planning note |
|---|---|---|---|---|
| 8,000 L | Starter grain | 3 loads | 15 loads | Many trips on root crops or grass. |
| 18,000 L | Small-mid field | 1 load | 7 loads | Useful for compact fields and short routes. |
| 32,000 L | Medium grain | 1 load | 4 loads | Good general planning capacity. |
| 45,000 L | Large grain | 1 load | 3 loads | Fewer trips, but check field access. |
| 60,000 L | Bulk haul | 1 load | 2 loads | Works best with open headlands. |
| 100,000 L | High-volume maps | 1 load | 2 loads | Often a modded or multi-bin planning target. |
Load counts round up because a partially filled final trailer still requires a trip. The calculator can also show exact decimal loads.
In Farming Simulator, it’s a logistics puzzle out in the country. You choose your crops, like potatoes. You choose wheat based off what looks best or will sell highest at market. Then you wait. And the game gets its satisfaction from doing it efficient: getting machines running, keeping trucks full.
It’s a problem of mathematics: how much does something hold? How fast do things move? What are you going to plant where? That calculator turns those numbers into an efficient harvest plan, swapping guesswork for steps you can take.
How to Plan Your Farm Work
The second is field size. Instead of eyeballing it, put down the total area (width times length) or either dimension. A rectangle means you can go directly across at full speed without turning often. A raggedy field slows you down some, so do twists and turns. That’s reflected in the efficiency entry. For narrow strips set efficiency low to 60% since you’ll be turning half the time. On wide expanses, bump that up to 90%. It’ll add or subtract hours in game cycles.
The amount of material also depend on the type of crop. Wheat, barley, and canola produce reasonable volumes of grain and straw. Sugar beets and other root crops produces many more liters per hectare. Because a regular combine can’t carry the load, it require bigger storage capacity for high yields. If you select the incorrect machine, frequent unloading is necessary. This makes your life very frustratingly.
The comparison in the reference table are clear. One hectare of wheat produce less then one hectare of sugar beet. To prevent frustration, select a harvester suitable for the expected yield of the respective crop.
Harvest rate depend on speed and working width. Hectares per hour is calculated as a combination of both. Sometimes, a wide header going slowly equals a narrow header going fast. Wide headers tend to bounce around on rough ground so stability is most important. For most players, ten kilometers per hour seem like a good speed. It maintains speed without causing the crop to spill out. Time required for unloading and turning are factored in, giving an effective rate. This produce a realistic timeline for the whole operation.
How much can you haul? How fast can you load? A little planning about how much you will put on your trailer goes a long way. What if it takes an hour to cut out that field but you have to make multiple trips with small trailer? And even though that last trip might be a partial load, it still require a tractor and a driver. That would of been rounded up to a full load since you had to take that last partial load home. A larger bin means fewer stops. Less stopping equal more time cutting. We all know how bad the traffic gets when we get too caught up. Don’t wait until that happens to think about having enough trailer capacity.
Yield is multiplied by fertilizer (fertilize more, get more). Base yield is doubled with full care (which adds money/time to apply). Bonus can be set in the tool to match your play style. Lime skips save you credits, but lower grain yield. The calculator displays the yield-profit/hour tradeoff. Different players has different goals. There is no one right way.
It’s a rhythm of planting, caring, and harvesting. And then there are gaps. In those gaps, time get away from you. Our tool can help to close those gaps because it makes an abstract idea tangible. It tells you how long it’s going to take, what kind of machinery you should bring, how many trip you have to make with the truck. That’s the only way to avoid chaos and operate smoothly.
If you feed your farm with the correct information, it becomes a controllable system. When everything is done and the field is empty and all your trailers are full, you’ll know why you was successful.