🎯 Bullet Drop Calculator
Estimate gaming projectile drop, zero range, target elevation, time of flight, mil holdover, MOA holdover, and sight-height correction from muzzle velocity and gravity scale.
| Range | TOF | Path vs aim | Holdover | Mil | MOA |
|---|
Rows use the same muzzle velocity, gravity multiplier, sight height, zero range, elevation angle, and optional velocity-loss estimate as the main result.
| Profile | Velocity | Typical zero | Gravity style | Best use |
|---|---|---|---|---|
| Hitscan-like trainer | 1500 m/s | 100 m | Very flat | Minimal-drop arcade weapons |
| Arcade pistol | 380 m/s | 25 m | Short sight line | Close arenas and sidearms |
| Battle royale carbine | 760 m/s | 100 m | Moderate drop | Common medium-range rifles |
| Marksman rifle | 820 m/s | 200 m | Longer zero | DMR taps and semi-auto rifles |
| Long-range sniper | 900 m/s | 300 m | Stable low arc | Scope reticles and long shots |
| Vehicle shell | 250 m/s | 150 m | Visible arc | Tank, cannon, and launcher lob shots |
| Unit | Formula | 100 m equivalent | 100 yd equivalent | Gaming use |
|---|---|---|---|---|
| Mil | atan(hold / LOS) x 1000 | 10 cm per mil | 3.6 in per mil | Most tactical reticles and many scope mods |
| MOA | angle radians x 3437.75 | 2.91 cm per MOA | 1.047 in per MOA | Fine turret-style scope adjustments |
| Centimeters | holdover meters x 100 | Direct path error | Convert as needed | Map tools, debug overlays, and dev charts |
| Inches | holdover meters x 39.3701 | Convert as needed | Direct path error | Imperial range cards and old scope notes |
| Step | Expression | What it means | Verified behavior |
|---|---|---|---|
| Effective gravity | 9.80665 x gravity multiplier | Game gravity scale | Zero gravity gives a straight line after sight correction |
| Time of flight | x / (v avg x cos theta) | Horizontal travel time | Longer range or slower projectile increases drop |
| Drop term | 0.5 x g x t² | Gravity displacement | Doubling time quadruples drop |
| Path height | -sight + x tan theta - drop | Projectile relative to sight origin | At zero range, path is near the aim line |
| Angular hold | atan(hold / LOS) | Reticle correction | Mil and MOA scale from the same angle |
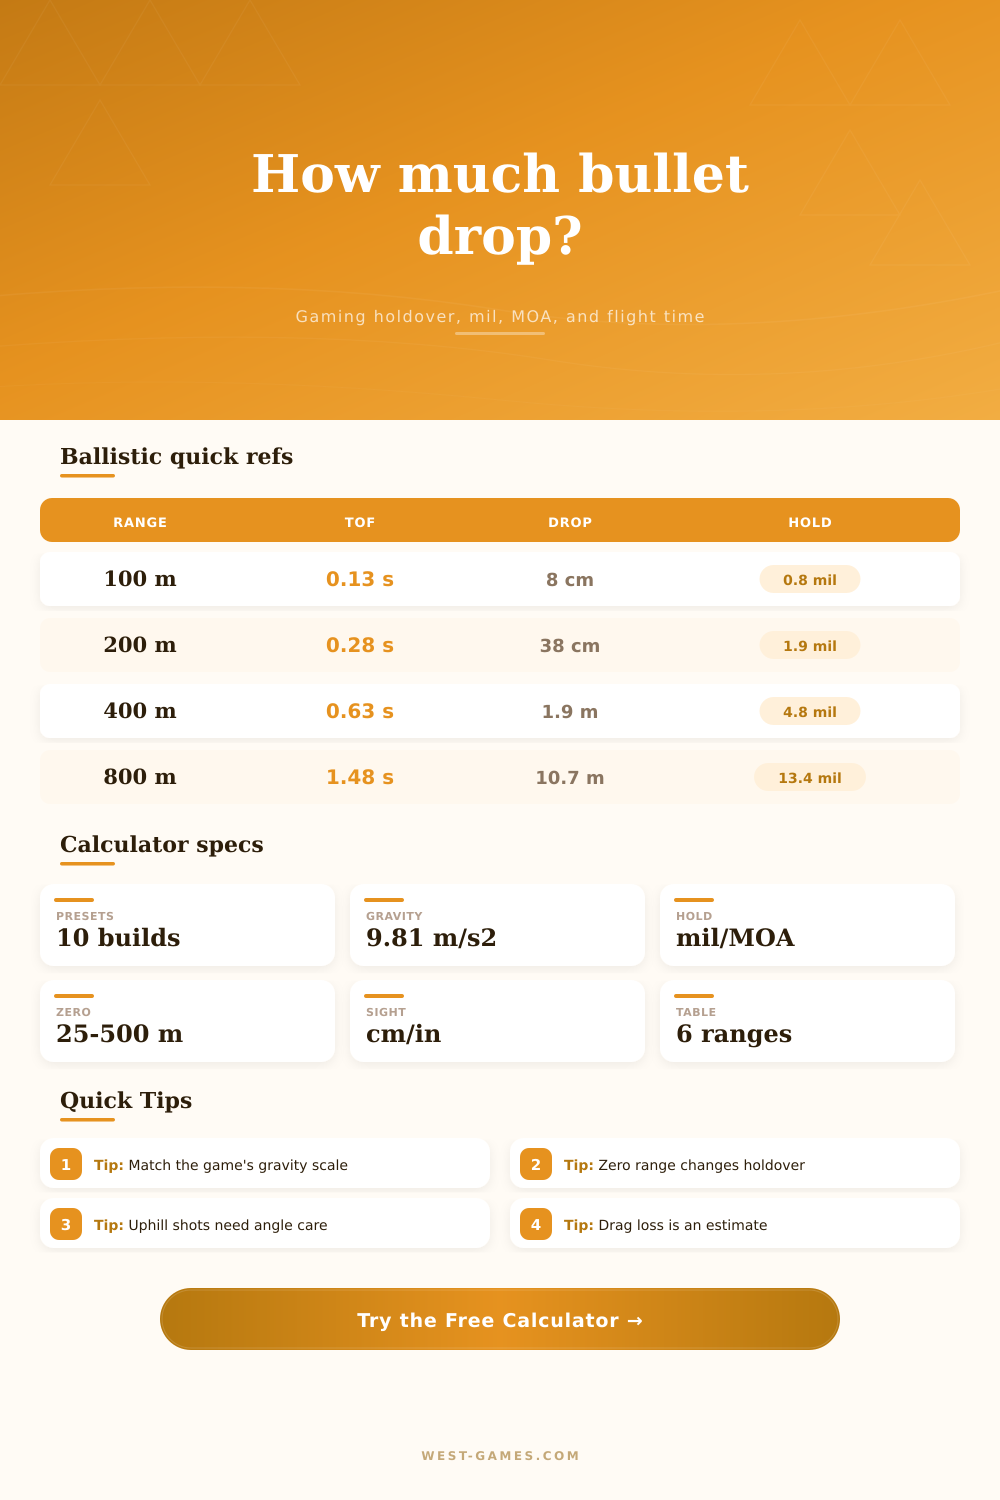
Imagine you set up a shot at target downrange. Your round impacts short. It’s not because your aiming is terrible; it’s because of physics. As the bullet travels toward its target, gravity pull it downward. How far does it drop? And more importantly, how long is it in flight? That’s what determines whether or not you score a hit.
All that goes into calculator up top: input your weapon’s muzzle velocity and the game’s multiplier for gravity, and let it do the math for you. You won’t have to guess with conversions and coefficients anymore. No more hitting a lucky shot, now it becomes a repeatable skill.
Understanding Bullet Drop and Gravity
Every single projectile take a known path from barrel to target. Whether it’s a bullet out of a sniper rifle or a round from a submachine gun, there’s a predictable curve they’ll trace through the air. And that’s where time matters. The faster the round travels, the less time gravity has to pull it down. The slower, the longer it remains airborne.
Many people focus on muzzle velocity and believe higher is better because it creates a flatter trajectory. And they’re right … up to a point. It’s also where zero range gets us into trouble. If you set your sights to 200 meters, then what you’ve done is to tilt the barrel up just enough to make the bullet intersect with line of sight at that 200 meter mark. So if you fire at a target nearer than 200 meters the round will probably strike high, farther away it will hit low. This explains why you can’t use one reticle setting for every distance. Instead you must compensate for the fact that you’re above or below zero point and adjust accordingly.
What the tool allows you to do is toggle the zero range and visualize how the impact change at various distances.
A lot of people forget about sight height and don’t even realize it until they begin missing when moving around on a slope. For example if your scope is mounted five centimeters over barrel, the angle it shoots off the gun does matter. Cant error is what we call it in real world ballistics. In games, it’s known as erratic vertical shots when taking shots at targets from different heights. The offset is accounted for in the calculator. This way you can be sure you have a proper holdover regardless of whether you’re firing on flat ground or up a steep hillside. A small thing, but it makes all the difference when you’re shooting a small target near the end of your visible range.
But there’s one more wrinkle, drag and wind. As a real bullet flies through the air it slows itself down; the air resists its motion and takes away some of that energy. A lot of games ignore this and assume that it travels at a constant speed, making the math simpler but also less realisticly playable. At longer ranges, the bullet is going to travel slower so it will fall faster. To make that happen, you can feed in an estimate for what percent of its velocity it should lose on average. This modifies the average speed we use in the calculation. It fills the space between something very simple, like an arcade physics experience, and a more complex simulation engine. In those engines, you would of to know exactly what the aerodynamic drag coefficient is for the bullet. Instead, just give a ballpark figure for how much it loses its speed during the flight.
The other part is holdover adjustments, which have two main units, minutes of angle (MOA) and mils. Mil is a metric-based unit that divides the circle into 6400 units, making it simple math to figure out when working with metric ranges. On the flip side, MOA is an imperial-based unit that divides the circle into 60 units per degree. It’s a bit more intuitive if you’re coming from yard/inches based systems like we do here at TGR. Both will be available on the calculator; again, it is a matter of staying consistent. If your scope has click values in mils then use mils. If your scope has click values in MOA then use MOA. Mixing the two will lead to errors but those errors can be difficult to track down during competition.
The bottom line with bullet drop is that while reference tables are helpful, it’s not as much memorization but rather learning to intuitively understand how things will shoot. The first step to doing this is simply being aware of where bullets land when shot. Are they landing below your point of aim? Then you’re not compensating enough for bullet drop. Are they above? That could mean that you’ve got your range zero wrong or you’re over aiming slightly. Check against the reference tables on the page. These should give you a starting point for what to expect in normal conditions. After that, you can adjust your sight based off the maps and weapons you use. A miss is still a data point. A hit confirms. Consider every shot a problem of physics instead of an exercise in aiming skill.
There is one variable you can never escape, and it always tries to drag you back: gravity doesn’t give a shit about your reflexes. Gravity just gives a shit about time. So when you start working with that time, that’s when those crosshairs begin to stay where you placed them.