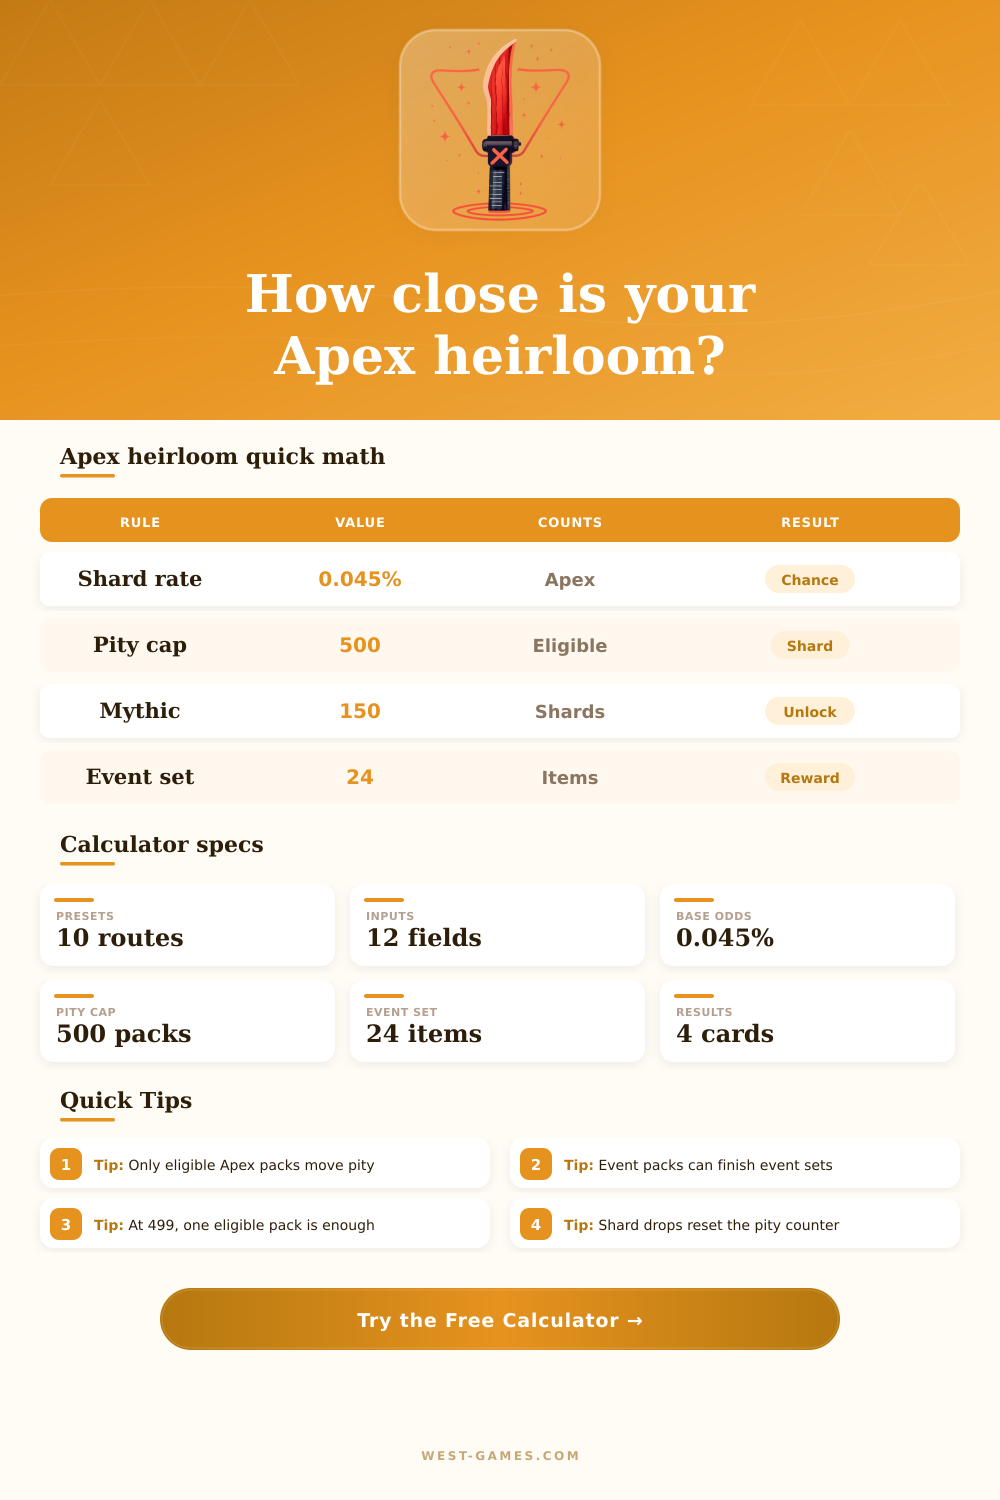
💎 Apex Heirloom Drop Rate Calculator
Estimate Heirloom Shard odds using Apex pack pity progress, eligible pack sources, excluded event packs, collection-event completion, and Mythic shop eligibility.
| Pack or route | Heirloom shard roll | 500-pack pity | Use in calculator |
|---|---|---|---|
| Standard Apex Pack | Yes, base 0.045% | Counts if bonus active | Standard stash or bundle inputs |
| Rare, Epic, or Legendary Apex Pack | Yes, if it uses Apex Pack pool rules | Usually counted as eligible Apex Pack | Battle Pass or level-track input |
| Collection Event Pack | Event item route | Does not count | Event pack input |
| Thematic Event Pack | Theme pool route | Does not count | Thematic or Spotlight input |
| Milestone Event Pack | Milestone route | Does not count | Event pack input |
| Collection Retro Pack | Retro event route | Does not count | Event pack input |
| Replacement item pack | Replacement route | Does not count | Exclude from pity math |
Rules note: this table follows EA's current Apex FAQ wording for Bonus Heirloom Shards and pack exclusions.
| Eligible opens | Natural chance | Pity state | Formula |
|---|---|---|---|
| 50 packs | 2.23% | No guarantee yet | 1 - q^50 |
| 100 packs | 4.40% | No guarantee yet | 1 - q^100 |
| 250 packs | 10.64% | No guarantee yet | 1 - q^250 |
| 400 packs | 16.48% | No guarantee yet | 1 - q^400 |
| 499 packs | 20.12% | Next pack guaranteed | 1 - q^499 |
| 500 packs | 100% | Hard pity stop | Guaranteed |
Here q = 0.99955. The natural chance is low because the 500-pack guarantee is the dominant safety net.
| Current counter | Packs to pity | 10-pack chance | Meaning |
|---|---|---|---|
| 0 | 500 | 0.45% | Fresh cycle |
| 120 | 380 | 0.45% | Early cycle |
| 250 | 250 | 0.45% | Halfway to cap |
| 420 | 80 | 0.45% | Deep pity |
| 490 | 10 | 100% | All ten reach pity |
| 499 | 1 | 100% | Next eligible pack |
A 10-pack chance is still roughly 0.45% unless those packs reach the 500-pack guarantee.
| Event items owned | Items remaining | Event packs needed | Pity effect |
|---|---|---|---|
| 0 of 24 | 24 | 24 if each adds one | No pity progress |
| 8 of 24 | 16 | 16 if each adds one | No pity progress |
| 12 of 24 | 12 | 12 if each adds one | No pity progress |
| 20 of 24 | 4 | 4 if each adds one | No pity progress |
| 23 of 24 | 1 | 1 if event active | No pity progress |
Event packs are useful for event rewards, but this calculator keeps them outside the heirloom shard pity total.
| Metric | Formula | Inputs | Interpretation |
|---|---|---|---|
| Eligible plan | stash + level + pass + bundle | Four eligible pack fields | Packs that can advance shard pity |
| Chance before pity | 1 - (1 - 0.00045)^n | n eligible opens | At least one natural shard roll |
| Hard pity chance | 100% when n reaches 500 - current | Current counter and eligible plan | Guarantee overrides natural odds |
| Expected opens | (1 - q^r) / p | q = 0.99955, r = packs to pity | Average eligible opens until next shards |
| Post-plan counter | current + eligible plan | Only if no early drop | Shows worst-case progress before pity |
| Event gap | event total - owned - event unlocks | Event packs plus direct unlocks | Items still needed for event completion |
Expected opens is not a promise; it is the statistical mean of a rare roll with a hard 500-pack stop.
There is psychological tension as you are three packs away from an heirloom drop. It’s a combination of statistical anxiety and a sense of gambling addiction, where you might’ve wasted two hundred credits on duplicate skins but this next click might be what fixes it all. When you get your mythic weapon skin, there’s a sense of status because everyone else look exactly alike in the game. Getting it involves more than just superstition; it require an understanding of the pity system.
But that’s all realy just flash on top of some straightforward math. The base probability of pulling an heirloom shard from every eligible pack is very small, to the point where it doesn’t even seem like a “thing” until you’ve opened several hundred. To account for that, Respawn included what they call hard pity: a safety net that ensures you’ll get something after five hundred eligible packs unless luck gets you there first. That make the drop rate feel less predatory.
How Pity Systems and Pack Odds Work
From then on, it’s just arithmetic, input your starting point into the calculator up top, and it crunches the numbers for you. No more conversions or coefficient guessing. This brings us to the question of which packs actualy count toward this counter. The short answer is anything that pulls from the same global loot table: standard packs, bundles you purchase, and even level track rewards all will increment the pity meter.
Event packs, however, are a whole other beast. There are a bunch of separate pools used for things like milestone rewards, collection events, and even some thematic spotlights. These doesn’t count towards your five hundred pack guarantee. Why does it matter? Because you could easily spend hours grinding out an event without moving one inch closer to your actual goal.
Surprisingly, it also has something to do with all those unopened packs you’ve had stashed away for months. All that pity progress is just collecting dust in your account, waiting for you to finally spend all those credits you’ve been saving up. By adding your stash packs to the equation, along with anticipated rewards moving forward, the tool can help you understand exactly how many more opens you realisticly need to reach your goal. You’ll see at a glance what’s eligible vs what isn’t so you’re not wasting time on event cosmetics.
The second layer of complexity that tends to trip up new players is the fact that they end up accumulating shards as well. Mythic weapon skins cost a whopping one hundred fifty shards, so you’re effectively required to get the jackpot two times minimum just to be able to spend anything here. When you run out of things to buy (and you should when you’ve unlocked all the available mythics), the shop bonus freezes and halts your pity progress which isn’t fair if you really needed those packs to help make progress. That’s why it’s important to know what you’re eligible for in the shop in order to plan any kind of serious pack opening strategy.
The other way around ignores the luck involved in collection events. You get the featured mythic immediately by completing some finite amount of limited items (sometimes you get shards instead; depends on how the event is structured). You can’t just throw credit at it, but rather have to pay attention and put in some time for it. Unlike the dice roll of packs, its a predictable process (the more effort), the bigger the reward. This choice affects whether you want to spend credit or clear an event objective. Because of this, the calculator keep track of the difference as well.
It doesn’t matter if you feel like it’s time to finally catch a break, or that all the odds have stacked up against you: probability cares neither about your emotions nor your closeness to hitting the jackpot. Every pack is an isolated event. You’re not on a roll, so a few rotten apples don’t improve your likelihood of finding a golden egg before reaching the harsh mercy cutoff. The graph on the page shows this nicely, illustrating the unchanging natural chances right up to when the promise goes into effect. It helps put things into perspective and keep people from tossing their credits at the problem while they’re in a slump.
So in short: When do I stop? And how do I get my heirloom? If you’re willing to grind out the level track, you know where the best times to buy bundles are, and you’re patient enough to save up, there’s an event to fit every player style. It won’t be a matter of luck. It is just a series of informed decisions based off where you are in the progression cycle.
The numbers don’t lie; they’re cold and heartless. But they follow their own set of rules, and you can predict them if you listen closely enough. Knowing the rules helps turn the pity system from a maddening gamble into a manageable project, something you can spend time on rather than fretting about loot boxes. Control makes it all worth it. It is worth more then any individual skin drop.