🦕 ARK Imprint Timer Calculator
Plan ARK maturation time, cuddle interval, imprint percentage per interaction, missed imprints, server multipliers, cryo pauses, and a practical delay buffer before the baby grows up.
| # | Timer after now | Maturation then | Imprint after care | Buffer status |
|---|---|---|---|---|
| Run the calculator to build a schedule. | ||||
Cryopodding or going offline can shift real-clock alarms. This table treats planned cryo/offline hours as a pause added to the final finish estimate, not as extra growth time.
| Setting | Calculation role | Default style value | Planning note |
|---|---|---|---|
| BabyMatureSpeedMultiplier | Divides base maturation time | 1.0x | Higher means fewer real hours to fit care windows. |
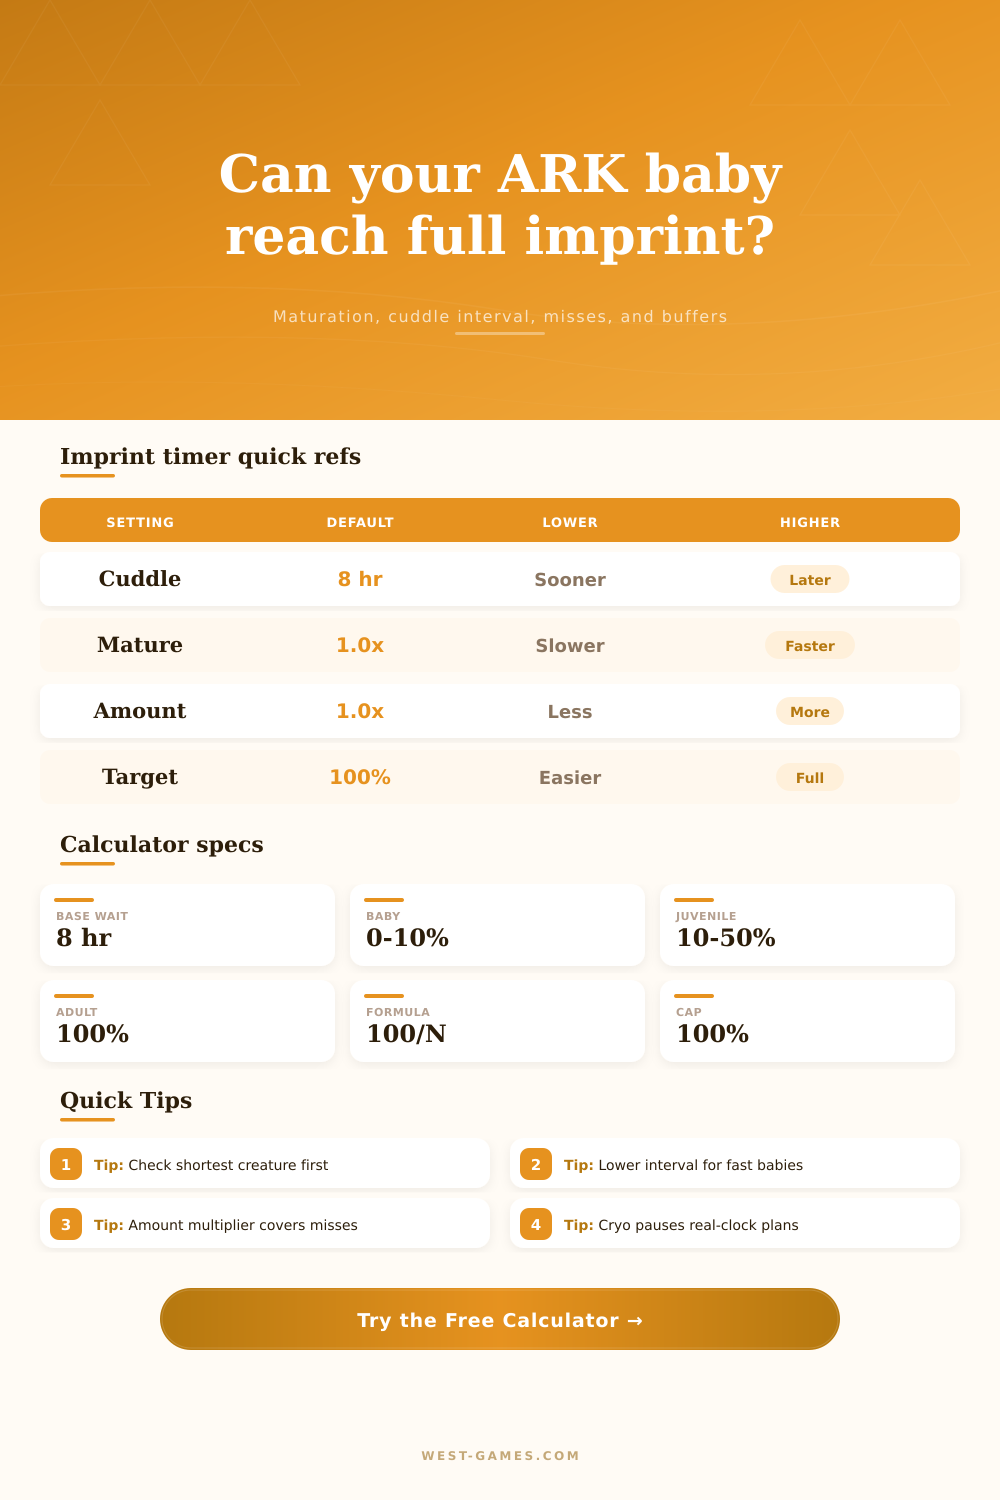
| BabyCuddleIntervalMultiplier | Multiplies the 8 hour cuddle timer | 1.0x | Lower means more frequent possible imprints. |
| BabyImprintAmountMultiplier | Multiplies imprint percent per care | 1.0x | Useful when boosted maturation leaves too few windows. |
| BabyImprintingStatScaleMultiplier | Scales stat benefit from imprint quality | 1.0x | Does not change the percentage progress itself. |
| Creature profile | Approx 1x maturation | At default 8 hour cuddle | Use this to test |
|---|---|---|---|
| Dodo baseline | 18h 32m | 2 windows, about 50% each | Small and fast raises where interval tuning matters. |
| Parasaur baseline | 1d 2h 27m | 3 windows, about 33.33% each | Early-game official style imprint planning. |
| Argentavis baseline | 2d 6h 27m | 6 windows, about 16.67% each | Flyer lines with a sleep-cycle check. |
| Rex baseline | 3d 20h 35m | 11 windows, about 9.09% each | Boss-line schedules and missed imprint planning. |
| Wyvern baseline | 3d 20h 35m | 11 windows, about 9.09% each | Milk or special food runs with buffer time. |
| Giganotosaurus baseline | 10d 3h 59m | 30 windows, about 3.33% each | Long raises where amount multiplier can reduce stress. |
| Result | Formula | Good sign | Fix if low |
|---|---|---|---|
| Final imprint | Current + successful care x per-care percent | Meets target | Lower interval, raise amount multiplier, or miss fewer. |
| Imprint per care | 100 / floor(maturation / interval) x amount multiplier | Enough per interaction | Increase amount multiplier if your server supports it. |
| Care windows | Floor of usable time divided by cuddle interval | At least required cares | Lower cuddle interval or slow maturation. |
| Delay margin | Maturation time minus last counted care time | Positive with buffer | Add cryo pause or make the interval shorter. |
At 3:14 AM, the alarm goes off. In 12 minutes, it’s time to take care of your rex. Oh no! You’re tired! If you miss that window, you lose some percentage and won’t get a perfect imprint.
Breeding in ARK is a math problem disguised as a job. Luckily for you, the calculator above will do the work for you while you sleep peacefuly at night.
How to Use the Imprinting Calculator
Taming involve imprinting, which is where you get bonus stats by having a wild baby grow up under your care. You get a set period in which to do so, from birth to maturity, and have to spend time with them consistantly while they are young for them to imprint on you. And yes, most of that is figuring out what exactly matters… It’s not just cuddles. It’s how many chances you have in the total lifetime until they’re grown.
Slower servers has more chances, but each one only gives you a small part of the stat boost. Faster servers have fewer chances, but each one provides more percentage. Players mostly obsess over how fast titanosaur babies mature, so they crank up the multiplier to speed up maturity. But that imposes an invisible stressor, rapid growth mean fewer windows for care. For example, if you only have two windows left before adulthood and miss one, you’re stuck with a subpar imprint.
People mess that up: They seek speed yet overlook whether they’ll sustain its pace. You can test that gamble using the tool; specify a realistic buffer (e.g. How much time does server lag cost? How long will it take me to get lost? After simulating the delay, look at the last imprint estimate. Is it still above your threshold? If not, you’re pushing too hard against your own pace.
The other thing that’s important to include is the amount multiplier, which increases on some private servers (to help with imprinting). It scales % increase from each interaction. That’s good for long raises where missing one window will mean you missed the whole boat. But it doesn’t create additional windows; it simply makes the windows you do get more valuable.
Here’s what those settings look like together on the page, along with an explanation of how a dodo raise is planned different than a giga raise, since a dodo matures quickly and must be raised tightly. A giga matures slowly and therefore has lots of time, but each interaction counts less if amount multiplier isn’t high.
The other thing about cryopodding is that while it doesn’t stop the real-world from progressing, it stops the maturing clock. This means if you want to pause having to take care of a baby this week but don’t want to wait until next year (or whenever) to have them, you can freeze them. This effectively means real-clock time was added to your plan, but no growth time were added. The calculator therefore adds the number of hours you intend to cryo to the finish time. That’s how it knows what day your kid will finally become an adult, and how it ensures you stay honest with your schedule.
It also helps with late starts; you know there’s a baby in your pen, but they’re not so little anymore; they’re halfway grown! You can put in what percent of growth and what percent of imprinting has occurred right now, and it will recalculate the remaining window. Sometimes you realize you’ve waited too long to really get anything meaningful. That’s fine, maybe all you want is someone to ride around with. If you’re going for perfect, though, at least knowing the ceiling in advance should of saved you some stress.
And that’s really the point: get rid of the uncertainty of “when will this be fixed?”, and make it a schedule. You know exactly what intervals you can get away with sleeping through, or not!, and how long until the next check. It’s simple math. Intervals equal total time divided by windows, which equals target percentage multiplied by windows, which equals the gain per interaction required. The rest is just managing buffer and error.
You don’t want to go crazy with your alarms or work yourself into an early grave while breeding. You want to raise some strong things. Test out a few of the presets for popular situations and see what a weekend server does to a rex versus playing solo. Slide those suckers around until the results reflect your lifestyle, because if it’s looking too loose, you can speed it up. If it looks too tight, dial back on the aging. And therein lies the sweet spot where the game honors your time.
Perfecting isn’t about doing more; it’s about doing it smarter. The goal is to keep the alarm silent and the worries away, so you can focus on raising a perfect baby.