🔥 Minecraft Smelting Calculator
Plan furnace, blast furnace, and smoker batches with item count, fuel burn time, XP, hopper throughput, furnace array size, batch duration, and fuel leftovers.
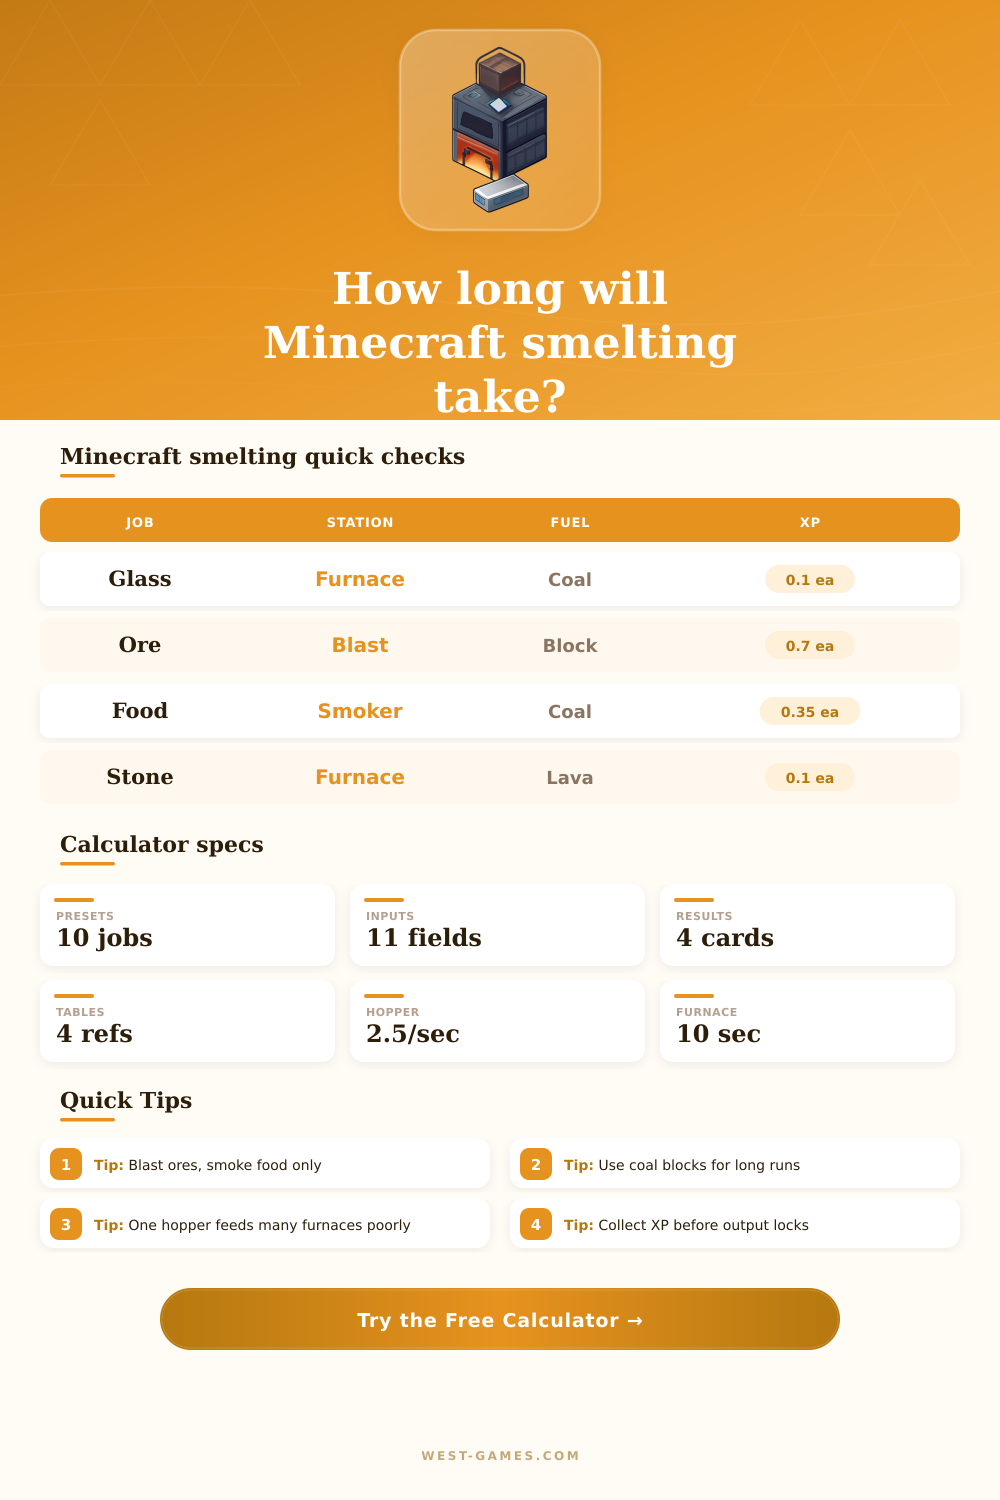
| Preset | Input to output | XP each | Fast station |
|---|---|---|---|
| Sand to glass | Sand to glass | 0.1 | None |
| Cobblestone to stone | Cobble to stone | 0.1 | None |
| Raw iron | Raw iron to ingot | 0.7 | Blast furnace |
| Raw copper | Raw copper to ingot | 0.7 | Blast furnace |
| Raw beef | Beef to steak | 0.35 | Smoker |
| Kelp | Kelp to dried kelp | 0.1 | Smoker |
XP values are practical planning values for common Minecraft smelting jobs; exact game handling can vary by edition and collection method.
| Fuel | Burn seconds | Items in furnace | Best use |
|---|---|---|---|
| Coal or charcoal | 80 | 8 | Simple survival batches |
| Block of coal | 800 | 80 | Large arrays |
| Lava bucket | 1000 | 100 | Long manual jobs |
| Dried kelp block | 200 | 20 | Renewable fuel loops |
| Blaze rod | 120 | 12 | Nether fuel surplus |
| Bamboo | 2.5 | 0.25 | High-volume auto farms |
Items per fuel is burn seconds divided by the effective station seconds per item.
| Station | Seconds per item | Works on | Array note |
|---|---|---|---|
| Furnace | 10 | All normal smelting | Most flexible |
| Blast furnace | 5 | Ores, raw metals, armor | Best for mining returns |
| Smoker | 5 | Food and kelp-style food | Best for farms |
| Wrong fast station | 10 used here | Unsupported recipe | Calculator warns you |
If a selected blast furnace or smoker cannot process the recipe, this planner uses furnace-speed timing to avoid overstating speed.
| Metric | Formula | Input | Meaning |
|---|---|---|---|
| Smelt time | items * sec / stations | Item count | Pure station processing time |
| Fuel need | ceil(net seconds / burn) | Fuel type | Fuel items inserted |
| Hopper cap | lines * 2.5/sec | Hopper lines | Input or output movement cap |
| Target stations | ceil(items * sec / target) | Target minutes | Recommended array size |
Manual output collection ignores output hopper delay, but input hoppers still matter if the array is fed from a shared chest line.
But when you’re staring down at a chest of raw iron and your furnaces runs dry, you know that panic. The stone cools and those hours spent mining vanishes before your eyes. That’s when it begins; the switch from casual gameplay to logistics. Once you’ve constructed an automated smelter array, Minecraft’s smelting no longer feel like a casual task.
All at once you must account for things like hopper throughput limitations, fuel burn rate, and experience point retention. There is nothing complicated about the math of these furnaces. But if you fail to consider it, they don’t forgive you. By plugging in how many items you want done and how much time you have, the calculator does the math for you. It tells you how many stations you need and if your fuel stockpile will be enough. That way you don’t have to worry about setting up blocks while doing long division.
How to Plan Your Smelting Setup
More important than the answer itself though, is knowing what factors influence those answers. The most common mistake players make is that they assume all furnaces goes at the same rate. They don’t. A normal furnace take 10 seconds an item. A Blast Furnace halves that for ore, and a Smoker does the same for food. If you throw iron in a Smoker, it go back down to normal speed. This may seem like a minor detail but when you’re talking about thousands of block this saves huge amounts of time.
Everything else on your build hinges on which fuel you choose. Mining gives you coal, which is naturaly easy to grab. Lava buckets are a good choice because they’re efficient (one bucket of lava smelts a hundred things without requiring anything else). Automating the insertions of fuel becomes inefficient, however. A hopper’s throughput is fixed at about two and a half items per second. Feed that into an array with, say, sixteen furnaces and it’ll bottleneck immediately. Even if you have enough coal in storage, those station will just sit there idle until more fuel arrives. That’s what makes blocks of coal or dried kelp blocks such popular choices for big arrays. Each block burns longer then the others, meaning the hopper doesn’t have to work quite as hard keeping the fire going.
There’s also one other wrinkle: experience points. Most players don’t think about experience points until they’ve already lost them. You get experience from manual item smelting, so long as you pick up the orbs. If you use chests and hoppers to auto-smelt, you lose that XP unless you have a special system in place to gather it. This calculator allows you to account for what percentage of XP you want to retain. If you’re making thousands of stone for a base, who cares? If you’re farming enchanted books, losing out on that experience will cost you dearly. Know early on if you value speed over progression.
The physical design of your farm will depend on how quickly you want hoppers to run. You’ll want efficient routes from input hoppers into each furnace. You’ll also want output hoppers to empty out before they lock up the crafting slot. When the tool tells you to put zero output hoppers in your plan, it’s implying you’re manually collecting the output. That works great if this is a weekend project. It isn’t realistic for a long term installation.
The tool includes a table of these relationships. It shows you at a glance how many items each type of fuel will support and how the time to burn an item relates to the speed of the station. A smelter is as much a balancing of three opposing factors as it is laying down some bricks. Material throughput, fuel efficiency, speed, they’re constantly tugging in opposite directions. Want it faster? Put more furnaces on it! Need to feed all those furnace? Add more hoppers. Switch to lava to save fuel, but how do you automate adding it? Nothing’s perfect.
Do only what works for the resources you currently possess and your own level of patience. Begin small, run it through, and follow the numbers when expanding instead of winging it with pricey materials. If you would of did it wrong, the furnace will inform you immediately.