🟡 Summon Range Calculator Elden Ring
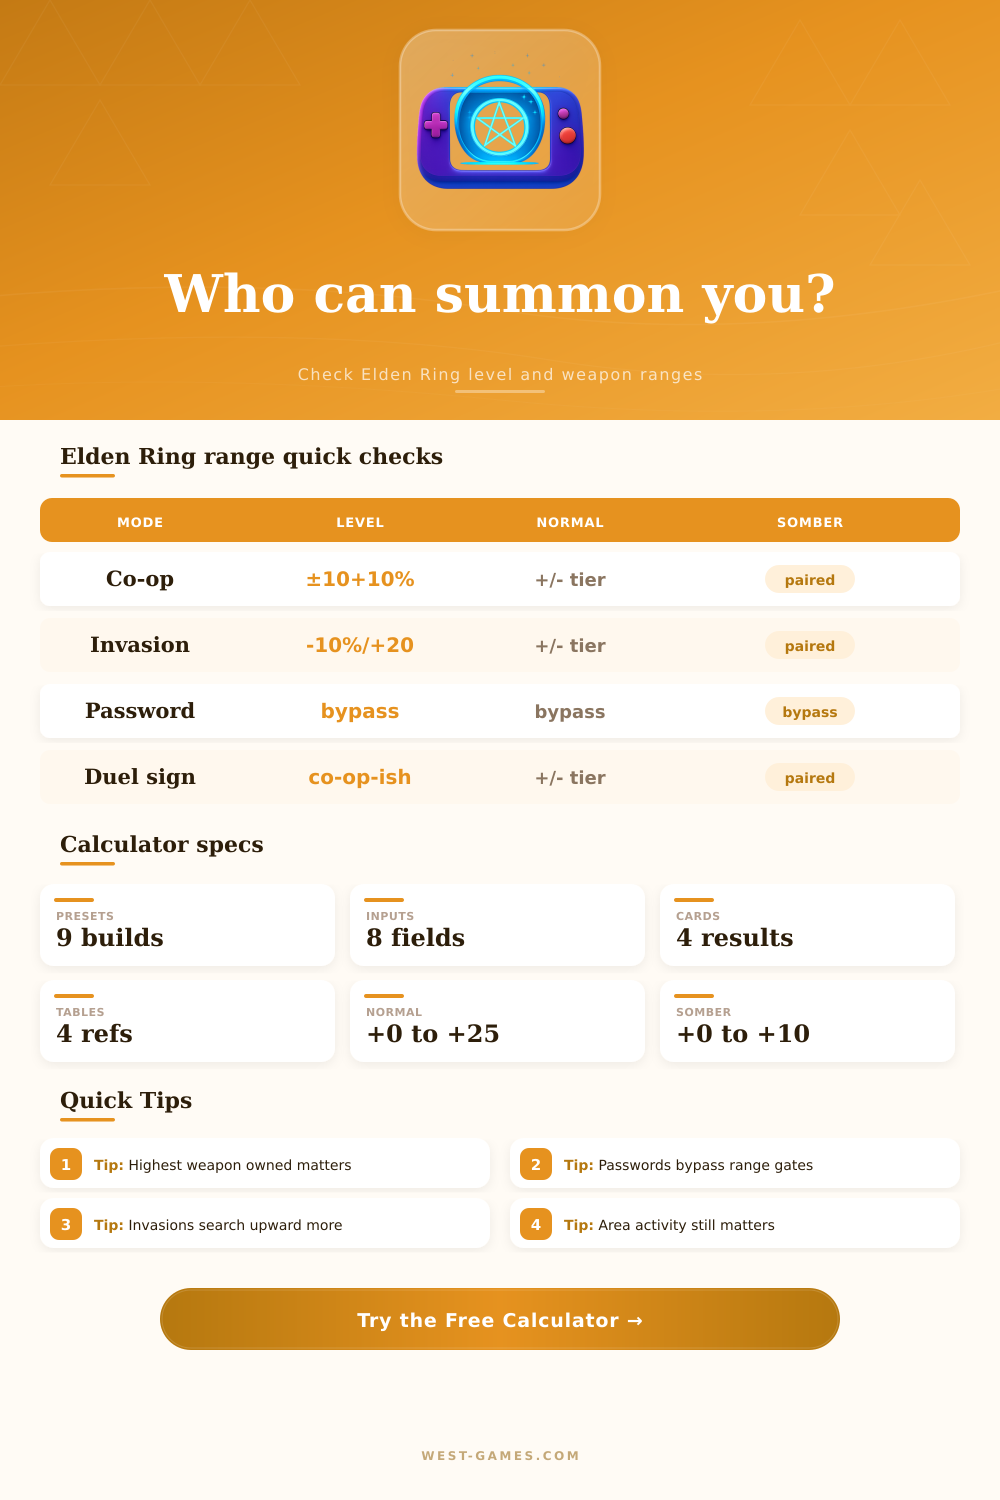
Check level brackets, normal and somber weapon matching, password bypass behavior, and co-op or invasion context before using signs, effigies, or fingers.
| Context | Lower edge | Upper edge | Use case |
|---|---|---|---|
| Co-op host | Host - 10 - 10% | Host + 10 + 10% | Gold signs |
| Co-op visitor | Visitor - 10 - 10% | Visitor + 10 + 10% | Hosts reached |
| Invader | Invader - 10% | Invader + 20 + 10% | Host worlds |
| Host invaded | Host - 20 - 10% | Host + 10% | Invaders seen |
| Password co-op | Bypassed | Bypassed | Friend signs |
Percent terms are rounded down at each edge. Password bypass applies to shared multiplayer password co-op signs, not normal random invasions.
| Normal | Somber | Typical tier | Planning note |
|---|---|---|---|
| +0 to +2 | +0 | Starter | No early spike |
| +3 to +5 | +1 to +2 | Early | Stormveil range |
| +6 to +11 | +2 to +4 | Mid | Liurnia or Caelid |
| +12 to +17 | +5 to +7 | Capital | Altus to Leyndell |
| +18 to +25 | +8 to +10 | Late | Endgame pools |
The calculator converts both upgrade tracks to a shared +0 to +25 scale, then shows compatible normal and somber ranges.
| Area | Level band | Normal | Somber |
|---|---|---|---|
| Limgrave | 10-30 | +0 to +3 | +0 to +1 |
| Stormveil | 25-45 | +3 to +8 | +1 to +3 |
| Liurnia | 40-65 | +6 to +12 | +2 to +5 |
| Altus | 70-95 | +12 to +17 | +5 to +7 |
| Late game | 100-150 | +18 to +25 | +8 to +10 |
These bands are practical planning ranges for activity density; the actual calculation still comes from level and weapon brackets.
| Setting | Level gate | Weapon gate | Result |
|---|---|---|---|
| No password | Active | Active | Normal pool |
| Group password | Active | Active | Priority messages |
| Shared password | Bypassed | Bypassed | Friend signs |
| Overlevel helper | Bypassed | Bypassed | Downscaled |
| Random invasion | Active | Active | No friend lock |
Use the password result to coordinate friends, then use the no-password result to judge random signs, hunters, and invasion activity.
Your spirit ashes are dead, your health bar’s flickering, and you are standing in front of one of the games legacy dungeon bosses. You call up a golden sign and wait. Wait some more. Minutes pass, and fog gate gets closer. Still, no phantom appear. You notice there’s another sign down the road that’s not getting any love because theirs isn’t the same upgrade bracket as yours. It’s a maddening moment, typical of Elden Ring’s multiplayer.
It is designed to keep everyone playing at similar levels, however it can feel like a roll of dice until you know what’s really going on behind curtain. Two main parts forms the foundation of matching: weapon reinforcement level and player level. Because we can quickly look down and see our character level, it becomes primary focal point for most players. They figure that they’ll be able to see each other’s signs as long as they’re within ten percent of host’s level. While this is largely true, it completely neglects second pillar.
How Elden Ring Matchmaking Works
Your maximum reinforced weapon forever holds you in a specific matchmaking bracket. Whether or not you’re wearing a rusty dagger doesn’t matter. Even if you sold all your weapons after upgrading a club to plus twenty five, the game will remember your historical max level. That permanent mark on your account will determine who sees your sign and who you see.
To save you from having to guess at where those brackets are, the calculator (above) does all that math for you after you plug in your weapon and level stats. It also simplifies the complicated relationship of somber smithing stones and normal smithing stones into understandable ranges. Plug in your status and it’ll tell you if you’re swimming in available partners or if your pool is dangerously shallow. That’s especially helpful when you want to plan out a co-op run with big boss such as Godrick or Malenia. Before you spend the time grinding, you can try various scenarios to see how overleveling might affect visibility.
The other wrinkle that people often don’t think about is weapon equivalence. On same chart, the game plots normal upgrades versus dark ones. Generally speaking, a plus five somber weapon match up to a plus twelve normal one (when it comes to matchmaking brackets). This can result in someone rushing through the story using only regular weapons feeling left out. Meanwhile, those who focus on finding rarities early have an advantage. As game goes on this difference becomes more pronounced. Late into the game, the diffrence between upgrade levels becomes quite large and creates separate player groups that seldom intersect.
The limitations can be bypassed by passwords, but there are some trade-offs. A shared multiplayer password lets you bypass the weapon and level gates completely so your friends can join no matter what kind of build they’re running. But it also separates you from larger random pool if you want to seek out strangers for specific encounters. That’s a tool for coordinating, not discovering.
The way invasions work has a whole other set of rules with a tendency to favor higher levels: It’s easier to find someone to host then get invaded, but more likely to happen as you grow in level. That changes the way you think about advancement. Know that you will be able to choose your match pool if you hold back a bit on upgrading some weapons. Or level up smartly before trying out tough spot. What used to feel like a bug becomes something you use as a feature.
What used to be, “no one shows up in the fog, I guess it’s bugged?” becomes, “I see what bracket is missing, and there is a way I can work around it.” And while you’ll still need to wait patiently for the golden signs, now at least you have some idea of how to raise those odds. Now waiting isn’t as much luck than it is strategy.