Toilet Tower Defense DPS Calculator
Estimate Toilet Tower Defense damage, cooldown, splash/AOE value, upgrade scaling, placement count, buffs, debuffs, boss HP pressure, wave clear time, and DPS per slot.
| Preset | Role | Damage | Cooldown | AOE Cap |
|---|---|---|---|---|
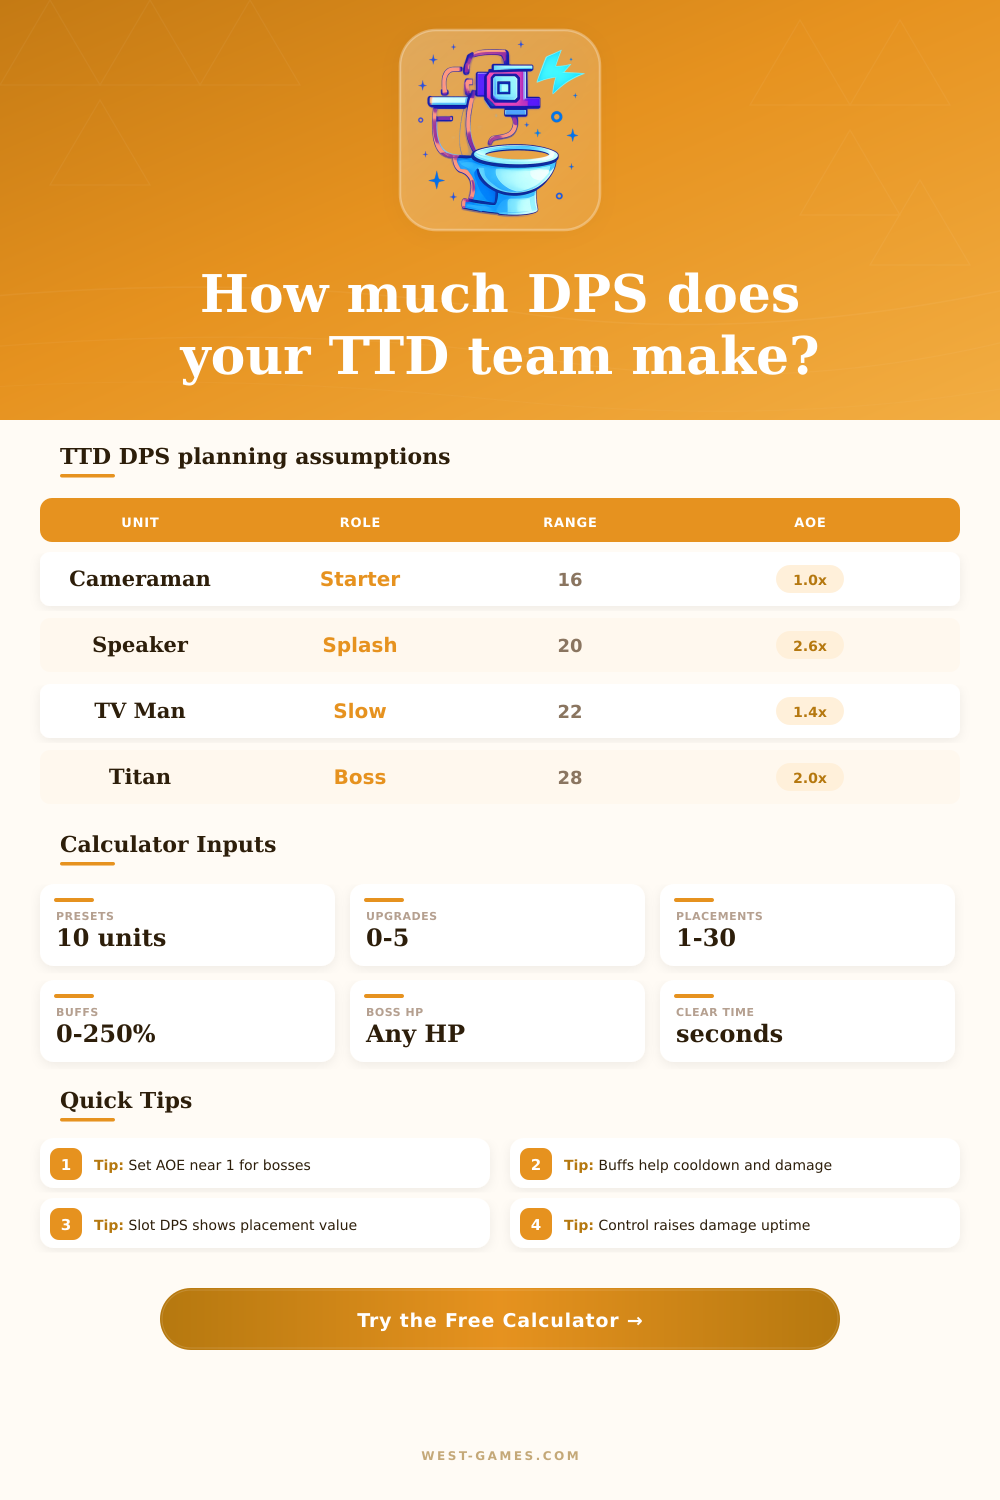
| Starter Cameraman | Early single target | 18 | 1.10s | 1.0 |
| Large Cameraman | Stable midgame DPS | 95 | 1.35s | 1.3 |
| Speakerman Splash | Grouped wave clear | 74 | 1.60s | 3.2 |
| TV Man Slow | Control and uptime | 62 | 1.80s | 1.8 |
| Medic Cameraman | Support buff lane | 38 | 1.45s | 1.0 |
| Scientist Cameraman | Utility and boost | 55 | 1.55s | 1.2 |
| Titan Cameraman | Boss damage | 420 | 2.20s | 2.0 |
| Upgraded Titan Speakerman | High AOE burst | 520 | 2.55s | 4.2 |
| Cinemaman | Lockdown control | 610 | 2.75s | 3.0 |
| Engineer Cameraman | Turret stack DPS | 260 | 0.95s | 1.5 |
These are calculator assumptions, not live patch stats. Edit the input fields to match your inventory.
| Tier | Damage | Cooldown | Range | AOE/Utility |
|---|---|---|---|---|
| 0 - Placed | 1.00x | 1.00x | 1.00x | 1.00x |
| 1 - Early | 1.35x | 0.94x | 1.06x | 1.08x |
| 2 - Mid | 1.90x | 0.84x | 1.14x | 1.16x |
| 3 - Strong | 2.70x | 0.74x | 1.25x | 1.25x |
| 4 - Late | 3.85x | 0.64x | 1.40x | 1.38x |
| 5 - Max | 5.40x | 0.55x | 1.60x | 1.55x |
| Factor | Input | Calculator Effect | Use Case |
|---|---|---|---|
| Damage buff | 0 to 250% | Multiplies hit damage | DJ, trait, or support aura. |
| Cooldown buff | 0 to 80% | Reduces seconds per attack | Haste support and fast-firing cores. |
| Debuff | 0 to 200% | Raises damage taken | Marked or weakened toilet enemies. |
| Slow/stun | 0 to 100% | Raises damage window | TV-style control and corner holds. |
| AOE falloff | 20 to 100% | Weights extra targets | Lower for weak splash, higher for true AOE. |
| Lane Shape | Coverage Factor | What It Means | Best Input |
|---|---|---|---|
| Straight lane | 0.82x | Less overlap time | Use lower control uptime. |
| Bend / corner | 1.00x | Normal overlap | Good default for TTD maps. |
| Loop hold | 1.28x | More time in range | Use for strong kill zones. |
| Split pressure | 0.66x | Units divide attention | Lower placements or coverage. |
| Spawn stack | 1.12x | Early stacked contact | Good for burst opening damage. |
| Scenario | Enemy HP | Count | AOE Targets | Calculator Setup |
|---|---|---|---|---|
| Early toilet swarm | 100 to 1,000 | 30 to 80 | 2.0 to 4.0 | Focus on cooldown and AOE falloff. |
| Mid armored wave | 3,000 to 20,000 | 18 to 50 | 1.5 to 3.0 | Add debuff or higher upgrade tier. |
| Fast toilet rush | 1,000 to 8,000 | 40 to 120 | 2.5 to 5.0 | Increase slow uptime and range coverage. |
| Mini boss wave | 50,000+ | 3 to 12 | 1.0 to 1.8 | Compare direct DPS and slot efficiency. |
| Main boss push | 250,000+ | 1 | 1.0 | Set AOE to 1 and check boss clear time. |
For boss-only tests, set average AOE targets to 1 so splash units do not receive wave-clear credit.
Damages per second in Toilet Tower Defense is a measurement of how much damage a unit do over a period of time. Damage per second are the most important factor in determining how quickly you can clear waves of enemies. You must understand damage per second because damage per second is not just based on the raw damage of a certain unit.
Damage per second is influenced by how many of the games upgrade work in conjunction with one another. Using a damage per second calculator will show you how your current units and upgrades will work together to create your total damage per second. Damage per hit is the amount of damage that a unit does per single attack.
How Damage Per Second Works in Toilet Tower Defense
Damage per hit is not the same than damage per second. For instance, using a support unit that increases the damage that a toilet takes from the enemies will result in more effect damage than if the unit had damage per hit increased. The reason for this is that the percentage based increase to the damage that the toilet takes will compound with every single hit that the unit does to the toilet.
Other factors that affect damage per second is cooldowns. For instance, decreasing the cooldown of a unit will result in that unit fire more shots before the enemies have moved out of the range of that unit. Area of Effect, or AOE for short, is another factor that goes into damaging enemies per second.
The AOE of a unit will change based on how many enemy are within range of that unit. For instance, splash units will do great against groups of many enemies, but those same splash units might not do as well against a few separate enemy. The calculator will show you how your enemies change from a group to a single boss and how your AOE will change.
A unit might look great with it’s damage per second, but if the enemies move through the units range too quick, the unit will not do as well. Buffs and control effects are two more thing that will affect your damage per second. These buffs will determine if your unit combination are successful.
For instance, using a support unit with cooldown reduction will allow a slow hitting unit to fire more often. The same can be said for using a slow field for your enemies to stay within range of your units. These mistake may seem small, but they will have a large impact on your damage per second.
Placement and the number of slots that a player controls also play into the damage per second that is dealt to the enemies. Adding more of a unit will increase the damage per second that is dealt to the enemies. However, adding more of a unit will only work if there is enough space to add the extra unit.
Placing too many units in the same area will cause the enemies to compete for those target, making the placement inefficient. The calculator will show you the damage per second per slot. This will allow you to decide if you should buy more unit of any type or upgrade the existing units.
Boss waves will change the damage per second strategy that is used. For boss waves, the AOE target should be set to target a single boss. The damage that is built for many enemies may not work for a boss that takes longer to kill.
When battling bosses, players should take a look at both the total damage that is dealt to the boss and the time that it takes to clear those bosses. The clear time will tell you whether or not your damage per second is enough to defeat the boss before it reach the end of the lane. Within the damage per second calculator are the reference tables that provide players with information about the different upgrade tiers.
These reference tables provide information about how each type of upgrade will change the damage that is dealt to the enemies, the cooldown of the units, and other utility statistic. For instance, the reference tables will provide information for how the shape of the lane will change the number of enemies that is targeted by a unit. This will help to eliminate the need to memorize the math coefficient for each area of the map.
Many mistake are made by people who only look at one variable at a time. For instance, people may upgrade the damage of a unit but fail to look at the cooldown of the unit. Other mistake that can be made are only using splash units when battling bosses.
Using the damage per second calculator will prevent these mistake. The calculator will show the base stat for each unit. In addition, the calculator will show the buffs of the unit, how well each unit covers the map, and how long it will take to clear each wave of enemies.
The goal is to design a unit combination that will allow the waves and bosses to be cleared within the time frame that is set for the game.