🛡 Elden Ring Equip Load Calculator
Total active weapon, armor, ammo, and talisman weight, then compare it against Endurance-based maximum equip load, Arsenal bonuses, Erdtree's Favor, and the light, medium, heavy, or overloaded thresholds.
| Endurance | Base max load | Light cap, 30% | Medium cap, 70% | Heavy cap, 100% | Gain pattern |
|---|---|---|---|---|---|
| 8 | 45.0 | 13.5 | 31.5 | 45.0 | Flat through level 8 |
| 10 | 48.2 | 14.5 | 33.7 | 48.2 | Early +1.6 range |
| 15 | 56.1 | 16.8 | 39.3 | 56.1 | Strong early growth |
| 20 | 64.1 | 19.2 | 44.9 | 64.1 | Still +1.6 range |
| 25 | 72.0 | 21.6 | 50.4 | 72.0 | First equip-load soft cap area |
| 30 | 77.6 | 23.3 | 54.3 | 77.6 | Lower per-point growth |
| 40 | 90.9 | 27.3 | 63.6 | 90.9 | Midgame reference point |
| 50 | 105.2 | 31.6 | 73.6 | 105.2 | Pre-60 high growth |
| 60 | 120.0 | 36.0 | 84.0 | 120.0 | Second equip-load soft cap area |
| 80 | 140.5 | 42.2 | 98.4 | 140.5 | About +1.0 per point |
| 99 | 160.0 | 48.0 | 112.0 | 160.0 | Maximum base Endurance value |
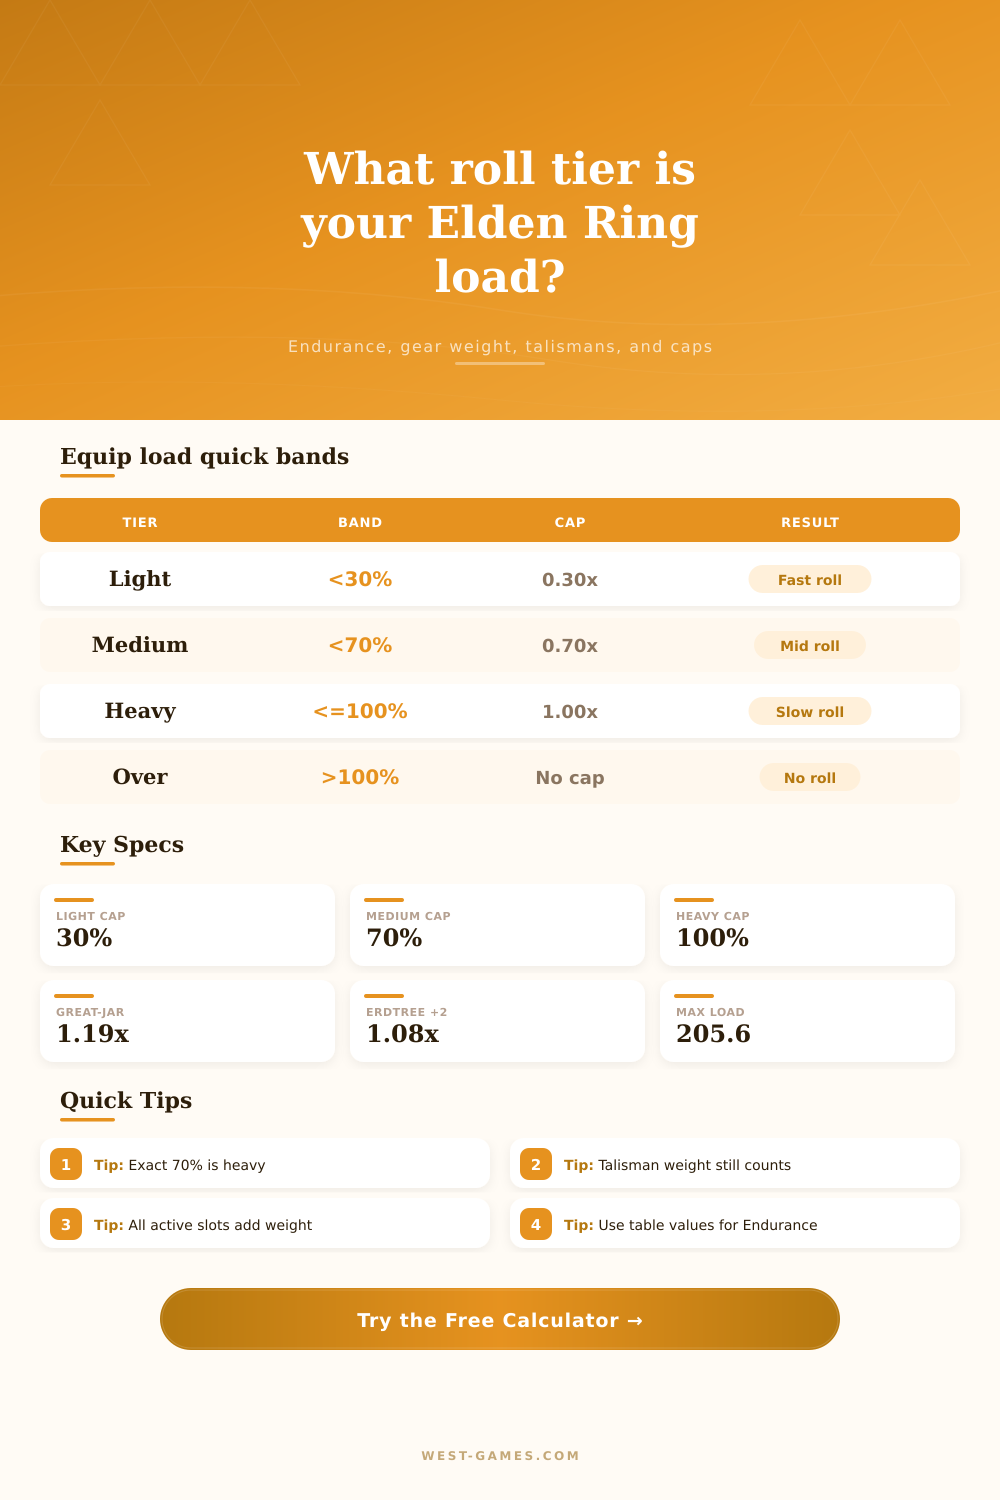
| Tier | Percent of max | Calculator test | Formula | Practical stat-page meaning |
|---|---|---|---|---|
| Light load | Below 30% | percent < 30 | total load / max load x 100 | Light Load |
| Medium load | 30% to below 70% | percent < 70 | max load x 0.70 is the medium ceiling | Medium Load |
| Heavy load | 70% through 100% | percent <= 100 | max load x 1.00 is the heavy ceiling | Heavy Load |
| Overloaded | Above 100% | percent > 100 | total load exceeds max load | Overloaded |
| Talisman group | Variant | Equip-load bonus | Weight counted | Stacking rule | Multiplier used |
|---|---|---|---|---|---|
| Arsenal | Arsenal Charm | 15% | 1.5 | Exclusive with other Arsenal variants | 1.150 |
| Arsenal | Arsenal Charm +1 | 17% | 1.5 | Exclusive with other Arsenal variants | 1.170 |
| Arsenal | Great-Jar's Arsenal | 19% | 1.5 | Exclusive with Arsenal Charm variants | 1.190 |
| Erdtree's Favor | Base version | 5% | 1.5 | Exclusive with other Favor variants | 1.050 |
| Erdtree's Favor | +1 version | 6.5% | 1.5 | Exclusive with other Favor variants | 1.065 |
| Erdtree's Favor | +2 version | 8% | 1.5 | Multiplies with selected Arsenal variant | 1.080 |
| Equipment group | Light examples | Middle examples | Heavy examples | Input field | Calculation note |
|---|---|---|---|---|---|
| Right-hand slots | daggers, seals | straight swords, katanas | greatswords, colossal weapons | Right-hand total | Add every equipped swap slot. |
| Left-hand slots | seal, buckler | medium shield, staff | greatshield, large bow | Left-hand total | Inactive offhand slots still count. |
| Armor | cloth and robes | knight armor mixes | high-poise plate sets | Head, chest, arms, legs | Enter each visible slot separately. |
| Talismans | 0.3 to 1.0 pieces | 1.0 to 1.5 pieces | multiple 1.5 pieces | Other talisman weight | Selected load talismans can be auto-counted. |
The first part of every boss fight in Elden Ring is mathematical: Should I stand straight up, or crouch down? Do I wait for the moment to roll away? It’s hard-coded math that feels instinctive. It also feels reflexive, as if you’re waiting to see what it takes before you act.
Roll too slow, however, and you’ll still get hit. Why? Because you failed to manage your weight. That’s called equip load in the game, and it governs your survival and how far you can move. Until it snaps, it’s invisible.
How to Check Your Weight Load
The system split your capacity into three bands according to how much you can take. Under thirty percent is light load, which yields fast rolls. From thirty to seventy percent is medium load, which provides a balance used by most players. From seventy to one hundred percent is heavy load, producing slow movement. Over one hundred percent, you simply cannot roll.
The limit is strict. Players pay attention to their Endurance, but forget about what’s in their hands. Endurance is the cap on how much weight you can bear, but doesn’t reflect your current tier. Even a character with maxed out Endurance could be carrying heavy load by wearing heavy armor and wielding big weapons.
This calculator will do the math for you. Test out different gear combos without endangering your save file. You can add in weight of armor pieces, weapons, talismans, even compare it against your endurance-based maximum.
The other thing that new players overlook: talismans weigh something. It doesn’t seem like much, but all those accessories adds up over time. Arsenal Charms are load reducing. They weigh 1.5. That’s good because it increases your carry capacity. However, it takes away a little bit of that capacity in the process. It’s a trade off. You get a net gain, and the gain is still positive, but it’s not the entire bonus. Knowing this trade off is essential to optimize your build.
Here’s how Endurance levels works with the multipliers (reference table).
Additionally, here’s the thing about “equipped.” A lot of players believe that having an item in an equipment slot doesn’t count toward their load if they aren’t currently wielding it. That’s false. Anything in one of your equipment slots, whether or not you’re wielding it, will factor into how much you can carry around with you in Elden Ring. Have a big ass sword slotted into your right hand? That’ll add weight to your arms, despite whatever else you’re holding. It encourages simple builds and punishes hoarders.
So how do you know if you’re optimized? Each slot matters. Are you looking at the active weapon, your rings, or your talismans? You can input all of that and more with the tool and find out where you stand. Being on the border of sixty-nine and seventy percent is dicey. One heavier shield might knock you down into heavy load; one lighter shield might keep you in medium load and maintain your dodge timing. It’s all about being precise; the jump from medium load to heavy load can be as little as a couple of units.
Load management is all about finding the right place in the load spectrum for your play style. Agility-oriented builds like PvP and speedrunning favor the lightest load possible. Damage/armor-focused builds may tolerate a heavier load for more damage or higher poise. The answer isn’t one size fits all, only that it’s the right answer for that given situation.
If you understand how things adds up, you’ll begin to plan ahead rather than guess. You won’t get caught off guard by a failed roll. You should of known what you’re doing. You’ll know where that line exists. You’ll know how to stay on the right side of it.