🖥 Custom Resolution Calculator
Plan pixel count, aspect ratio, refresh rate, and cable headroom before you create a custom display mode.
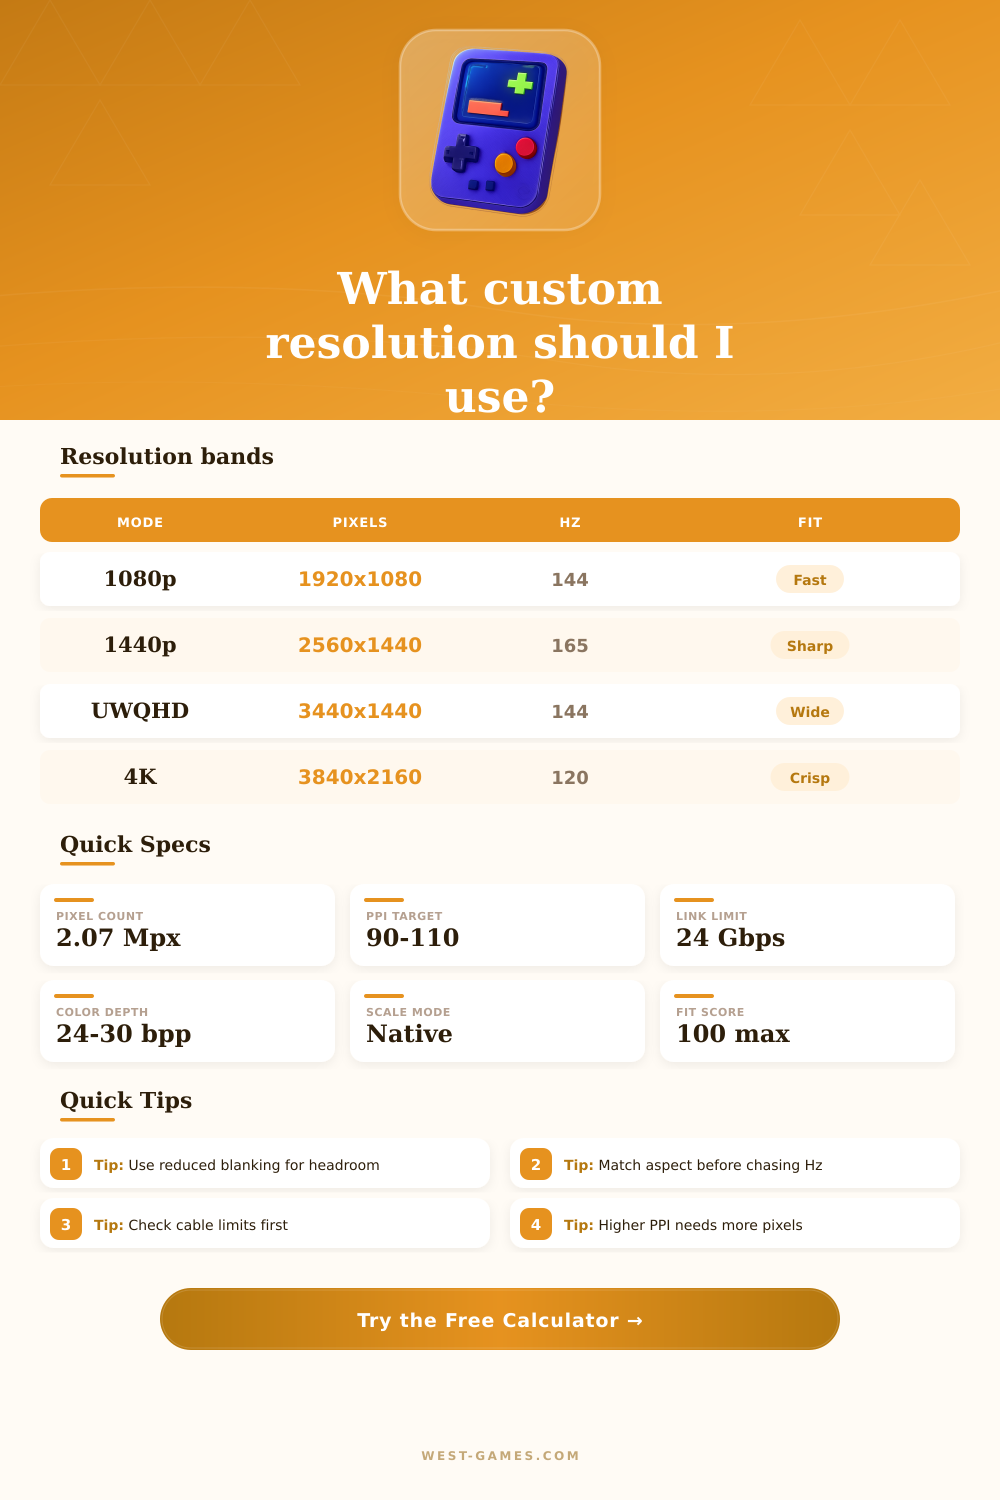
Choose a mode to compare density, refresh, and output link limits.
| Mode | Pixels | Hz | Use |
|---|---|---|---|
| 1920 x 1080 | 2.07 M | 144-240 | FPS lane |
| 2560 x 1440 | 3.69 M | 120-240 | All-round |
| 3440 x 1440 | 4.95 M | 100-165 | Ultrawide |
| 3840 x 2160 | 8.29 M | 60-144 | Sharp desk |
| 5120 x 1440 | 7.37 M | 100-180 | Superwide |
| 1280 x 960 | 1.23 M | 60-120 | Retro mode |
Choose a mode that matches both the panel size and the cable limit before you lock the custom profile into the GPU driver.
| Link | Eff. Gbps | Strength | Note |
|---|---|---|---|
| HDMI 1.4 | 8.16 | Low | 1080p safe |
| HDMI 2.0 | 14.40 | Mid | 1440p solid |
| HDMI 2.1 | 42.67 | High | 4K high Hz |
| DP 1.2 | 14.40 | Mid | Older panels |
| DP 1.4 | 25.92 | High | Best all-round |
| DP 2.0 | 77.40 | Very high | Huge headroom |
Effective bandwidth is what matters after encoding and timing overhead, not just the raw rated number on the box.
| Aspect | Shape | Use | Note |
|---|---|---|---|
| 16:9 | Wide | Gaming | Most common |
| 16:10 | Tall | Work | More vertical |
| 21:9 | Ultrawide | Immersion | Big field view |
| 32:9 | Superwide | Sim rigs | Very wide desk |
| 4:3 | Classic | Retro | Old game fit |
| 3:2 | Tall-ish | Handheld | Compact feel |
Aspect ratio changes the footprint and the feel of the mode, even when the pixel count looks similar.
| Timing | Overhead | Fit | Note |
|---|---|---|---|
| Standard | 1.08x | Safe | Default choice |
| Reduced | 1.03x | Tight | Good for links |
| Gaming | 1.02x | Tighter | Low blanking |
| Legacy | 1.12x | Loose | Only when needed |
| Integer | 1.00x | Sharp | Retro clean |
| Stretch | 1.00x | Loose | Fill the screen |
Reduced blanking and gaming timing are the easiest wins when a resolution is close to the link limit.
Custom resolution helps to add what normal settings do not allow. It gives big freedom to add almost any resolution and refresh rate for your screen. When something unique lacks in the Windows Control Panel this method allows you to add the wanted option.
For NVIDIA cards it depends on your graphics card. Open the NVIDIA Control Panel. Under Display find Change Resolution, click it and then choose the image of your screen.
How to Make Custom Screen Resolutions
Then go to Customize, and in the box click Create Custom Resolution. Please check that the right monitor is marked at “Select the display you would like to change.”
AMD cards have Custom Resolutions built into the AMD Software Adrenalin Edition. It is possible to set resolutions for displays and save them as profiles, that you can alter later if needed. In the AMD Software Adrenalin Edition go to Games > Display > Custom Resolution and click Create New.
Set the wanted values for resolution and refresh rate, then click Create.
CRU, or Custom Resolution Utility, is another good utility, an EDID editor specially for such configurations. It shows how the monitor describes its resolutions and skills, and allows you to alter them. That little free program works for NVIDIA and AMD, to create higher resoluitions, and works well also for computers with external screens.
After setting the wanted resolution and refresh rate in CRU, close the program and reset the computer. Then it will appear in Windows settings and games.
For Intel graphics open the Intel HD Graphics Control Panel, click the Display tile, open the Display menu and choose Custom Resolutions.
You commonly use that for better play. For instance CRU can lower resolution on an ultrawide monitor to 1280×540 for more power, while you keep the 21:9 ratio. Custom resolutions help also for downsampling anti-aliasing with GPU scaling on, or for 4:3 resolutions in games.
Set two or three of them in the panel and use them in-game when 4K overloads the GPU. Even so note that games without support for forced resolutions can crash or seem weird.