Combo Damage Calculator
Estimate hit sequence scaling, launch bonus, finisher multiplier, defense reduction, crit average, duration, and DPS.
Combo Results
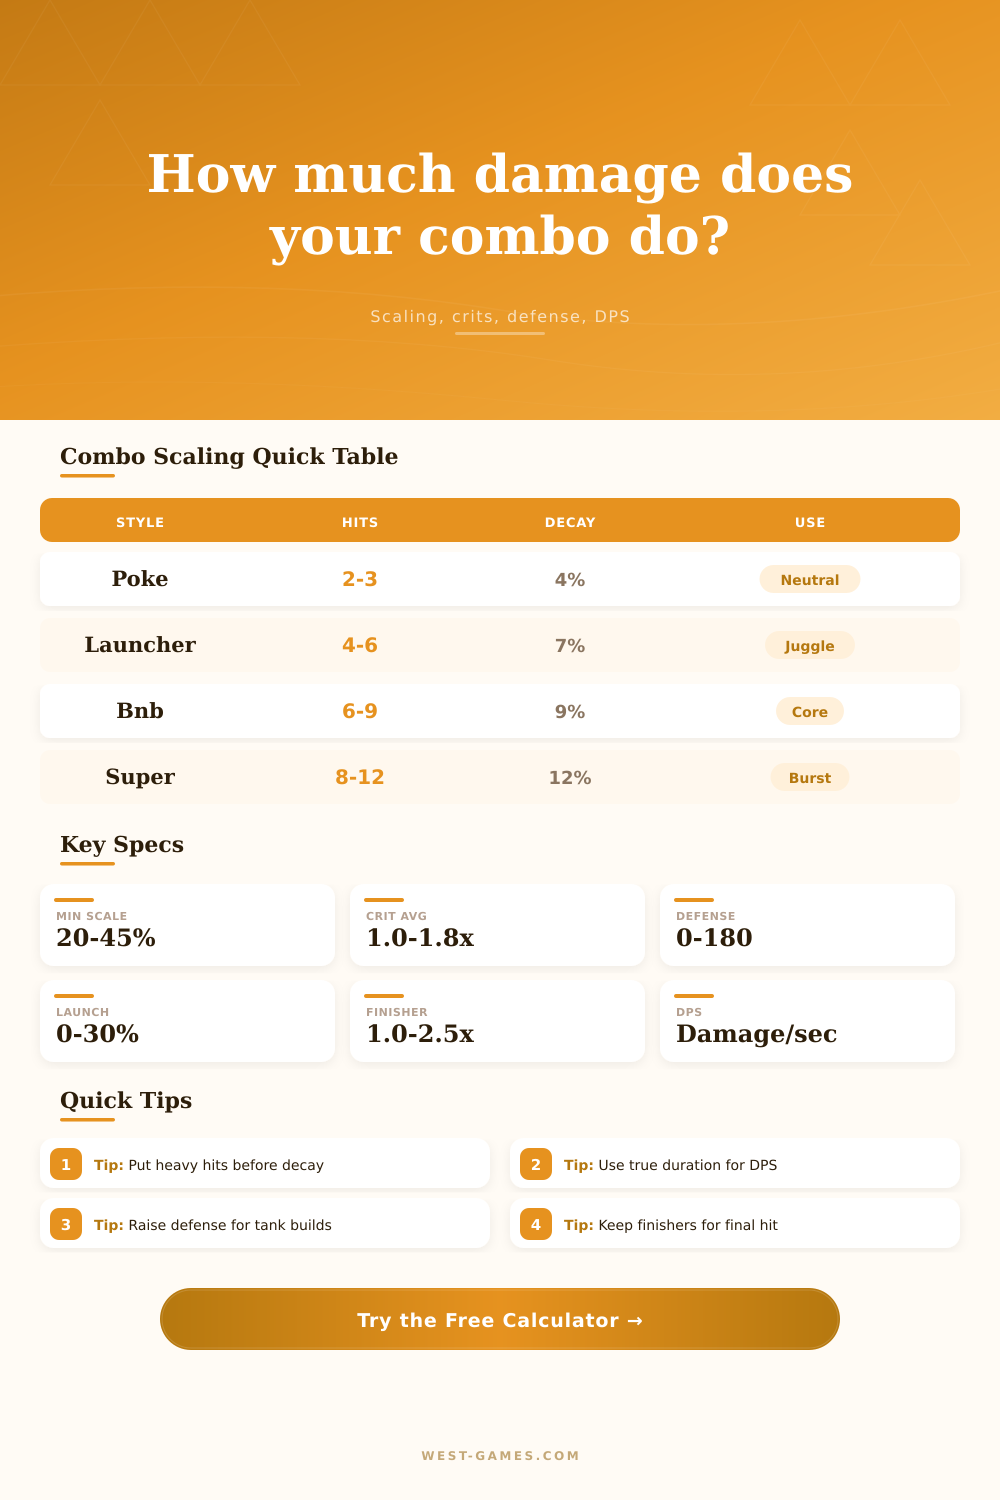
| Route Type | Typical Hits | Decay Range | Floor | Best Use |
|---|---|---|---|---|
| Footsie confirm | 2 to 4 | 4% to 7% | 60% | Fast punish or counter poke |
| BnB route | 5 to 8 | 7% to 10% | 35% | Reliable mid screen damage |
| Launcher juggle | 6 to 10 | 8% to 12% | 25% | Airborne extension with launch bonus |
| Super cashout | 8 to 12 | 10% to 14% | 20% | High finisher value at route end |
| Archetype | Damage Mod | Timing Mod | Crit Bias | Route Identity |
|---|---|---|---|---|
| Balanced striker | 1.00x | 1.00x | Neutral | Stable confirms and clean finishers |
| Rushdown pressure | 0.95x | 0.92x | Low | Many quick hits with lower single-hit weight |
| Grappler bruiser | 1.16x | 1.12x | Neutral | Shorter routes with heavy openers |
| Glass cannon | 1.22x | 1.00x | High | Explosive output if the starter lands |
| Technical stance | 1.06x | 1.06x | Medium | Better rewards from precise route order |
| Defense Rating | Damage Kept | Damage Reduced | Use Case | Reading |
|---|---|---|---|---|
| 0 | 100.0% | 0.0% | Training dummy | Raw lab number |
| 50 | 66.7% | 33.3% | Light defense | Most confirms still hurt |
| 100 | 50.0% | 50.0% | Standard tank | Route order matters more |
| 180 | 35.7% | 64.3% | Heavy armor | Finishers carry the result |
| DPS Band | Duration Pattern | Route Feel | Common Risk | Good Adjustment |
|---|---|---|---|---|
| Under 80 | Long string | Low reward pressure | Scaling eats the route | Remove weak filler hits |
| 80 to 140 | Normal BnB | Reliable damage | Average finisher timing | Move heavy hit earlier |
| 140 to 220 | Sharp punish | High threat conversion | Harder execution | Check drop-prone links |
| Over 220 | Cashout burst | Round-swinging hit | Resource dependent | Confirm starter quality |
Remember getting that sweet combo route down during training mode only to see the damage number fall off the chart and settle back into mediocrity? That’s because most fighting games scales their damage through diminishing returns with every subsequent hit. The more times you hit something, the less damage it do. This means your input doesn’t necessarily match your output.
Plug in your hit sequence into calculator above and it will do all of the math for you (no guesswork required). You’ll save yourself a lot of heartache if you’re new. Unfortunately, one of reality of fighting games is that greed is punished. They penalize damage for being greedy. Hitting something multiple times won’t necessarily mean your doing more damage.
Why You Do Less Damage When You Hit More Times
Veteran players soon realize that this also include order (not just magnitude). It’s all about diminishing returns on each successive hit in your combo, but that’s pretty much the core mechanic to know. As it says in the tool, the first time you input any poke values you’re setting the standard from which the game begins to chip away your efficiency. Typically, the percentage reduction often starts around ten percent and drops lower with every frame of contact (that’s why so many top players tells you to front-load your biggest hits). You can see that laid out in reference table on the page, too, where you find different decay rates naturaly balancing out with hit counts in each route type.
Even more complex than this are defense ratings, something that a lot of casual player completely disregard. Many people who go into competitive matches will purposefully load up on armor or blocking buffs because they know their opponents will try and spam out some sort of burst damage. By adjusting that defense input, you’re essentially showing what occurs when your opponent won’t leave themselves wide open for punishment.
High defense doesn’t just make the numbers lower; it also changes which parts of your combo matter most. Lots of weak pokes that would contribute nicely in a vacuum tend to dissapears when faced with an armored target, leaving only the finishing blow to bear the brunt. So you must know your opponent’s build just as well than your own character’s moveset.
The formula also factors in duration and damage per second, both of which help put your pressure into perspective. Sure, a big number sounds great, but if you’re spending five seconds on a long combo, there’s plenty of time for your opponent to get out of range and meter break. The DPS factor encourages you to consider efficiency, not just total brute force. In practice, shorter, tighter combos tends to be more effective because they open up fewer opportunities for reversals. Sometimes you’ll have to give up some raw health bar chunks to keep the ball in your court. The calculator can help measure this by breaking down output over time.
These inputs also get skewed by archetypes. Speed and frequency matter to rushdown characters, who will attack first before big penalties sets in. Grapplers, however, rely on smaller but all-important hit numbers that require maximum damage. This is where multiplier finishes comes into play as lifelines. Those differences allow for more room to scale on a route, as seen below in the archetype comparison breakdown. Other damage modifiers throw these equations in predictable directions. It’s more than numbers, it’s finding the right fit between your fighter’s mechanical identity and your own strategy.
Even with such a deterministic system, there are sources of randomness like critical hit variance. Although there is a theoretical midpoint based off average crit output, your actual matches will swing wildly depending on whether you are lucky or unlucky. That’s where consistent routing comes into play… It’s more important than hoping for a lucky critical at a key moment. In other words, the tool smoothes out the noise of chance + multiplier = expected value so you can view the trend underneath. But it all comes down to understanding what the system allows for and respecting those boundaries.
Spewing everything you have at an enemy isn’t going to work. Otherwise, the floor would of scaled too much and the defenses would mitigate enough that you can’t get off another shot before they recover. This forces you to go through the scenarios in the calculator. It makes you think less “I hope this works” and more “this is why I made this choice.” This clear decision-making process turns the melee jumble from chaos into strategy. Each attack has a clear goal instead of being thrown blindly as part of a loud mess of noise.