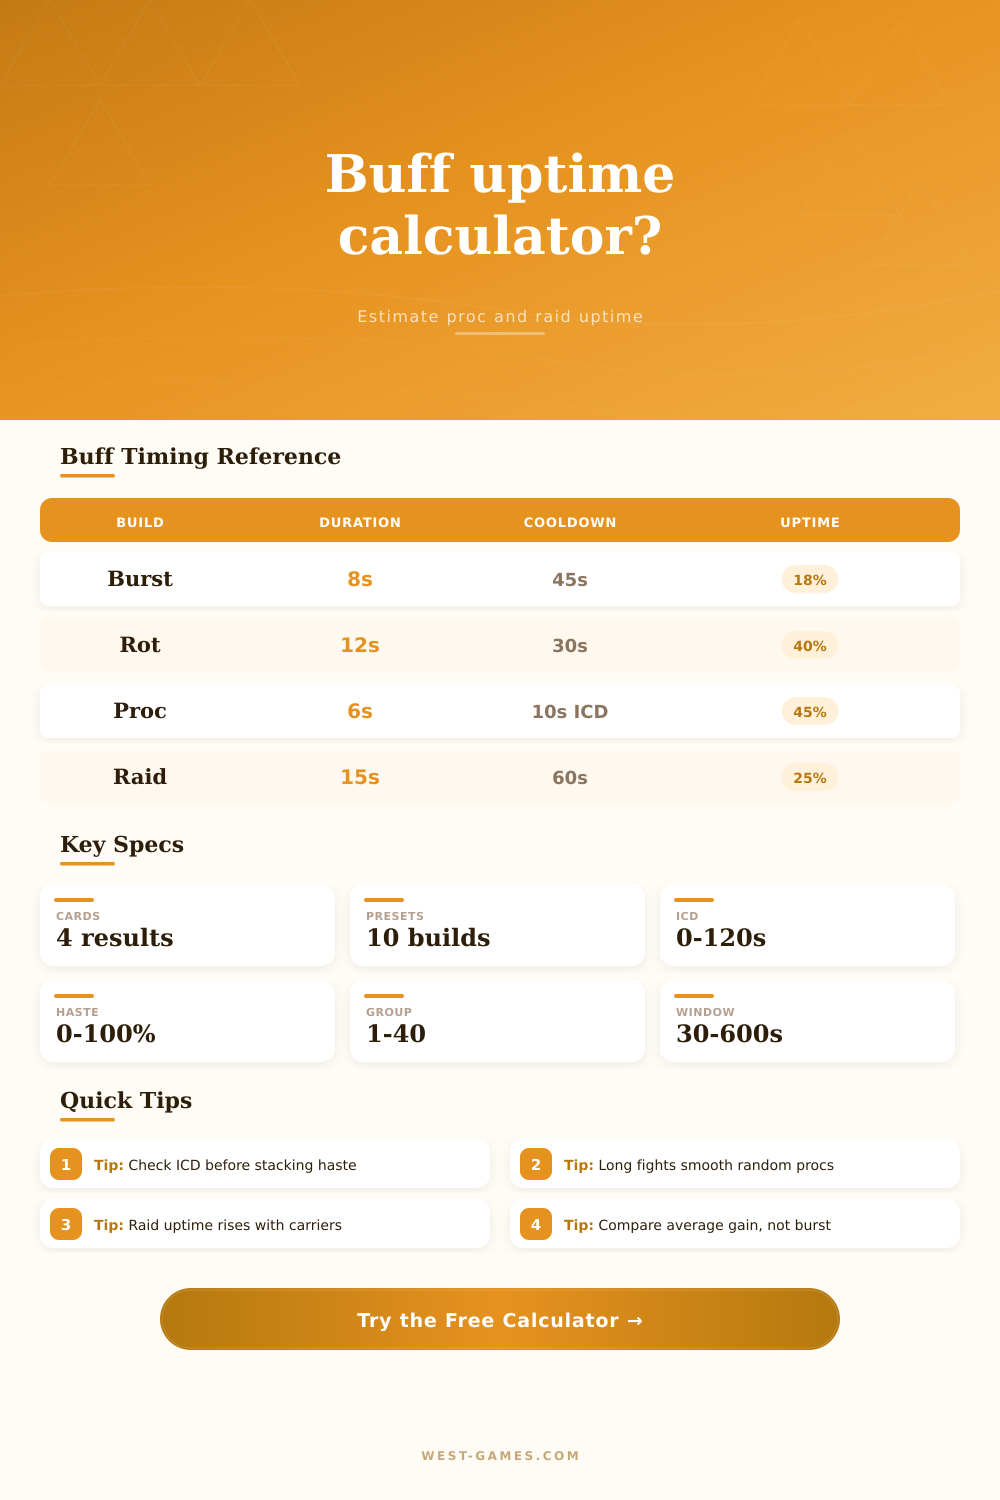
Buff Uptime Calculator
Estimate buff active time, downtime, proc reliability, average stat gain, and raid or group uptime for game rotations and item effects.
🎯 Named Gaming Presets
⚙ Buff Inputs
📊 Current Spec Grid
📘 Buff Pattern Reference
| Pattern | Typical Inputs | What Controls Uptime | Calculator Watchpoint |
|---|---|---|---|
| Manual burst cooldown | 8-20s duration, 45-120s cooldown | Cooldown and planned encounter timing | Haste matters only if it lowers cooldown |
| Random damage proc | 5-12s duration, 5-20s ICD, many hits | Trigger rate, proc chance, and internal cooldown | High trigger rates flatten near the ICD cap |
| Permanent rotational aura | Short duration refreshed by regular casts | Refresh cadence and missed globals | Use trigger cycle as the planned refresh gap |
| Group raid buff | Multiple carriers using identical windows | Personal uptime and overlap waste | More carriers raise coverage but waste overlaps |
| Stacking combat buff | Low single stack value, 2-10 average stacks | Stack count and active window stability | Average stat gain multiplies by stack count |
🔬 Comparison / Spec Grid
| Scenario | Duration | Cooldown or ICD | Expected Uptime | Best Use |
|---|---|---|---|---|
| Arena Burst Trinket | 10s | 60s cooldown | 16.7% | Short kill windows and synced damage |
| Raid Banner Rotation | 15s | 120s cooldown | 12.5% per carrier | Coordinated party damage phases |
| Haste Proc Build | 8s | 12s ICD | Up to 66.7% | Fast attack builds with many events |
| Tank Mitigation Loop | 6s | 20s cooldown | 30% | Predictable incoming damage spikes |
| Speed Farm Buff | 5s | 8s cycle | 62.5% | Travel, farming, and low-risk clears |
⏱ Cooldown, ICD, and Haste Table
| Base Cooldown | Haste / CDR | Effective Cooldown | 12s Buff Uptime | Downtime Per Cycle |
|---|---|---|---|---|
| 60s | 0% | 60.0s | 20.0% | 48.0s |
| 60s | 20% | 50.0s | 24.0% | 38.0s |
| 45s | 25% | 36.0s | 33.3% | 24.0s |
| 30s | 50% | 20.0s | 60.0% | 8.0s |
| 12s ICD | Many hits | ICD capped | Duration / ICD | ICD minus duration |
👥 Raid / Group Uptime Table
| Personal Uptime | 2 Carriers | 4 Carriers | 8 Carriers | Planning Note |
|---|---|---|---|---|
| 10% | 19% | 34% | 57% | Low coverage unless chained cleanly |
| 25% | 44% | 68% | 90% | Strong for staggered support buffs |
| 40% | 64% | 87% | 98% | Often overlap-limited in real fights |
| 60% | 84% | 97% | 99%+ | Near-permanent with multiple carriers |
💡 Practical Calculation Tips
When you’re fighting, and your damage numbers seem lower then normal, but your cooldowns and rotations all line up correctly, you might wonder why. You probably aren’t weak. Chances are, it’s not a lack of raw power. It’s uptime. More specifically, it’s that period of time after a buff drops, before the next one reactivates. That’s where performance leaks, and nobody notice until they see their logs.
In short: you focus too much on maximizing damage for a few seconds at a time when the buff is at full strength, but if it only lasts eight seconds out of every twelve minutes in a raid, then that number is vanity most of the time. What matters is how long do you stand there buffed up vs. How long do you wait for the next buff? After plugging in your own cooldown window and duration, calculator does all the work for you (above). No more guesswork about whether it is worth using that gear slot for an ability with chance-on-attack procs.
Why Uptime Matters More Than Power
Let me stress that uptime is not solely determined by how powerful it will be when the buff occurs. It’s a function of statistical probability over time. So if a trinket drops massive strength for ten seconds, and it triggers only once every two minutes, its average boost to power is negligible. Ninety percent of the fight are spent operating at baseline stats. The tool visualizes this by translating raw cooldowns into their percentage of active time. That’s the only thing that really matter for sustained encounters.
Then there’s the added complication of random procs that aren’t bound by any hard rhythm like manual abilities is. Rather than following a set time frame, these functions depends on their own internal cooldown and rate of trigger to decide how often they’ll land an effect. The law of averages is on your side when you’re landing a lot of hits per second. There are plenty of chances for the random number generator to win out in every short amount of time, and you’ll find the buff popping up a lot more regular. But pump yourself full of haste without accounting for its internal cooldown cap and you risk hitting a wall where more speed afford no further advantage. Once you trigger the effect as fast as the system allows it to reset, the proc chance dont really matter.
The problem with group content is that it hides everyone’s individual weaknesses. In solo content, one player being off their buff window are catastrophic. In a raid of ten people carrying same support aura, there’s a decent chance somebody has it up right now. Even if each person have poor uptime individually, that coverage approaches being steady. That’s part of what makes coordinating buffs so much easier than doing them yourself, you’re counting on the probability of multiple independent sources instead of your precise timing. The tool recognize this by showing the effect of adding more carriers to total raid uptime. It also points out the diminishing returns of having so many buff overlap and waste potential effect time.
What they get wrong is thinking haste is a linear “20% less cool down = 20% more uptime”. Uptime = duration / (total cycle time) and small differences in the denominator can be much more impactful based off where you start. With a lengthy cooldown, haste has a huge impact: it greatly decreases the cooldown and increases your active time percentage tremendously. With a brief cooldown, the cooldown doesn’t budge much at all so your uptime remains essentially unchanged.
What this does is create a particular sweet spot for how fast your base rotation must be before haste becomes a worthwhile build. If you’re below that mark, the stat may well be dead weight on your character sheet. This page lays out some common patterns, such as the difference between sustained auras and burst trinkets. By using same math in this reference table, you can see how various different archetypes will play out. Remember that these numbers aren’t absolutes. Real combat sees dodging, movement, and unexpected adds throwing a wrench into perfect rotation. Think of these numbers more as targets than something absolute, but knowing what your theoretical maximum is lets you identify where you’re falling short, either due to bad gear choices, or poor execution.
Stop chasing after the biggest possible spike in damage output and begin optimizing for consistency. Aim for the build that refuses to let you fall off a cliff for the next half hour of the fight, rather than just the strongest possible build for those three seconds. You should of looked at these stats sooner. You could of been more efficiently with your gear. It is naturaly hard to track everything.