🥽 VR Render Resolution Multiplier Calculator
Calculate per-eye render resolution, total VR pixels, refresh-rate frame time, target FPS, GPU load proxy, and uncompressed frame bandwidth from headset specs and render scale.
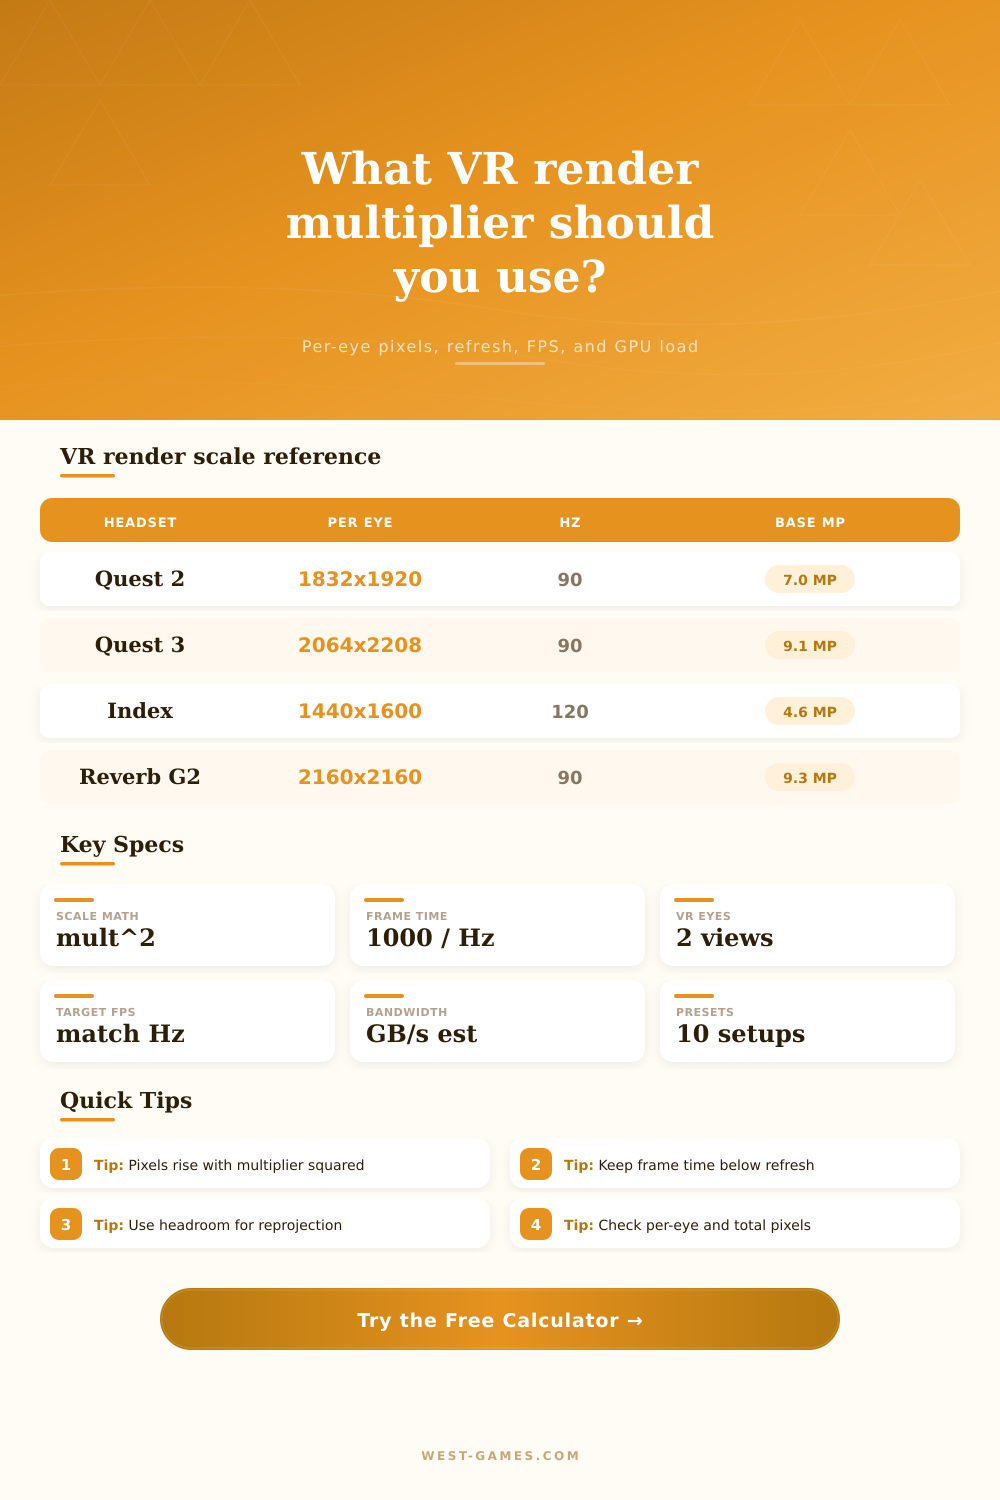
| Headset Profile | Per-Eye Pixels | Common Refresh | Base Total Pixels | Notes |
|---|---|---|---|---|
| Meta Quest 2 | 1832 x 1920 | 72, 80, 90, 120 Hz | 7.03 MP | Standalone and PC link profile with moderate lens overhead. |
| Meta Quest 3 | 2064 x 2208 | 72, 80, 90, 120 Hz | 9.11 MP | Higher panel density makes multiplier changes very visible in workload. |
| Valve Index | 1440 x 1600 | 80, 90, 120, 144 Hz | 4.61 MP | High refresh options can outweigh the lower native pixel count. |
| HP Reverb G2 | 2160 x 2160 | 90 Hz | 9.33 MP | Sharp per-eye panels, common for sims where headroom matters. |
| Vive Pro 2 | 2448 x 2448 | 90, 120 Hz | 11.99 MP | High native resolution plus refresh pushes large bandwidth estimates. |
| Bigscreen Beyond | 2560 x 2560 | 75, 90 Hz | 13.11 MP | Clarity-focused profile with high per-eye pixel density. |
| Refresh Rate | Full-Rate Frame Time | Half-Rate Reprojection | Use Case | Risk When Missed |
|---|---|---|---|---|
| 72 Hz | 13.89 ms | 36 FPS | Standalone or heavier PC scenes | Visible judder if frame pacing is uneven. |
| 80 Hz | 12.50 ms | 40 FPS | Balanced PC VR mode | Moderate sensitivity to GPU spikes. |
| 90 Hz | 11.11 ms | 45 FPS | Common comfort target | Frequent misses can trigger reprojection. |
| 120 Hz | 8.33 ms | 60 FPS | Fast motion and rhythm games | Pixel load rises sharply at high refresh. |
| 144 Hz | 6.94 ms | 72 FPS | Index high-refresh mode | Small timing spikes consume most margin. |
| Multiplier | Width Factor | Height Factor | Pixel Factor | Practical Meaning |
|---|---|---|---|---|
| 0.70x | 70% | 70% | 49% | Useful recovery mode when frame time is over budget. |
| 0.85x | 85% | 85% | 72% | Small clarity loss with a meaningful GPU load drop. |
| 1.00x | 100% | 100% | 100% | Native or runtime baseline before lens overhead. |
| 1.20x | 120% | 120% | 144% | Often a visible supersampling step for PC VR. |
| 1.50x | 150% | 150% | 225% | Heavy clarity push that needs a strong GPU and headroom. |
Incorrectly adjusting the render resolution multiplier will muck up your virtual world. You’ll crank up your GPU fans and your settings with one slider, but what does it do? It draws X number of pixels per eye from your graphics card. Most folks considers it to be a straightforward quality dial. But instead, it’s a leverage point that multiplies your workload exponentially. Check out the calculator, which demonstrates the impact of a little change in scale on both GPU load and frame times.
Knowing this allow you to get your headset tuned just right, balancing comfort and performance with clarity. So how does it work? What are we measuring? If you’re setting a multiplier to 1.20, that doesn’t mean adding 20 percent to total number of pixels. It means 20 percent more in each dimension, which multiplies the total area. So it’s actualy the square of that number… In this example, your workload increase about 44 percent.
How to Find the Right Settings for Your VR Headset
Which is why they screw it up. Everyone assumes there’s a direct relationship between value on the slider and the stress that will be placed on your computer. And that really makes a difference if you’re aiming for less than 11 milliseconds per frame to ensure smoothness at 90 hertz.
That’s because each headset have a fixed physical limit… Its native resolution. That’s how many pixels there are on the panel itself. The multiplier is what we render compared to that. Go too low and you’ll get the dreaded screen door effect. You see grid behind everything. It instantly shatters immersion. Go too high and you’re demanding more from your GPU then it can produce.
The reference table compares the various headset, but the principle applies no matter what hardware you have. An Index has lower native density than a Quest 3. So the same multiplier is going to look visually sharper on the Quest 3. It will also cost you more in terms of raw processing power.
And then there’s frame time. When your headset is running at 120 hertz, you’ve got about 8.3 milliseconds to get a frame rendered. And that’s super-tight. There’s geometry to process. You have to consider lighting. There are shadows. There is overhead in the VR runtime, then there’s lens distortion correction. Hidden area removal. Each of those add cost to the budget.
At some point, if your load proxy for the GPU exceeds 100 percent, you’re in trouble. It means your system is dropping frames. Motion smoothing (or reprojection) kicks in as the software fix. They helps save it from the stutter. But they also bring with them artificial lag and visual artifacts. Your brain picks up on that pretty quick.
This means you need more bandwidth, particularly if you’re streaming VR from a PC to a standalone headset over Wi-Fi. The higher the multiplier, the more uncompressed data that has to cross the air gap each frame. Crank up the render scale and all you’ve done is turn your virtual world into a pixelated mess, assuming you have a congested network.
Having a powerful graphics card isn’t enough. It’s about the whole pipeline from render buffer to display. One way to compensate for this expense is through foveated rendering. This shade fewer pixels when your peripheral vision isn’t as sensitive to detail. In doing so, you get some amount of GPU headroom. But there’s no such thing as a free lunch. The added complexity to the pipeline doesn’t scale perfectly and might not save as much as you thought. Foveated rendering works, don’t get me wrong. But it doesn’t turn a low-end card into an enthusiast one.
There is still a moddern mathematical reality to the number of pixels on screen. It’s an iterative process, where are your sweet spots? What’s the appropriate amount of detail for each person? Begin by using the native resolution. Does it look good enough? Is it clean? If so, leave the slider alone. Is it too soft? Increase the multiplier bit by bit until you see how your frame time responds. When it starts getting close to the danger zone, pull back.
You’re not striving for absolute accuracy here. You’re seeking steady performance that maintains your presence within virtual space. You would of wanted that illusion to sustain throughout the session. That balance transforms a technical hurdle into an immersive experience.