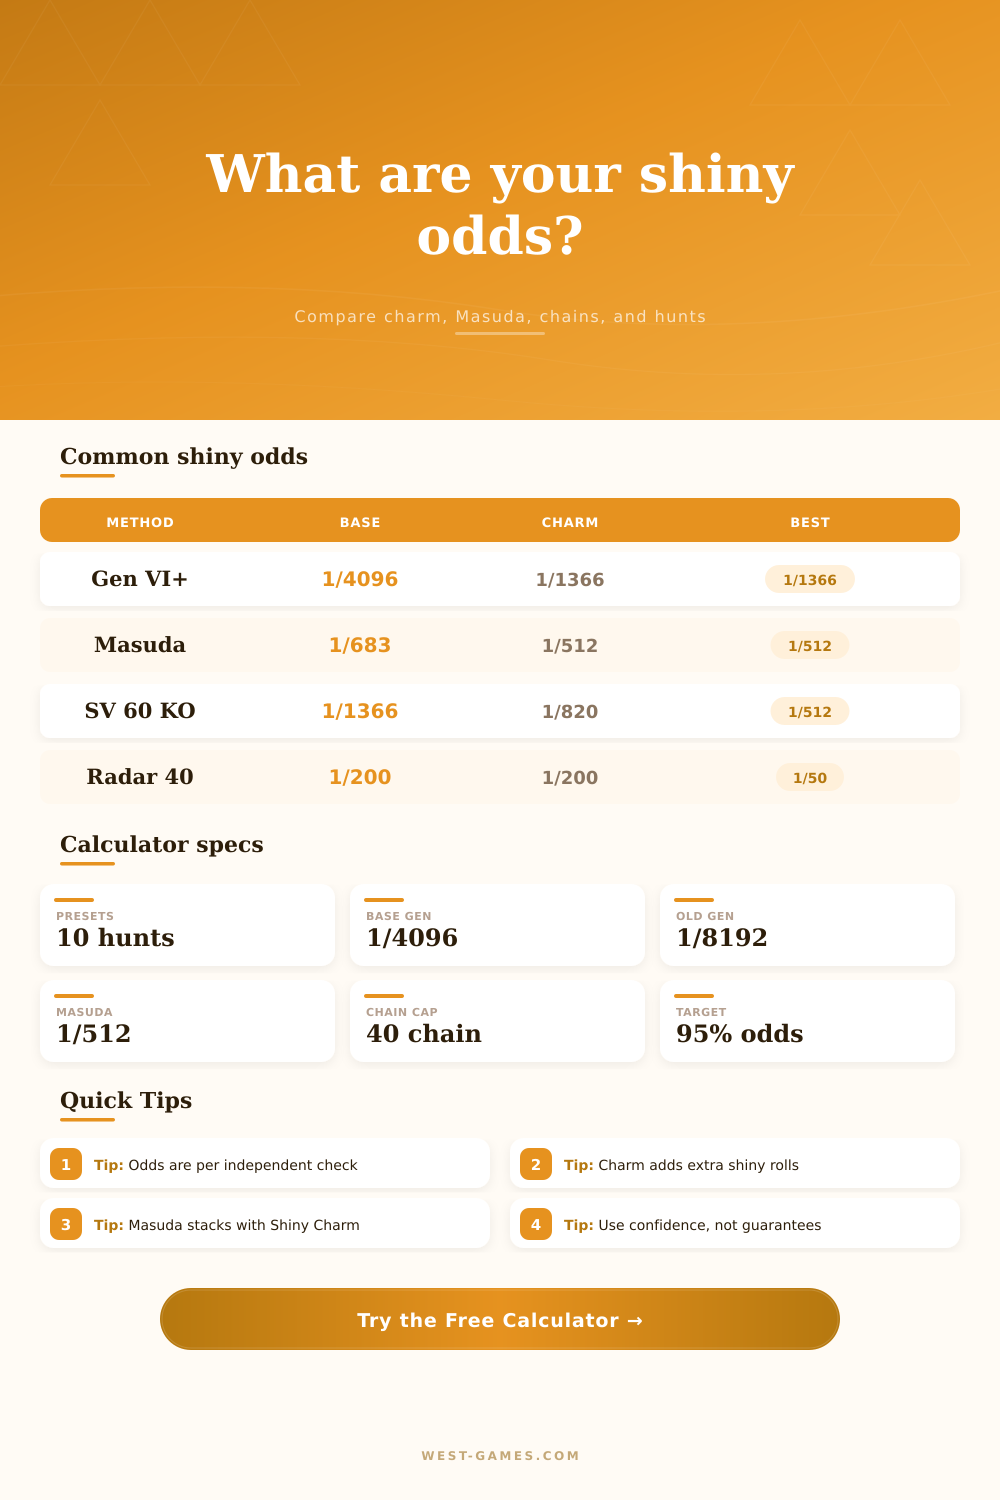
✨ Pokemon Shiny Odds Calculator
Compare base odds, Shiny Charm, Masuda breeding, Poke Radar, chain fishing, Scarlet/Violet outbreaks, encounter probability, expected checks, and confidence targets.
| Generation group | Base odds | Charm odds | Masuda odds | Masuda + Charm |
|---|---|---|---|---|
| Gen II-III | 1 in 8192 | N/A | N/A | N/A |
| Gen IV | 1 in 8192 | N/A | 5 in 8192, about 1 in 1638 | N/A |
| Gen V | 1 in 8192 | 3 in 8192, about 1 in 2731 | 6 in 8192, about 1 in 1365 | 8 in 8192, about 1 in 1024 |
| Gen VI-VII | 1 in 4096 | 3 in 4096, about 1 in 1365 | 6 in 4096, about 1 in 683 | 8 in 4096, about 1 in 512 |
| Gen VIII-IX eggs | 1 in 4096 | 2 in 4096 for eggs with charm only | 6 in 4096, about 1 in 683 | 8 in 4096, about 1 in 512 |
Roll odds are shown in the common Pokemon community shorthand. The calculator uses the exact independent-roll formula for the final probability.
| Method | Milestone | No charm | With charm |
|---|---|---|---|
| Poke Radar Gen IV | Chain 40 | About 1 in 200 per patch | About 1 in 200 per patch |
| Poke Radar Gen IV | Four patches | About 1 in 50 per use | About 1 in 50 per use |
| Chain fishing Gen VI | Chain 20 | 41 in 4096, about 1 in 100 | 43 in 4096, about 1 in 95 |
| SV outbreak | 30+ defeated | 2 in 4096, about 1 in 2048 | 4 in 4096, about 1 in 1024 |
| SV outbreak | 60+ defeated | 3 in 4096, about 1 in 1366 | 5 in 4096, about 1 in 820 |
| SV full boost | 60 + Sparkling 3 + Charm | 6 in 4096, about 1 in 683 | 8 in 4096, about 1 in 512 |
| Output | Formula | What it means | Use |
|---|---|---|---|
| Roll chance | 1 - (1 - 1/D)^R | D is base denominator, R is shiny rolls | Per Pokemon check |
| Attempt chance | 1 - (1 - p)^C | C is checks per attempt | Radar patches or groups |
| Hunt chance | 1 - (1 - p)^N | N is planned attempts | Chance of one or more |
| Confidence target | log(1 - target) / log(1 - p) | Rounds up to attempts | Planning long hunts |
| Expected attempts | 1 / p | Mean checks to first shiny | Average, not guarantee |
| Scenario | Recommended inputs | Typical per-attempt odds | Practical note |
|---|---|---|---|
| Scarlet/Violet outbreak sandwich | SV, outbreak, 60 progress, Charm yes, Sparkling 3 | About 1 in 512 | Best mainstream wild setup when spawns are quick. |
| Masuda breeding in modern games | Gen VI-IX, Masuda method, Charm yes | About 1 in 512 | Works well for egg-only targets and controlled species. |
| Full odds old-school hunt | Gen II-V, wild/static, no charm | 1 in 8192 | Use high confidence targets for realistic session sizing. |
| Poke Radar chain 40 | Gen IV, Poke Radar, chain 40, 4 checks | About 1 in 50 per use | Chain stability matters as much as shiny probability. |
| Dynamax Adventure | Gen VIII, Dynamax Adventure, Charm yes | 1 in 100 | Fixed adventure odds do not use the normal roll stack. |
Suddenly you realize that something make you excited: a Pokemon is on the screen in front of you. And it has to appear, it’s an animation! It can either happen or not but it’s all down to chance.
This is where it become a numbers game. How long do you have to search? An hour? Or will it come soon? It is all math.
Understanding Shiny Hunting Math
That’s the gist of how it works: the game roll a dice. If it rolls a certain number, the Pokemon is shiny. In older generations, that dice had over eight thousand sides so the odds was brutally against you. Today they split the odds in half, though there is still little chance for you.
These odds are expressed as fractions. The calculator will translate those fractions into an estimate of how many hours you should expect before finding a shiny.
A lot of people looks at their 1 in 512 chance and think “oh well, I’ll get one out of every five-hundred tries.” Unfortunatly, the math says otherwise. You could end up getting one out of every fifty, or six-hundred.
The Masuda method give you control because it also adds rolls to that shiny dice. Put two distinct language version Pokémon into your nursery and the game boost your odds. With the Shiny Charm equipped, you get even more rolls. These rolls compound over time; here’s how they compare from generation-to-generation (via the reference table).
Because the base denominator have changed between generations, hunting for a shiny in Scarlet and Violet is going to feel different than hunting one down in Diamond and Pearl. You beat the same Pokemon over and over again to trigger chain hunting and outbreaks. The longer your chain, the higher chance you has, but it can break if you make even one mistake.
To help you weigh that risk, the calculator will illustrate exactly how many times you’ll have to encounter a Pokemon before there is a certain percentage chance. Say you’re going for a ninety-five percent chance, the tool will tell you just how many times you must do so. It makes the unknown become a matter of numbers.
The speed of these encounters also matter. How much time does it take? Do you have a static encounter in a story moment or do you have an outbreak where you walk around and repeat fights? Even at thirty encounters per hour (which is much lower than what I’d call “effective”), you’re still doing worse than someone hitting three hundred encounters per hour.
There’s a place to account for this on the calculator: your pace. This is perhaps the most neglected variable. If you can do something faster without burning out, then yes, it are better.
The higher the chance the less your attention span matter. Optimization matters, but so does endurance. What’s the right setup? It depends on your own patience level and time commitment.
If something doesn’t hold your interest while you’re shiny hunting, you wouldn’t of lasted long enough for the math to catch up. Find what works for you with the tool, then go with it. The math takes care of the rest. This is why you will stay long enough to see the effect. Trust the process.