Factorio Module Productivity Calculator
Calculate productivity bonus, output per minute, input savings, speed penalties, beacon gains, and power pressure for eligible Factorio recipes.
Calculation Breakdown
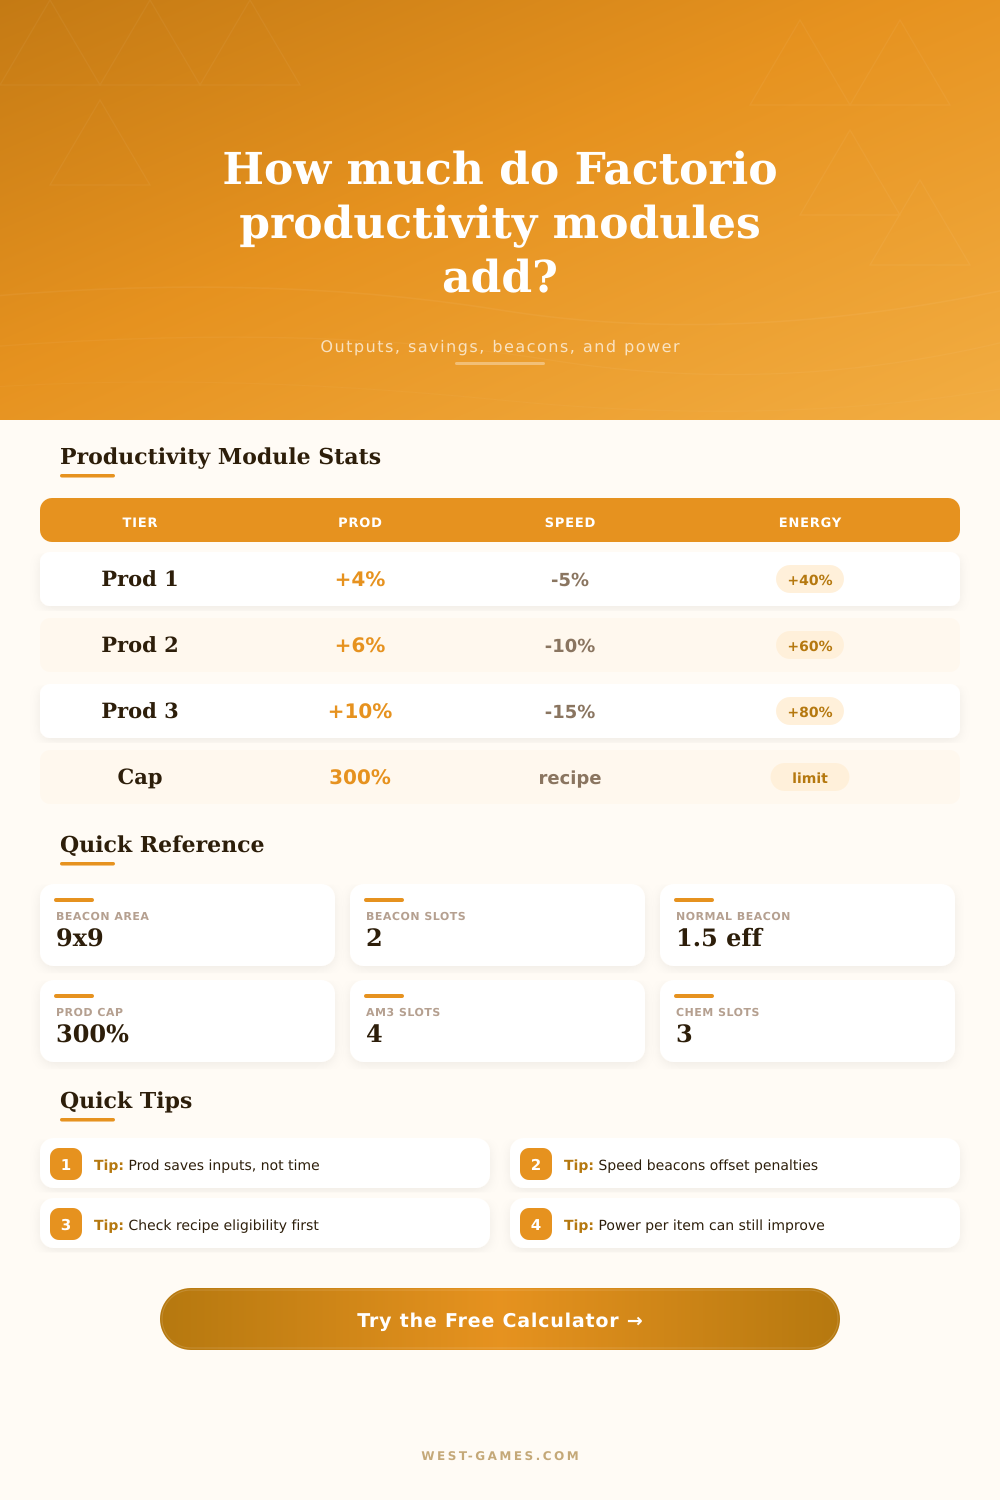
| Module | Productivity | Speed | Energy | Pollution |
|---|---|---|---|---|
| Productivity module 1 | +4% | -5% | +40% | +5% |
| Productivity module 2 | +6% | -10% | +60% | +7% |
| Productivity module 3 | +10% | -15% | +80% | +10% |
| Productivity cap | 300% | Recipe limit | Applies additively | Machine dependent |
| Machine | Crafting Speed | Module Slots | Base Power | Base Productivity |
|---|---|---|---|---|
| Assembling machine 2 | 0.75 | 2 | 150 kW | 0% |
| Assembling machine 3 | 1.25 | 4 | 375 kW | 0% |
| Chemical plant | 1 | 3 | 210 kW | 0% |
| Electric furnace | 2 | 2 | 180 kW | 0% |
| Foundry, Space Age | 4 | 4 | 2500 kW | 50% |
| Electromagnetic plant, Space Age | 2 | 5 | 2000 kW | 50% |
| Cryogenic plant, Space Age | 2 | 8 | 1500 kW | 0% |
| Beacon Item | Current Normal Value | Formula Used | Speed Module 3 Result | Practical Meaning |
|---|---|---|---|---|
| Normal beacon | 1.5 distribution efficiency | 1.5 / sqrt(n) each | 1.5 x sqrt(n) combined | Diminishing returns per added beacon |
| Beacon area | 9x9 tiles | Machine must be inside area | 2 module slots per beacon | Only module-compatible machines |
| Speed module 1 | +20% speed, +50% energy | Beacon strength x module count | Useful early offset | Raises output and power draw |
| Speed module 2 | +30% speed, +60% energy | Beacon strength x module count | Middle speed block | Higher power per machine |
| Speed module 3 | +50% speed, +70% energy | Beacon strength x module count | Common late-game offset | Offsets productivity speed penalties |
| Recipe | Time | Output | Typical Machine | Productivity Status |
|---|---|---|---|---|
| Electronic circuit | 0.5 s | 1 | Assembler | Allowed intermediate |
| Advanced circuit | 6 s | 1 | Assembler | Allowed intermediate |
| Processing unit | 10 s | 1 | Assembler | Allowed intermediate |
| Plastic bar | 1 s | 2 | Chemical plant | Allowed intermediate |
| Rocket fuel | 15 s | 1 | Assembler | Allowed exception |
| Kovarex enrichment process | 60 s | 43 | Centrifuge | Allowed exception |
| Transport belt | 0.5 s | 2 | Assembler | Not eligible here |
Factorio is the type of game where you get a sense of achievement from having a factory running, but forget about how much power it’s using and suddenly your entire science production grind to a halt. Adding more productivity modules to all slots might be the solution, but now your power grid start flickering. The machines grind slower and the factory chokes on its own success. This calculator will help you determine the right balance between efficiency and collapsed infrastructure.
What productivity modules do is give you more output, which costs both in terms of energy and speed. When balancing four different machine types simultaneously it all seem like a lot, and that’s before you’ve got the math down: How much power am I burning? How much input am I saving? Those percentages become concrete numbers; kilowatts per machine, items per minute. On the calculator. That 15 percent speed penalty and 80 percent energy surge; is it really worth the extra 10 percent productivity?
How to Balance Your Factory
Beacons aren’t infinite amplifiers. Most players assume that they are, but this isn’t true. As you increase the number of beacons in a cluster, how well they is spread out falls rapidly. The difference between first beacon and second is immense, whereas the difference between eleventh and twelfth is small. This diminishing return is why you see so many inefficient 9×9 blocks in early game builds.
Many players place an entire ring of eight beacons around a single assembler out of the belief that “more is better”. That’s wasted space and wasted resources! If you’re strategic about your beacon placement, however, you can get away with much less, all without sacrificing performance. Learning this curve will save you thousands of iron plates and hundreds of modules over the course of a playthrough.
Another thing that trips people up is recipe eligibility. Productivity modules aren’t always a good idea for every recipe. For example, some recipes; including things like transport belts, are just incapable of having productivity modules on them at all. If you try to cram productivity into one of those recipes, it’s as if you’re attempting to extract water from a rock. It will shut off those productivity options for any such item, reminding you: look at your research tree before you build. Do you have an intermediate or final product? Usually, only intermediates will be eligible. Recognizing that ahead of time keeps you from building a whole system of machines only to find out you can’t slot in the modules you want.
Power density is the silent killer of late game factories. As you add productivity modules to your machines, they draws more power. Then as you add speed modules to your beacons to make up for the speed penalty, your power draw skyrockets. So yeah, you might be gaining output, but if you’re pulling in more power per item than you were before, then you’ve actualy made your factory less efficient. It’s not just about more items per minute; it’s about fewer resources per item. And this shifts your thinking based off how you lay out your factory, moving your focus away from raw throughput to resource conservation. Now you’re looking at the cost of the inputs instead of just the volume of the outputs.
Another wrinkle in this equation comes from quality mechanics. Legendary machines craft faster and have higher efficiency. But these still has the exact same stats on modules. You might wonder why a productivity module doesn’t seem to matter as much with a legendary version of that machine as it did with a normal one. It’s because the base speed differs but the percent penalties don’t. So you need to recalibrate your beacon coverage for each quality increase. What was appropriate for a normal assembling machine 3 may now be overkill for your legendary assembling machine. You’ll need to reconfigure as you play the game.
There is also a handy set of reference tables included with the calculator that contain all the base stats for different machines types/modes and module tiers. This way you don’t have to remember all the coefficients. Just take a peek at these tables and you’ll know instantly that an assembling machine 3 has four module slots whereas a chemical plant has three. Or that a module 3 for productivity will add 10% to your productivity but cost 15% speed. These little details make all the difference and determine how you’re going to build. And yes, you won’t be able to fit four modules into a chemical plant. Work with what you’ve got.
That’s the core of mastery in terms of productivity: working with constraints. You have limited space. You have limited power. There is a limited number of modules. How do you balance all those constraints? What tradeoffs do you make? The calculator provides the numbers; you provide the choices. Do I prioritize saving inputs over saving space or saving power? Do I save some inputs? There isn’t just one right answer, and there isn’t one single best answer for your current situation.
And that’s where many people fall down. They seek out a perfect build, which doesn’t exist. Find a workable build. The factory still runs. It might not be pretty, but it runs.