DoT Damage Total Calculator
Estimate tick damage, duration scaling, haste breakpoints, crit value, refresh clipping, uptime, target count, and fight-long damage for damage-over-time effects.
| Base Setup | Duration | Tick Interval | Ticks at 0% | First Extra Tick |
|---|---|---|---|---|
| Fast poison | 10 sec | 1.0 sec | 10 | 10.0% haste |
| Standard bleed | 18 sec | 2.0 sec | 9 | 11.2% haste |
| Raid burn | 12 sec | 1.5 sec | 8 | 12.5% haste |
| Long curse | 24 sec | 3.0 sec | 8 | 12.5% haste |
| Pet plague | 16 sec | 2.0 sec | 8 | 12.5% haste |
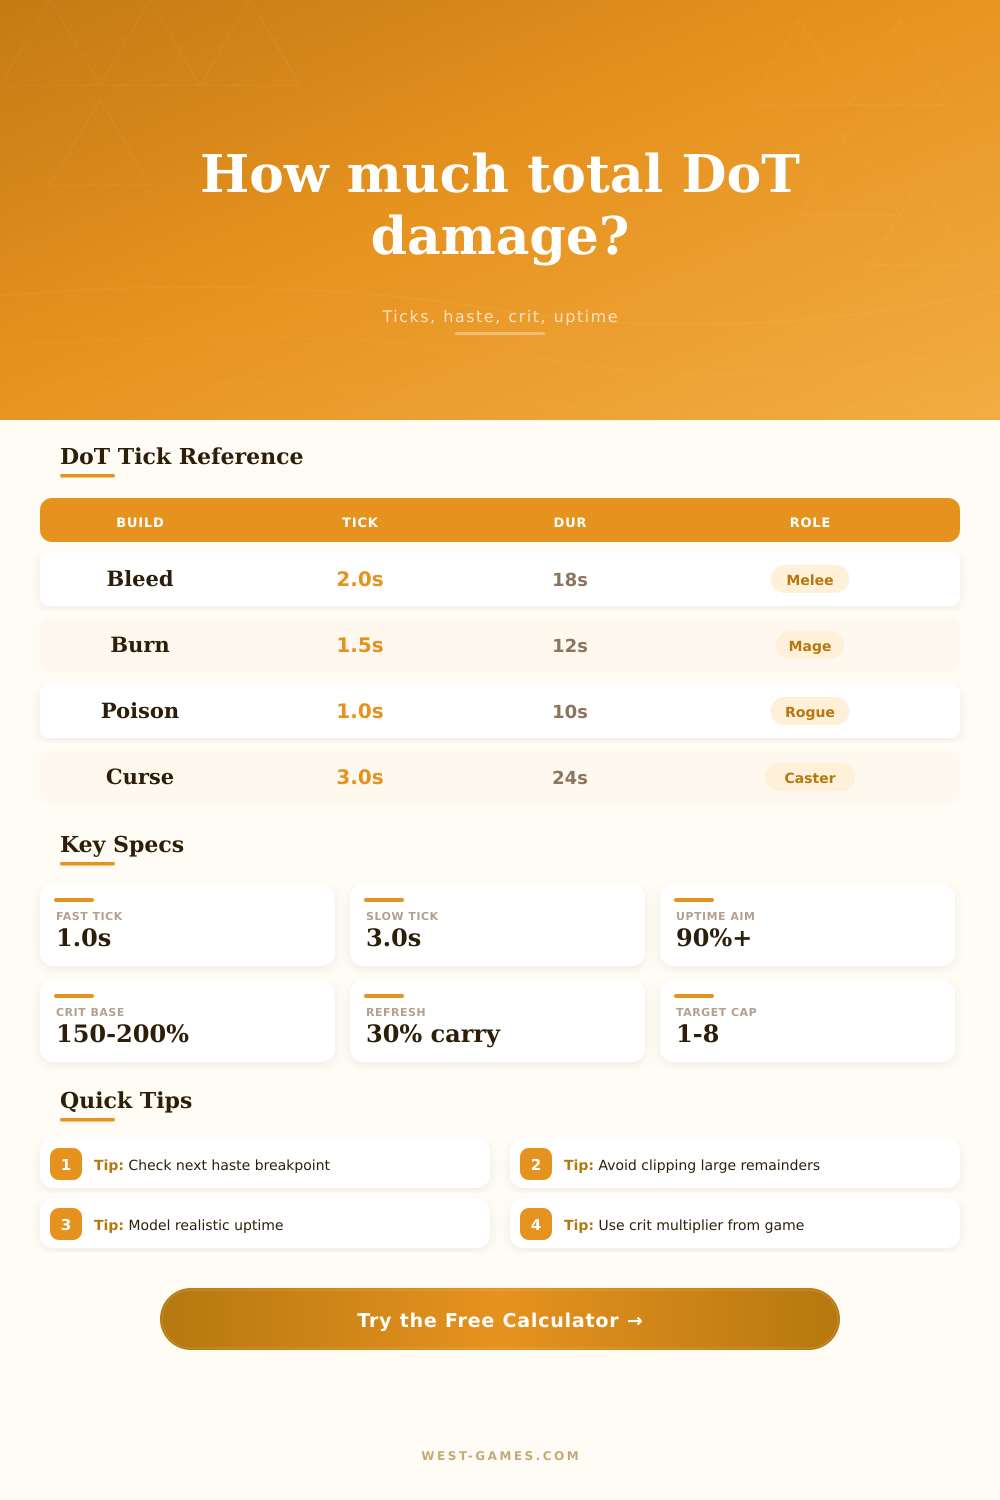
| Profile | Base Tick | Coefficient | Duration | Best Use |
|---|---|---|---|---|
| Bleed | 950 | 0.16 | 18 sec | Melee pressure with steady uptime |
| Burn | 1250 | 0.22 | 12 sec | Short caster windows and target swaps |
| Poison | 520 | 0.10 | 10 sec | Fast ticks and multi-target cleave |
| Curse | 1700 | 0.28 | 24 sec | Low-maintenance raid application |
| Ignite | 1500 | 0.30 | 8 sec | Crit-heavy burst damage tracking |
| Refresh Rule | Carry Limit | Risk | Use In Calculator |
|---|---|---|---|
| Hard clip | 0% of duration | Loses all remaining ticks | Strict older mechanics |
| Pandemic | 30% of duration | Only large early refreshes lose time | Modern refresh windows |
| Full extend | All remaining time | No clipping loss from timing | Stacking or extending effects |
| No refresh | Not applicable | Single application estimate | Short encounters or proc tests |
| Scenario | Typical Haste | Uptime Target | Crit Model | Watch Closely |
|---|---|---|---|---|
| Competitive arena | 5% to 18% | 65% to 85% | Lower sample reliability | Dispel and downtime |
| Raid boss | 12% to 35% | 90% to 99% | Expected average works well | Refresh timing |
| AoE pack | 8% to 28% | 45% to 80% | High variance by target count | Target survival time |
| Burst window | 20% to 50% | 50% to 75% | Crit multiplier dominates | Short duration clipping |
Damage over time effects gets ignored by most players as an afterthought, a passive bonus that ticks away while player focuses on their main rotation. That’s a mistake: These sorts of effects increasingly determines your survival, your burst windows, and even your gear choices. They’re not dealing damage per second like something static; instead, they’re creating a series of discrete events each with its own expiration date and timing window. Miss the beat and you throw away potential damage from ticks you missed or cooldowns you wasted.
Once you plug those numbers into the calculator above (which does all that tricky math for you), you no longer have to guess at tick intervals and coefficients. To make good use of it, though, you need to know what each of those inputs mean in terms of your actual fight. Attack or spell power and base tick damage are the starting place because they’re the building blocks of your damage.
Why Damage Over Time Is Important
Haste reduces interval between ticks, not directly their amount, so it adds variance… And this is important because it might drop you over a breakpoint and gain you another full tick inside the same window. An extra tick can be worth multiple percentage points of straight-up power. Beyond that, there’s the additional problem of critical strikes, which have an average multiplier across hundreds of ticks during a prolonged fight. This can be modeled as an expected value; it doesn’t rely on luck and instead provides a number you can plan around.
To figure out how much crit vs haste stacks should give you, you must understand your own effective critical multiplier. In most cases, the solution depend on how close you are to a haste breakpoint. An additional five percent might make your haste gear absoluteley invaluable; but once you’re past the tipping point, every extra bit of haste only result in small returns.
Most builds fail because they don’t understand refresh mechanics. If you clip too much left-over duration, the maximum damage you can deal will be capped by applying effect early. You want to carry over some of the leftover duration, which means refreshing right before the carry window closes. That way you keep the effect up on target but never waste any ticks. It’s a balance between needing uptime and fearing it will expire.
Theoretical maximums are based off hitting every single tick of an effect end-to-end without interruption. That’s never what actualy occurs; you’ll switch targets, you’ll have downtime, and you’ll move around. You can change the Uptime value to account for realistic expectations, which helps put the numbers into perspective. For example, with a 10 second effect at a 92% uptime, the actual amount of damage done is far lower than unmoderated math would indicate. Particularly when downtime occurs during high-impact bursts. Don’t get hung up on the theoretical tops: Consistency is key here.
The equation changes in multi-target situations, where the refresh logic becomes more difficult to track with your eyes alone and where you can’t watch eight timers simultaneously. The calculator will help estimate overall output of an effect against a pack based on stack limits and target survivability. It shows when keeping DoT up on five targets is worthwhile versus just using it on one or two. Most times it’s not; unless they’re low-health pool enemies who dies before the DoT wears off.
They’re a reflection of how you choose to build, and help showcase the pros and cons of each setup. Do you prefer faster tick speeds with flexibility? Or slower for comfort over time? It’s not one size fits all; whatever works best for you during that fight/your play style is what you should of used.
If your plan doesn’t pan out when push comes to shove, those numbers will be there to show you. Getting them down to muscle memory turns mindless clicking into controlled damage. It also changes your mentality to controlling the flow instead of trying to react to it.