Shield Uptime Calculator
Model shield duration, cooldown, absorb strength, incoming DPS, refresh delay, uptime percent, and effective mitigation for game builds.
| Shield Type | Typical Use | Profile | Calculation Note |
|---|---|---|---|
| Barrier Shell | Tank rotations | Balanced | Strong when duration is close to cooldown. |
| Overshield Layer | Shooter survivability | Front-loaded | Absorb amount usually caps before duration ends. |
| Magic Ward | Caster defense | Long cooldown | High value during predictable burst phases. |
| Reactive Guard | Counterplay builds | Short window | Refresh delay matters more than raw duration. |
| Team Dome | Group utility | Wide coverage | Mitigation depends on shared incoming pressure. |
| Regenerating Shield | Sustain builds | Low gap | Repeated small absorbs smooth damage intake. |
| Encounter Pressure | Incoming DPS | Shield Stress | Useful Target |
|---|---|---|---|
| Light adds | 40 to 120 | Low | High uptime is usually enough. |
| Elite pack | 120 to 260 | Medium | Balance absorb amount with refresh delay. |
| Boss sustained | 260 to 520 | High | Absorb cap is often the limiter. |
| Raid burst | 520 to 900 | Severe | Time shield casts around damage spikes. |
| PvP focus fire | 300 to 1200 | Volatile | Short gaps are safer than huge cooldowns. |
| Metric | Strong | Playable | Risky |
|---|---|---|---|
| Uptime Percent | 70% or more | 45% to 69% | Under 45% |
| Effective Mitigation | 35% or more | 18% to 34% | Under 18% |
| Average Gap | Under 4 sec | 4 to 10 sec | Over 10 sec |
| Absorb Efficiency | 80% or more | 55% to 79% | Under 55% |
| Preset | Duration | Cooldown | Best Fit |
|---|---|---|---|
| Raid Tank Barrier | 10 sec | 6 sec | Sustained boss tanking |
| Arena Duelist Ward | 4 sec | 5 sec | Timed trades and disengage |
| Mage Bubble Cycle | 6 sec | 12 sec | Surviving burst phases |
| Support Aegis Chain | 9 sec | 6 sec | Group protection windows |
| Looter Overshield | 5 sec | 8 sec | Frequent shooter damage |
| Regen Loop Build | 3 sec | 2 sec | Smoothing steady pressure |
When you reach the start of a boss fight, there’s an anxious pulse running through your health bar. A three-second timer ticks down as giant hitbox appears on your screen, and if you can time your cooldowns right, you’ll make it through. By now, having high shield uptime isn’t some abstract stat, it’s the line between a clean clear and a frustrating reset.
Players often focus on pure absorb value; they don’t account for duration of that protection compared to damage dealt. Having a massive shield that shatters after two seconds provides far less security then a moderate one that lasts for six seconds. The gap matter more than the peak.
How Shield Uptime Keeps You Safe
When you input your individual scenario details, the calculator do all the math for you. You don’t need to guess at timing or how things convert. Instead, it makes you look squarely at what’s going into your rotation, rather than rely on some hopefully rosy number shown on item tooltip.
Survivability comes down to two factors: duration and cooldown. If you can put up a shield that lasts for eight seconds but takes ten to come back, that means for two seconds you’re wide open. Two seconds doesn’t sound like much, but more often than not that’s one shot, maybe even less. The calculator will crunch out what percent of the time you’ll actualy be protected, stripping away the illusion of invincibility that comes with having a lot of absorption capacity.
That same shield behaves very differently when we plug in actual damage received per second. Absorb values of 1000 look good on light adds, but melt away like butter before raid boss. To find out whether your shield fades while idle or breaks too soon, you must enter the actual DPS you’re facing. That’s where many builds fall apart. People stack absorb without checking if it will last for more than half its duration against actual incoming damage. The calculator expose this inefficiency by displaying both uptime and absorb usage.
If you run out of shield with half of it still intact, then you’ve wasted resources that could of otherwise gone towards healing or active mitigation. The silent killer here is refresh delay on defensive rotations. In theory, your shield comes off right when the next one goes on. In practice? Human reaction time, animation locks, and movement interrupts that flow. A half-second delay can greatly increase length of your vulnerability gap.
To address this, the tool allows you to enter a refresh delay, giving it a better idea of how well your rotation will perform based off a perfect-rotation simulation. It matters when you’re dancing around telegraphed AoEs with an eye toward maintaining coverage.
Another wrinkle comes from Pierce mechanics, since not every type of damage affect shields in the same way. Certain attacks don’t respect parts of your absorption, lowering the effective value of your shield. By taking into account piercing rate, the calculator changes its mitigation percentage so you can avoid being over-reliant on defense that won’t stand against certain abilities. This is particularly important when fighting high-level enemies that deals both magic and physical damage. Knowing how this stuff works lets you customize your build to suit whatever dangers you’re facing instead of having to go generic.
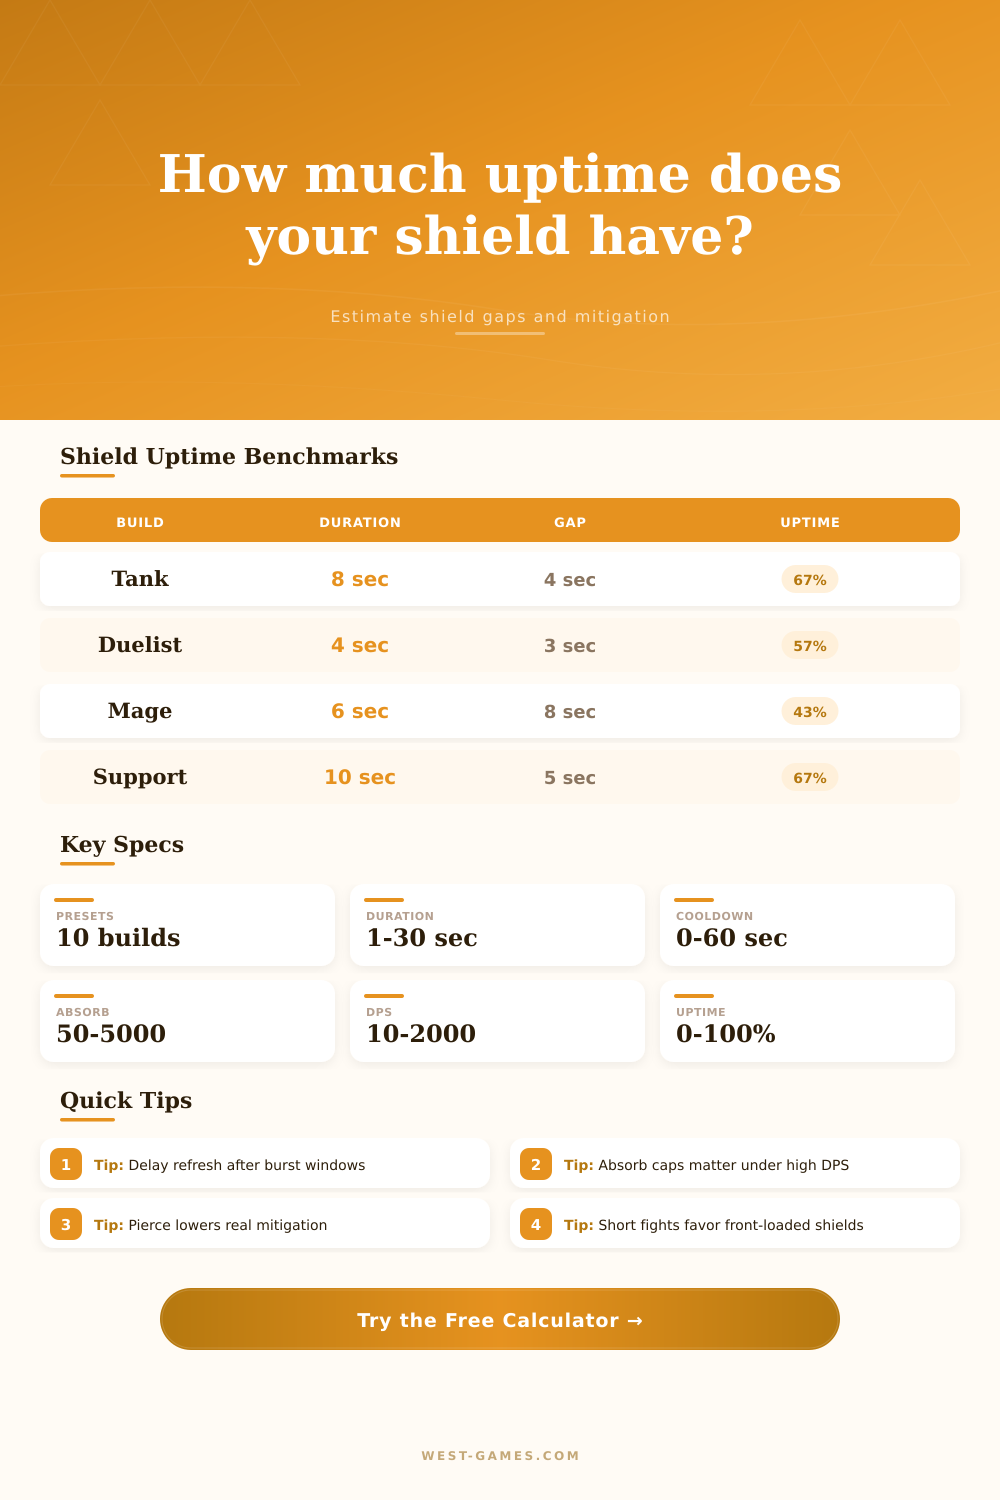
To that end, the page includes reference tables with benchmarks for various play styles, such as mage bubbles and tank barriers. They’re meant as a guide, not hard-and-fast rules: the more mobile or high-damage your character is, the less time you are willing to spend out of combat while dueling. Or, conversely, if you want to be that support character keeping the team alive, you’ll want steady coverage, which is why understanding your role informs how you read results.
Not everything can stay active all the time, especially if it comes at cost of something else important. In the end, it’s about taking risks and surviving over time. There’s no way to remove every bit of damage, but you can manage how and when it comes in. If you break things down into gaps, uptime, and effective mitigation, you’re not just playing defense by guesswork anymore, you’re making it a strategic exercise.
Your build’s toughness will be reflected in those numbers. Listen to what they say, tweak your inputs, and go into that fight confident as hell in knowing when you can stand there and when it’s time to make your exit. This confidence is more valuable than any stat increase.