Overheal Waste Calculator
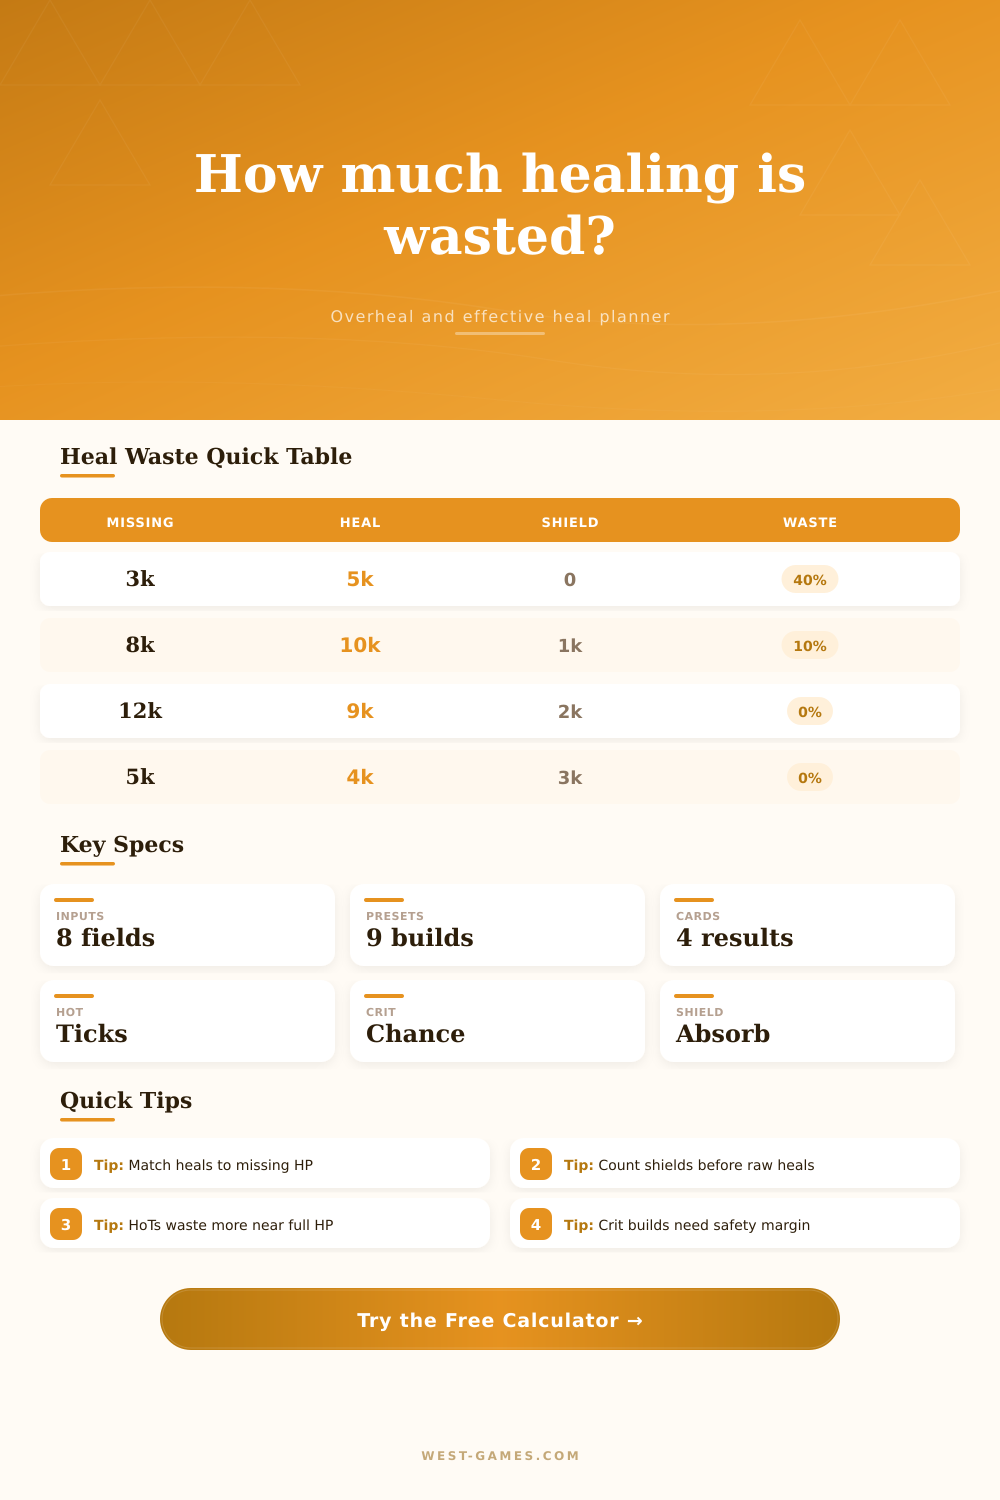
Estimate how much of a heal, crit, HoT sequence, and shield stack actually restores missing HP instead of disappearing into overheal.
🎮 Named Healing Presets
⚙ Heal Inputs
📊 Current Spec Grid
🧮 Waste Pattern Table
| Situation | Missing HP | Heal Package | Likely Waste |
|---|---|---|---|
| Top-off after chip damage | 10% to 25% | Large direct heal | High unless delayed |
| Tank spike recovery | 35% to 65% | Direct plus shield | Low to moderate |
| Rolling HoT maintenance | 5% to 40% | Several small ticks | Depends on incoming damage |
| Crit-heavy burst build | 20% to 55% | Direct heal with crit | Volatile; average can mislead |
🛡 Healing Component Reference
| Component | Calculator Field | Useful When | Waste Risk |
|---|---|---|---|
| Direct heal | Base Direct Heal Size | Target has clear missing HP | High near full HP |
| Critical heal | Crit Chance and Multiplier | Build relies on burst saves | High when crits land late |
| HoT ticks | Tick Count and Tick Size | Damage arrives over time | Moderate near health cap |
| Shield absorb | Shield Already Applied | Damage prevention matters | Low if damage follows soon |
⚔ Preset Comparison Grid
| Preset | Role | Profile Strength | Main Watchout |
|---|---|---|---|
| Raid Burst Save | Group healer | Strong emergency recovery | Crits can overshoot |
| Arena Top-Off | PvP support | Fast stabilizing cast | Small missing HP window |
| Mythic Tank Spike | Dungeon healer | High missing HP coverage | Shield timing matters |
| HoT Blanket | Raid maintenance | Smooth tick delivery | Weak during no-damage gaps |
📐 Effective Healing Standards
| Waste Band | Readout | Typical Cause | Adjustment |
|---|---|---|---|
| 0% to 10% | Excellent fit | Heal lands into real damage | Keep timing similar |
| 11% to 25% | Playable waste | Some shield or HoT overlap | Trim one tick or smaller cast |
| 26% to 45% | Inefficient package | Target is too healthy | Delay or swap to maintenance |
| 46%+ | Major overheal | Large heal into low deficit | Reserve burst for deeper damage |
💡 Practical Tips
The big number show up, all in bright green. It looks good. It’s cool. And then you realize it isn’t even making a dent because your teammate is already at max health. All the points beyond that dissapears. No one survives from any of that wasted healing. You just spent your mana and cooldowns for nothing, and now you’re out of juice when someone really needs you.
The healers concentrate on their numbers without realizing they aren’t filling gap in people’s health. After that, all you have to do is plug in what your target’s status are, and the calculator does the rest. You don’t have to guess at how big of a burst will make a difference. Usually it isn’t even about how large the heal is itself. The key stat is how far away the target is from being out of trouble (before the next hit). Casting a 28,000-point heal on a target with 8,000 health left? You just wasted 15,000 points.
Why You Waste Your Heals
Crits also makes a difference because they inject some volatility into your output, so the tool breaks things down into direct heals and critical strikes. A high-crit-chance build may appear very efficient, but those spikes tend to come when target is already too healthy.
Shields change everything. A lot of people view shielding and healing as two different thing, when they’re really filling the same gap on your health bar. On a tank with 6000 points of absorb, that represent a chunk of available health space. The calculator takes existing shields into account to display the true health space remaining. Otherwise, you’re double-dipping, casting into open air or healing over the top of an active shield because you incorrectly estimated how protected they were. It’s a minor thing, but it prevents costly mistakes during close calls.
Another one is heals which heal over time. Their slow application makes them seem safe, but if damage stops before the tick completes, they are heavy waste. For example, maybe you put up some 3 second heals on your raid group after they finish a mechanic and sit around idling. Those leftover ticks won’t save anyone. They’ll simply vanish.
The maintenance heal preset in the tool will help you visualize where there’s an overlap between your heal sequence and upcoming damage windows. If waste percentage exceeds 25 percent, you probably has your spells/timing wrong. Knowing when you’re in the 0-10 percent zone (where each point matter), or above 46 percent (gambling with resources that might help you avoid a wipe) allows you to make an adjustment on the go. If your waste rate is between 0-10 percent, you’re hitting the sweet spot and your rhythm is a safe bet.
The page also has some comparison tables of various encounters, so you can see at a glance how they compare: Arena top-offs are less tolerant of error than raid bursts because health swings happen faster and predictability is lower. For arena players, this translates to less margin for mistakes.
Take-away: Save your largest spell cast for your largest cut. Don’t throw out the nukes at the scratch. Adjust to match the danger scale. Accept some of your casts won’t land anything at all if you’re casting for crits and build accordingly. Expect variance and make plans around it.
It’s not about reducing waste down to zero-percent. That’s almost impossible in a chaotic encounter. It’s about having something left over that counts for something when the wheels fall off. Stop running after green bars that dissipates into thin air. Measure the distance between dead and alive, and only fill what is required. Your mana bar would of appreciate it.