Burst Damage Window Calculator
Estimate burst total, burst DPS, buff overlap, crit-window value, vulnerability timing, execute scaling, cooldown readiness, and resource-spend efficiency for raid burns, PvP swaps, ARPG rotations, and boss openers.
Window model: regular actions run after ramp time, cooldown buffs and vulnerability scale only for their overlap, crit-window bonus applies to the portion under crit timing, execute adds a late-window multiplier, and spender damage is capped by available resource.
Window Breakdown
Timing Read
Current Rotation
Uses opener length, ramp, buffs, crit timing, vulnerability, execute scaling, and resource spend.
No Vulnerability
Removes the target damage-taken debuff so you can isolate the debuff callout value.
Perfect Overlap
Extends buff, crit, and vulnerability timing to cover the whole usable damage window.
Missed Ramp
Adds two setup units before damage starts to show how delay trims a short burst.
| Window | Burst total | Burst DPS | Read |
|---|
Rows keep current rotation stats but test shorter and longer opener windows.
| Layer | Input | Overlap | Average gain |
|---|
Average gain is the layer bonus weighted by actual overlap with damage time.
| Resource | Spenders | Spender damage | Total burst |
|---|
Spend rows reveal when pooling more meter adds a real extra finisher.
| Game context | Typical window | Main limiter | Planning note |
|---|---|---|---|
| PvP swap | 4 to 8 sec | Control chain | Front-load instant spenders before escape tools return. |
| Raid burn | 15 to 30 sec | Cooldown sync | Hold minor buffs if they align with vulnerability and lust. |
| ARPG boss | 8 to 15 sec | Vulnerable uptime | Pool resource so high multipliers cover every finisher. |
| Stagger phase | 5 to 10 sec | Animation lock | Prefer fast high-value hits over slow casts that clip the end. |
| Turn phase | 2 to 4 turns | Action count | Buff before the phase, then spend the strongest limited actions. |
Use these ranges as sanity checks when a custom setup feels too long or too short.
| Profile | Default pressure | Execution risk | Best comparison metric | Watch out for |
|---|---|---|---|---|
| Raid boss burn | High uptime | Cooldown drift | Damage per cooldown cycle | Buffs that miss vulnerability by one global. |
| PvP target swap | Interrupted uptime | Control break | Damage before escape | Ramp time consuming the whole stun window. |
| MOBA combo | Short combo | Skillshot miss | Front-loaded total | Execute damage arriving after shields or heals. |
| Looter shooter | Magazine bound | Reload timing | Damage per mag window | Buff duration shorter than reload plus swap time. |
| Turn based phase | Action limited | Setup order | Damage per turn | Spending meter before damage-taken debuffs land. |
The calculator applies these profiles as small pressure factors, then all major math still comes from your custom inputs.
Burst windows are the bane of many players’ existence; this calculator removes all guesswork and turns timing into hard data to show you precisely how much output is in a window and how much you’re losing if your timing is off. A lot of people simply guess their way around timing, but that won’t optimize your playing; this tool does.
A burst window are more than just doing more damage; it’s about cramming in more of something that’s worth it within less time. The idea here is that you begin by determining the ramp time (non-damage setup, like moving into position or pre-casting a buff) and then duration of the opener itself. You take away ramp time from the total available window. Because if your ramp are using up half of the window, you’ve essentially lost the fight before you even get a single attack off. That’s where the math comes in.
How to Use Burst Windows Better
Short, aggressive openers will often beat longer ones with better average stat numbers. This is because they include the ramp time as part of the overall damage window. Next you add on multipliers such as vulnerability debuffs, crit windows and your primary cooldown buff. If multiple buffs doesn’t overlap, their effects do not add up directly.
What’s the point in having an enormous damage boost if it dissapears just before the start of your critical strike window? The calculator depicts this stacking, allowing you to visualize when all your buff overlap and exactly when they will take effect. That’s where most of the optimization occurs. For example, adding five more seconds to a buff may seem helpful, but those additional seconds is worthless if they don’t coincide with your damage phase. The math tells you when to get better timing or simply longer buffs.
The final level of complication come from resource management: you only have so much mana, rage, or other energy to expend on your best finishers. Depending on the value of those finishers, this calculator determine how many of them you can reasonably include within the window, given your resource levels. Do you have five cast-worthy spender but only time for three? That excess meter is wasted potential. Not only does it help determine if it’s worth pooling up extra resources, it helps you improve your action speed to get as many hit in as possible. It makes resource planning into a real limit you can manage.
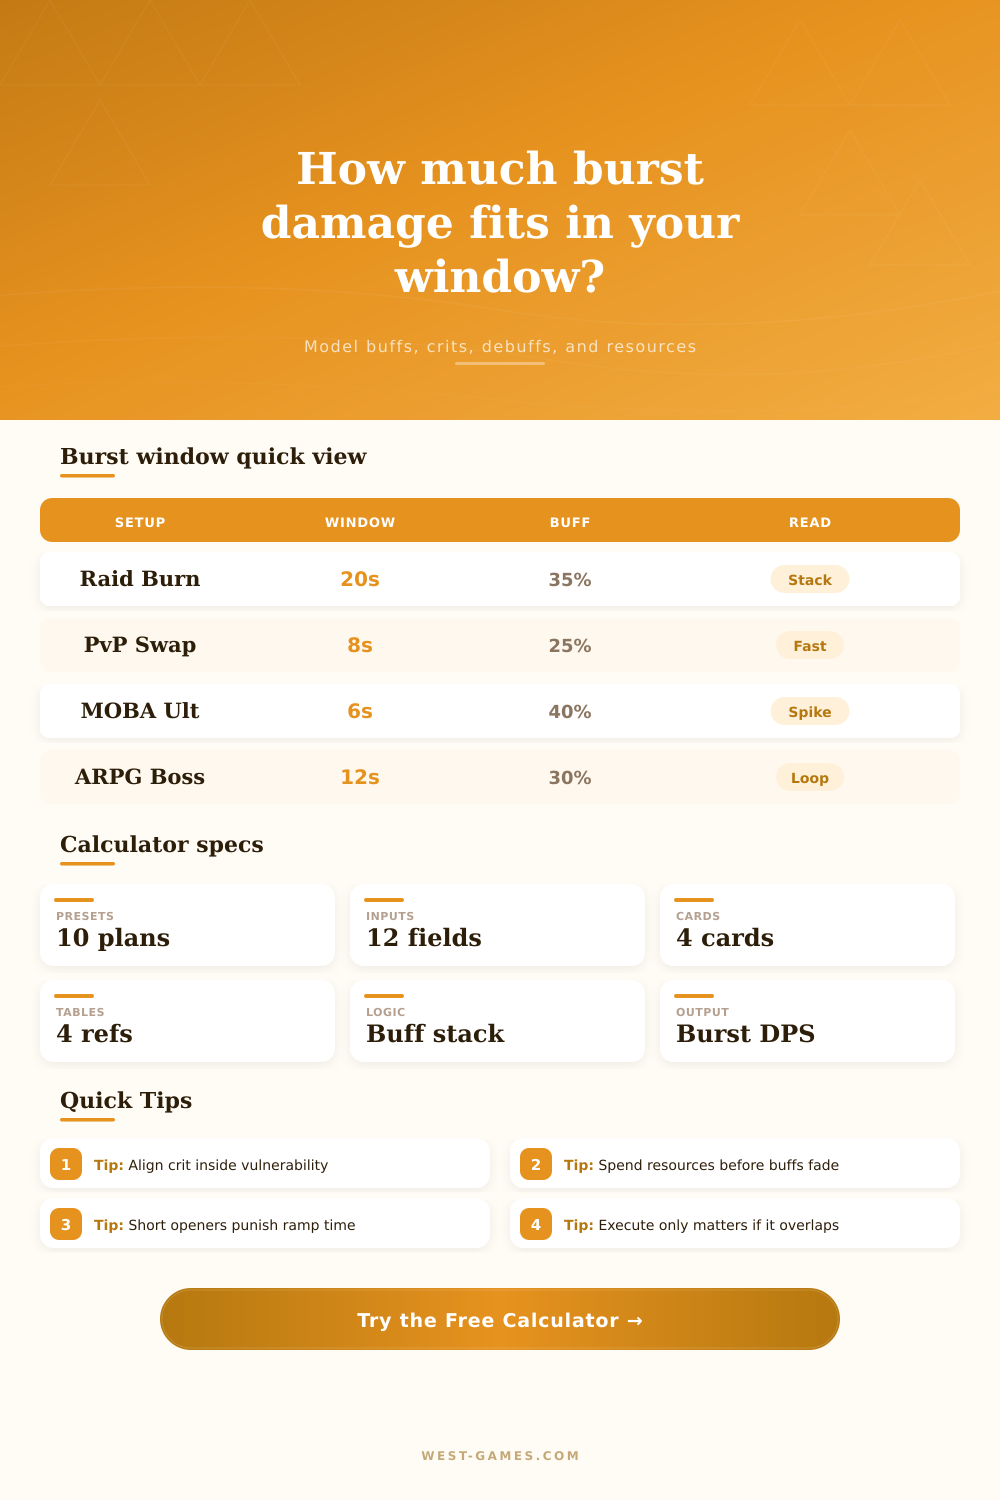
Fortunately, it comes with some reference tables that give some benchmarks for various game types. For example, maybe you have an eight second PvP target swap that’s all about front-loading damage to prevent the enemy from escaping. Or perhaps you have a twenty second raid boss burn that’s a dance of cooldowns and is all about syncing up. These scenarios alter what’s most important.
Burst intensity are more critical in short window, while sustained uptime takes over when there’s a longer window. Recognizing this helps avoid optimizing for the incorrect metric. Take those learnings and try to press test your own rotation by tweaking things one variable at a time: reduce the ramp time, increase the vulnerability duration, see what happens to the overall output.
You’ll find out that it’s rarely your base stats or even your gear that is constraining you, it’s a half second lag on applying that debuff that results in thousands of damage over time. When you isolate those variables, you get away from the frustrating “I don’t know what I’m doing wrong” into specific ways to improve.
And that’s what it all comes back to with burst windows: Every second counts, and there’s a place for each of these abilities. When you begin to see your rotation as a timed puzzle instead of a button mash, the results speak for themselves. It’s when you no longer leave damage on the table because you know actualy how much fits inside.