💡 Strobe Duty Cycle Calculator
Estimate refresh timing, backlight strobe pulse width, duty cycle percentage, brightness loss, crosstalk window, MPRT, phase offset, and LCD scanout timing for blur reduction modes.
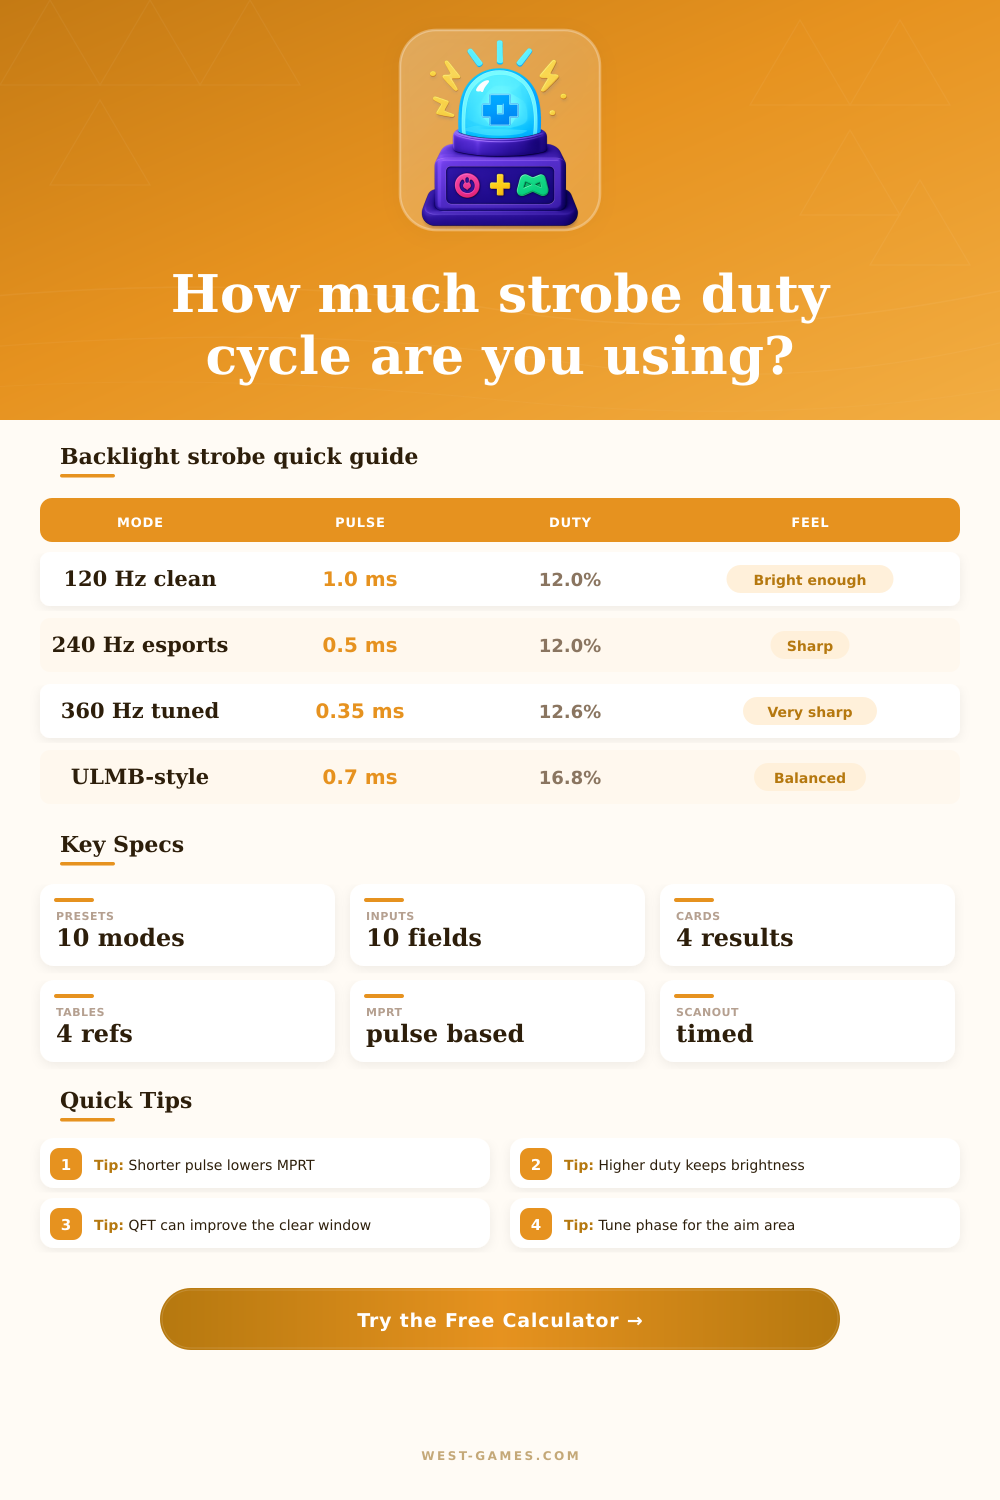
| Preset | Refresh | Pulse | Duty |
|---|---|---|---|
| 120 Hz CRT-like | 120 Hz | 1.00 ms | 12.0% |
| ULMB 144 | 144 Hz | 0.80 ms | 11.5% |
| DyAc 240 | 240 Hz | 0.50 ms | 12.0% |
| ULMB 2 360 | 360 Hz | 0.35 ms | 12.6% |
Duty cycle is pulse width divided by frame time. Similar duty can feel different when scanout and pixel transitions change.
| Pulse width | Motion clarity | Brightness cost | Use case |
|---|---|---|---|
| 0.25-0.40 ms | Very sharp | Very high | Bright esports monitors |
| 0.45-0.70 ms | Sharp | High | 240-360 Hz FPS play |
| 0.80-1.20 ms | Balanced | Moderate | 120-165 Hz strobe modes |
| 1.50 ms+ | Brighter but blurrier | Lower | Casual clarity boost |
MPRT on a strobed LCD is usually close to pulse width, then worsened by transition overlap, jitter, and crosstalk.
| Refresh | Frame time | Normal scan | 60% QFT scan |
|---|---|---|---|
| 120 Hz | 8.33 ms | 8.33 ms | 5.00 ms |
| 144 Hz | 6.94 ms | 6.94 ms | 4.17 ms |
| 240 Hz | 4.17 ms | 4.17 ms | 2.50 ms |
| 360 Hz | 2.78 ms | 2.78 ms | 1.67 ms |
Quick frame transport uses a larger vertical total or faster transport burst so the LCD has more dark time before the flash.
| Symptom | Likely cause | Adjustment | Tradeoff |
|---|---|---|---|
| Double image near top | Phase too late for top rows | Move phase upward | Bottom may worsen |
| Double image near bottom | Phase too early for bottom rows | Move phase downward | Top may worsen |
| Whole screen ghosting | Pulse or GtG too long | Shorten pulse, tune overdrive | Brightness drops |
| Good center, bad edges | Normal rolling scan limit | Use QFT or lower refresh | Mode support varies |
The best strobe phase is often the one that makes the crosshair or main tracking zone cleanest.
| Refresh | Frame time | 0.35 ms pulse | 0.50 ms pulse | 0.80 ms pulse | 1.00 ms pulse |
|---|---|---|---|---|---|
| 120 Hz | 8.33 ms | 4.2% | 6.0% | 9.6% | 12.0% |
| 144 Hz | 6.94 ms | 5.0% | 7.2% | 11.5% | 14.4% |
| 240 Hz | 4.17 ms | 8.4% | 12.0% | 19.2% | 24.0% |
| 360 Hz | 2.78 ms | 12.6% | 18.0% | 28.8% | 36.0% |
| 500 Hz | 2.00 ms | 17.5% | 25.0% | 40.0% | 50.0% |
At very high refresh rates, the same pulse width consumes more of the frame, so brightness improves but crosstalk and visible transition overlap can become harder to hide.
First your monitor will flash the backlight for a fraction of a millisecond. Next, your monitor make the rest of the frame completely dark. That’s strobe. By cutting off the light before your pixels smear across the screen, your eyes thinks they’re looking at a crisp image. In practice, that means you get to trade off brightness for clarity, one frame after another.
Most folks wing it by leaving their brightness on max until it starts getting all washed out or turning down their pulse so far that they can’t read their health bar anymore. Once you tell the calculator what your refresh rate is and how long you want your pulse to be, it figures out the math for you and saves you from having to guesstimate factors and convert things yourself.
How Strobe Mode Works
Duty cycle refer to the percentage of the time that the backlight is on. In general, a standard strobe pulse will be half a millisecond long, whereas at 240 Hz your frames would take roughly 4.17 milliseconds. When you divide them out, you end up with something like a 12 percent duty cycle, that means your screen is only on 12 percent of the time and off 88 percent of the time. That’s what makes the strobe mode look dim, though the calculator let you know exactly how much you’re dropping by way of nits.
Since many moddern panels compensate by cranking up their voltage during the flash, this also result in a boost to the backlight. Even with 12 percent duty cycle, you could still have some usable brightness, assuming hardware supports it.
When it goes south though, you end up with a double image ghost called cross talk. This happens when your pixels hasn’t finished changing from one color to another before the backlight turns back on, flashing them back into the old color. If your overdrive settings are too aggressive or your panel is slow then the image won’t be set by the time the light comes on. You are left with a smear of last image hanging around in the background.
The reference table illustrates this clearly by showing how pixel transition times, pulse width, and refresh rate interacts. It is better if your pixels settle quickly, during that brief time when the pulse is short enough to help reduce window for crosstalk. But if they aren’t settled quick enough there’s nothing you can do about it. It’s a bit of a balancing act between stability and speed.
Another element is scanout timing, as an LCD doesn’t draw each row simultaneously, the upper portion of the display completes drawing first before the lower part does. If the strobing occur too soon, the top half appears sharp and the bottom blurry. Conversely, firing too late causes opposite effect. Certain screens also use rapid frame transport to complete their scan-out sooner, allowing pixels a little extra time to settle before flashing. Because this requires custom monitor firmware, it decreases crosstalk pressure on the entire screen.
By adjusting phase tuning, you can move that flash point around in the vertical timeline. This lets you focus clarity wherever your crosshairs are positioned instead of spreading it evenly across the entire screen.
The biggest mistake most users make is going after max refresh rate without checking to see if it’s possible for the game they’re playing to provide that framerate. Matching your refresh rate to your framerate removes repeated imagery, which confuses the persistence calculation and makes strobing look best… You want each frame to be different! If you’re playing something locked at 60 FPS and strobing at 240 Hz, you’ll still see motion blur, but you’ll see three identical flashes for every move you make. The point isn’t peak numbers, it’s consistency; start at a lower refresh that you know you can run smoothly and work your way up.
So all in all, a strobe duty cycle calculator is a map, not a destination. Your own sensitivity to how dim it gets before it’s too dim, some quirks in your specific panels’ firmware, and actualy real-world temperatures will all affect your results. What really matters is finding your sweet spot. You want to improve motion clarity enough to gain an edge when tracking targets without dropping brightness so far that you lose context. And yes, your monitor does the exact same thing as a blink, only so you can win.