🗿 Vale Totems XP Calculator
Plan totem tier pulses, activation cycles, party sharing, charm modifiers, uptime losses, target levels, session progress, shards, and reward bundles from one Vale Totems setup.
Solo credit avoids sharing loss and keeps shard ownership predictable.
Group play can hold uptime if reset time stays low.
Charm and aura boosts multiply every pulse after share.
Reward output depends on cycles per hour and shard split settings.
| Totem tier | Pulse XP | Pulses | Base cycle | Shard value | Best use |
|---|---|---|---|---|---|
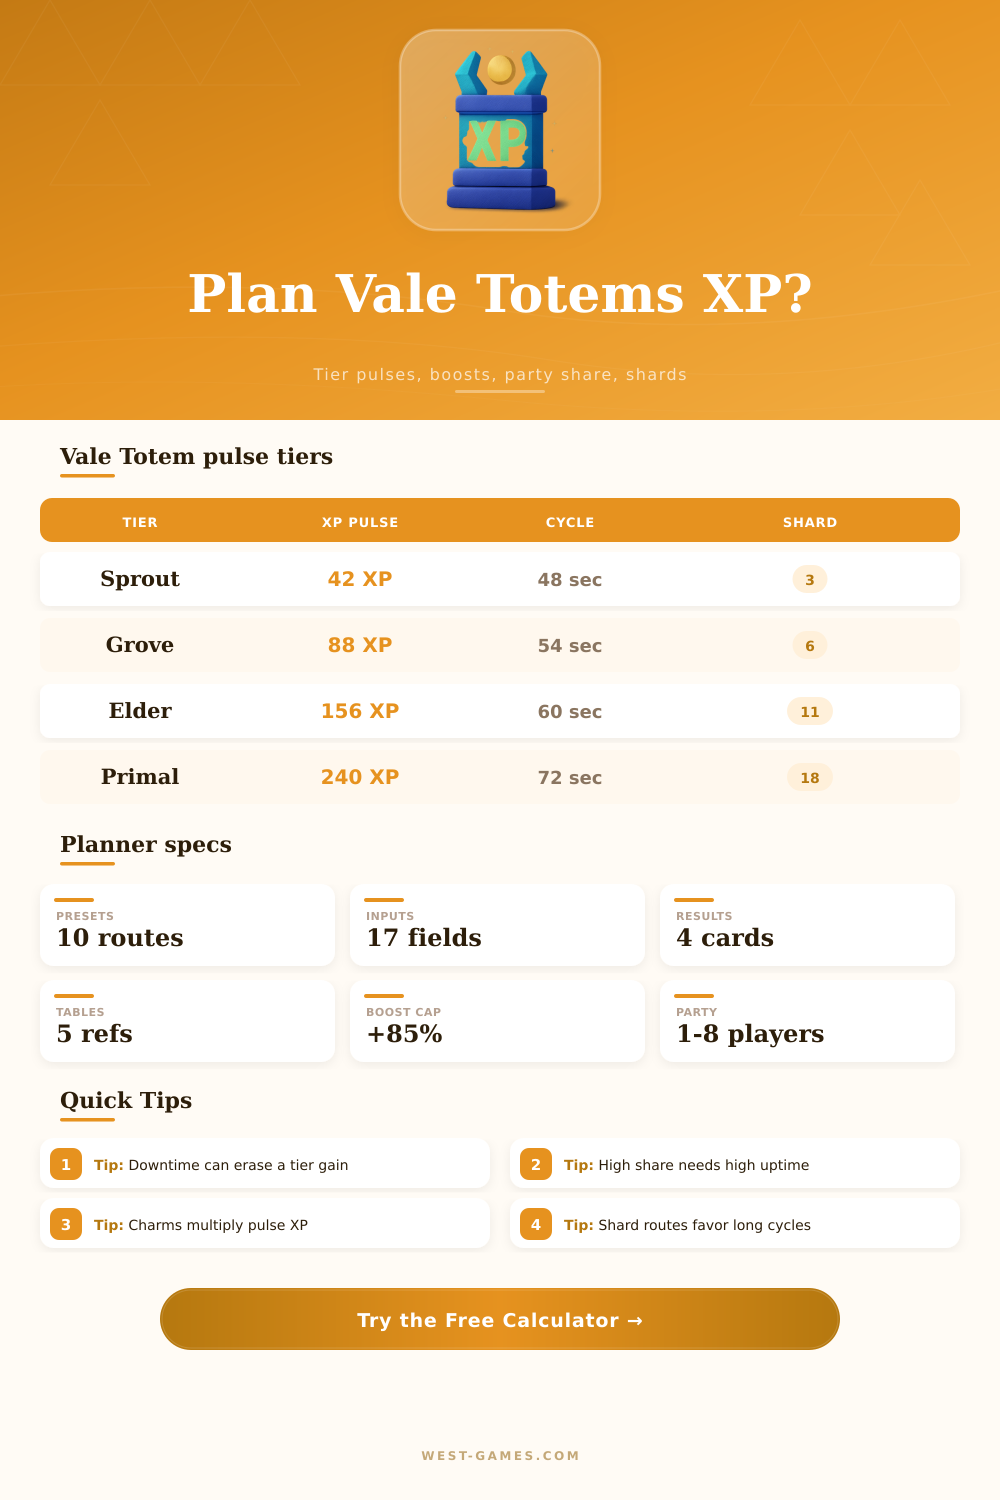
| Sprout Totem | 42 XP | 5 | 48 sec | 3 shards | Early solo rotations |
| Moss Totem | 60 XP | 5 | 50 sec | 4 shards | Low-level duo chains |
| Willow Totem | 74 XP | 6 | 52 sec | 5 shards | Stable mixed parties |
| Grove Totem | 88 XP | 6 | 54 sec | 6 shards | Charm farming routes |
| Runed Totem | 116 XP | 7 | 58 sec | 8 shards | Mid-game XP push |
| Elder Totem | 156 XP | 7 | 60 sec | 11 shards | Focused level sessions |
| Ancient Totem | 198 XP | 8 | 66 sec | 14 shards | High coordination groups |
| Primal Totem | 240 XP | 8 | 72 sec | 18 shards | Shard-heavy reward farming |
Use the editable fields when your server or event rules change pulse XP, cycle length, or shard drops.
| Share mode | XP credit model | Best party size | Risk | When to use |
|---|---|---|---|---|
| Solo credit | 100% personal XP | 1 player | No rescue buffer | Exact XP planning and full shards |
| Equal party share | 65% floor plus split pool | 2 to 4 players | Low contribution hides true loss | Casual rotations with steady uptime |
| Contribution weighted | Credit follows your percent | 2 to 8 players | Weak if tasks are missed | Strict raid support or mixed roles |
| Leader anchor | 85% base credit, small split loss | 3 to 6 players | Leader must maintain chain | Caller, tank, or ritual anchor routes |
| Shard split on | Rewards divided by party | Any group | Lower personal bundles | Fair party reward planning |
The calculator keeps XP sharing and shard sharing separate because some groups split rewards differently from XP credit.
| Modifier source | Typical value | Applies to | Stack behavior | Planning note |
|---|---|---|---|---|
| Polished Vine Charm | +8% | Pulse XP | Adds to aura | Low-risk everyday charm |
| Amberleaf Charm | +12% | Pulse XP | Adds to aura | Good for short sessions |
| Moonwell Sigil | +18% | Pulse XP | Adds to aura | Useful for party rotations |
| Totemic Crest | +25% | Pulse XP | Adds to aura | Strong target-level push |
| Prismatic Grove Charm | +35% | Pulse XP | Adds to aura | Best with high uptime |
| Festival surge | +50% | Total XP | Cap if selected | Check whether your event stacks fully |
When the cap option is checked, combined charm, aura, event, and chain modifiers are limited to +85%.
| Downtime per cycle | Effective loss | Common cause | Tier impact | Fix |
|---|---|---|---|---|
| 0 to 5 sec | Minor | Clean chain | Higher tiers shine | Stay pre-positioned |
| 6 to 12 sec | Moderate | Loot, role swap, short walk | Usually acceptable | Assign a caller |
| 13 to 25 sec | High | Banking, regrouping, missed start | May beat Primal with Elder | Use fewer resets |
| 26 to 45 sec | Severe | Long travel, party delay | Lower tier can win | Change route |
| 45+ sec | Session drain | AFK breaks or unstable group | XP/hr collapses | Plan shorter sessions |
Downtime is added to every activation cycle, so small delays have a large effect over a long session.
| Goal band | Suggested tier | Session style | Reward focus | Planning cue |
|---|---|---|---|---|
| Levels 1 to 30 | Sprout or Moss | Solo practice | Small shard drip | Learn clean pulse timing |
| Levels 31 to 55 | Willow or Grove | Duo or trio | Charm upkeep | Keep downtime under 12 sec |
| Levels 56 to 80 | Runed or Elder | Focused XP session | Balanced shards | Use aura and chain bonus |
| Levels 81 to 100 | Elder or Ancient | High contribution party | Bundle farming | Contribution mode is safer |
| Levels 101 to 120 | Ancient or Primal | Boosted capstone push | Large shard output | Cap boosts for conservative ETA |
The level curve in this calculator is a planning curve, so exact game profiles can be matched by entering custom current and target XP.
The totem is throbbing like a heartbeat every minute. You’re standing in the Vale. You’re clicking buttons, watching the numbers increase. This is productive, isn’t it? Grinding, yes, but at least you aren’t running around in circles. You’re satisfied with yourself, but there’s always this quiet doubt as you count down the minutes until the next pulse: Is this worth it? Are you making efficient progress… Or busy work?
The difference is the friction that exists between the pulses. Plug in your boost caps, sharing settings, and cycle times; then let the calculator do all the math for you (above). No more guesswork about conversions or coefficients. The reason most people think only about raw XP per pulse is that they look cool, but that’s a mistake. A three minute reset time on high value pulse will beat a lower value one that has no dead air and fires every forty seconds. You aren’t purchasing experience per hit, you’re buying experience per hour of real life you spend in the game. Letting you put in exact numbers of seconds for activation and dead air force you to face that fact.
How to Use the Calculator Better
That’s the tricky part of party play. The very act of sharing shifts the base all over again. Getting some friends in on the action may make the total pot appear huge … but your cut is based off split modes and contribution weightings. If you’re soaking up most of the damage output as a group, weighted credit works well; go with equal share if everyone’s doing about the same thing and it remains straightforward. This page has some handy reference tables to help show where floor falls for every split mode. Is your contribution percentage dipping below the point where it starts to become less efficient? Or do you hit a penalty?
Stacking shrine aura and charm modifiers can feel strong, which makes it tempting to overestimate their value. Often, the diminishing returns will set in long before you notice, or you’ll reach some hard cap before realizing it’s even a thing. When planning, set yourself a conservative cap, I’d say eighty-five percent is pretty safe; to prevent planning for the best case. That doesn’t happen in reality very often. You may be planning on an hour-long session to get to level fifty, but the event boost faded out sooner than expected, or someone bumped into you and broke your aura. The best way to go about this is to build in a bit of buffer instead of striving for highest potential gain.
The tool also lets you log downtime. Those small losses of five or ten seconds here and there don’t seem like much on a spreadsheet, but they add up realy fast. If you’re banking shards in-between each cycle, that will kill your progress plan without saying a word. Once you factor in travel time, looking at menus, and small interruptions, you can see exactly how many cycles you can get out of a ninety-minute session. This is valuable because no one plays under ideal conditions, so their gameplay won’t reflect them.
In contrast, shard farming is a little different than straight-up leveling, where you may care more about getting currency rather than experience points. In that case, the calculator also shows how many shards you get compared to XP. This lets you directly compare how the tier and cycle affect them. Sometimes, a lower-tier with a shorter cycle will be better for you, even if they pay less per pulse despite the pulses being bigger. In contrast, something higher up the chain has a larger payout but takes longer to get there. The difference between the two lets you know whether swapping to a Primal set is really giving you a larger pile of resources, or simply making every pulse feel “more worth it” by delaying the time between them. And this way you’ll know exactly which one is most important: what you’re actualy going after during this session.
At the end of the day, leveling up is about sustaining yourself and keeping a beat. A plan with strict requirements for perfect timing that burns you out after two hours isn’t going to last as long as a more leisurely one. Your goal is to find the right combination of time you have, type of group dynamic you’re working with, and modifiers you’ve selected. It won’t tell you which one is better; it’ll only show you how many minutes in the real world every path costs. That’s up to you: it comes down to your patience and priorities. That will tell you if you can stay on a path or not.
It doesn’t matter as much what that last number is. What matters is how sure you are when you reach it. Being able to clearly see how much time is required takes away the dread of whether you’re wasting an evening on something. Set the clock, use the strategy, and shut down once you hit your mark. It’s not grinding anymore; it’s following a plan. This structure transforms aimless waiting for your next pulse into deliberate strides towards a meaningful milestone.
Instead of plugging in aspirational numbers (that’s not what we’re doing here), start by being brutally honest about how you actualy play. What kind of time do you waste? How long does it take you to recover from mistakes? What stops you? It’ll make it feel like you have worse numbers initially, but it’ll also give you an accurate sense of what can happen. Something that’s much more helpful if you’re aiming for a hard cap this season.
It should of been easier than this.