💎 PoE Cluster Jewel Crafting Calculator
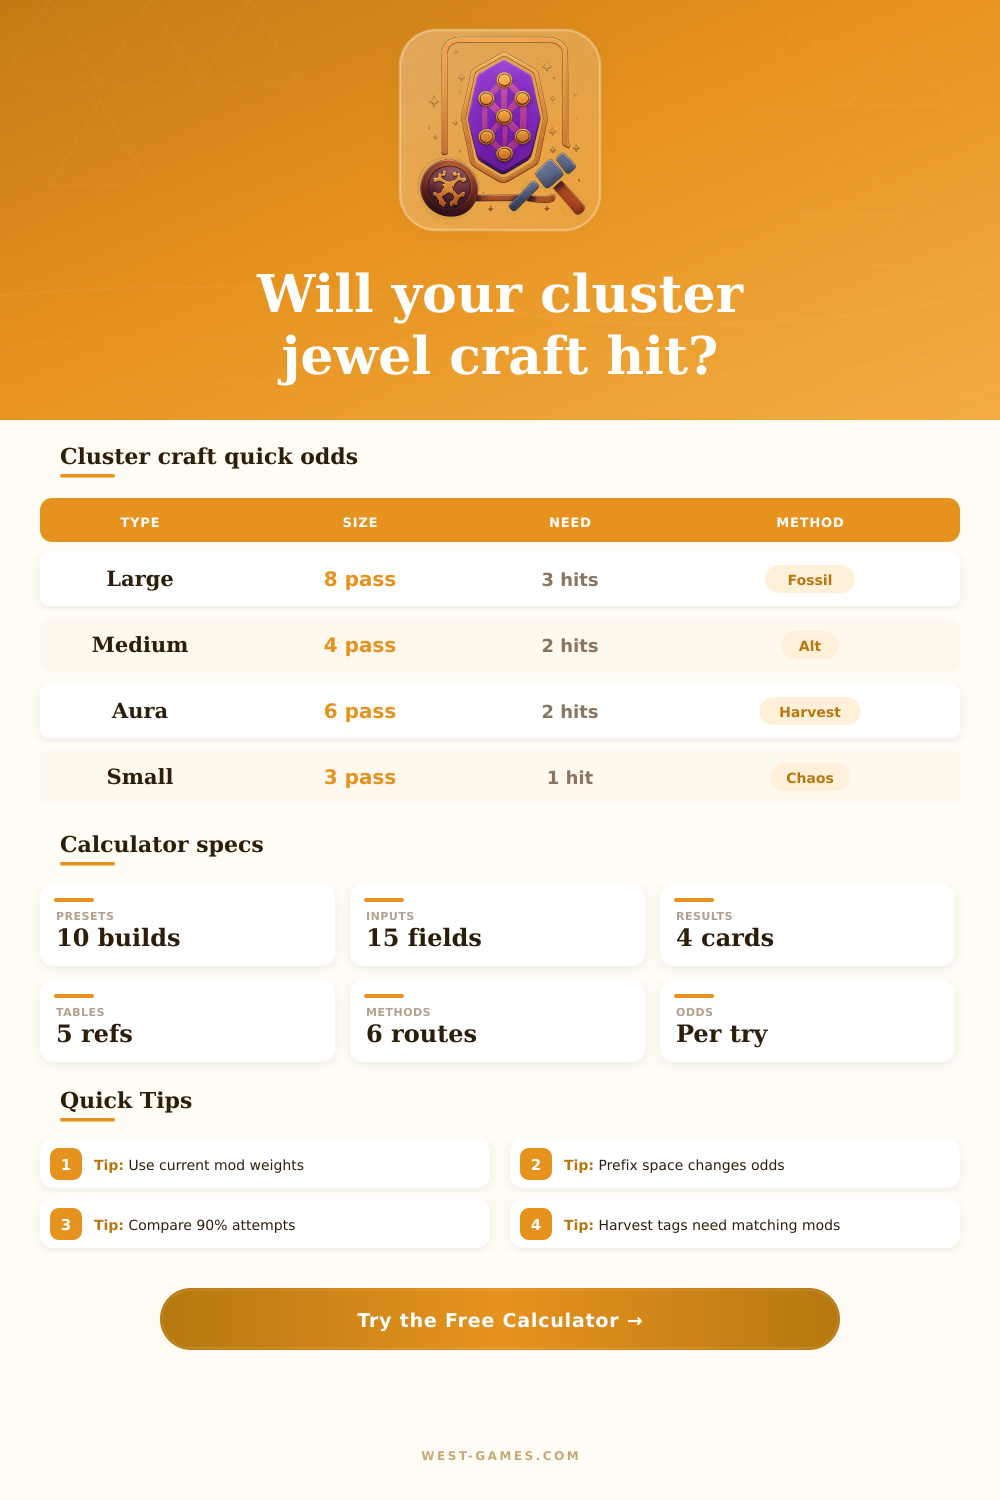
Estimate cluster jewel craft odds from size, item level, notable pool, desired notable count, method, tag weights, affix space, and expected attempts.
| Cluster | Passive count | Typical notable plan | Craft pressure |
|---|---|---|---|
| Large | 8 passives | 2 to 3 notables | High value, tight pathing |
| Large | 9 to 12 passives | 2 to 3 notables | More pathing tax |
| Medium | 4 to 5 passives | 1 to 2 notables | Best for doubles |
| Medium | 6 passives | 1 to 2 notables | More passive tax |
| Small | 2 to 3 passives | 1 notable | Usually simpler |
| Method | Notable pressure | Tag use | Best use |
|---|---|---|---|
| Alt + Aug + Regal | Low to medium | Manual | Single then regal |
| Alt + Regal | Low | Manual | Cheap single targets |
| Chaos spam | Medium | Neutral | Broad pools |
| Fossil | Medium high | Strong | Taggable families |
| Harvest | Medium | Strong | Clear tag identity |
| More likely | High | Very strong | Refining near hits |
| Item level | Pool effect | Planning note | Risk |
|---|---|---|---|
| 50 to 67 | Lower pool | Can block high-tier mods | May miss required notable |
| 68 to 74 | Common craft range | Many medium jewels work | Check exact unlocks |
| 75 to 83 | Wider pool | More outcomes appear | Dilution increases |
| 84+ | Fuller pool | Needed for some targets | Harder weighted hits |
| Target side | Open slots used | Space factor | Warning sign |
|---|---|---|---|
| Any side | Prefixes + suffixes | Highest | Few unwanted affixes |
| Mostly prefix | Open prefixes | Prefix limited | Filled prefix blocks |
| Mostly suffix | Open suffixes | Suffix limited | Filled suffix blocks |
| Mixed triple | Both sides | Balanced | One side starves |
| Per-attempt chance | Expected attempts | 50% confidence | 90% confidence |
|---|---|---|---|
| 20% | 5 | 4 | 11 |
| 10% | 10 | 7 | 22 |
| 5% | 20 | 14 | 45 |
| 2% | 50 | 35 | 114 |
| 1% | 100 | 69 | 230 |
Path of Exile’s cluster jewels are the result of arm wrestling with a fickle deity. Your cursor lingers over craft bench as you contemplate the empty canvas before you. An eight passive node awaits your touch; a cluster of nodes waiting for you to make them sing. Is this notable combo a diamond in the rough? Or do they spell out ‘curse’ with a font made from blood spilt from your pocketbook?
The concern isn’t just monetary loss. It’s the terror of spending fifty divines on a stone that gets rolled three unrelated modifiers because the game prefers chaos to precision. Typically, this fear arises from misreading math behind rolling with several variables colliding. Yes, you’re not just rolling for one. And yes, you is dealing with how much each tag counts, how many item share a pool, and how randomly affixes are spread out. This is the fundamental problem with cluster jewels: they require certain combinations but present a wide variety of undesirable choices.
How to Craft Cluster Jewels Successfully
If you’re crafting an enormous eight passive jewel, you’re essentially telling the game “give me two or three good notables here, don’t clutter up the rest of this thing with junk.” The calculator above does the math for you… After plugging in what you want and how much weight you want each affix slot to have. It turns those vague weights into real expectations and tells you precisely how many attempts you should of budget for a 90% confidence level. That figure will frequently be greater then players anticipated, and it’s why so many builds fail midway through the league.
Item Level is a double edged sword though. On one hand, a higher item level opens up additional notables which sounds good right? But on the other hand, it increase the pool of bad results. Your hit chance will drop greatly if your targeted notable has a lower weight in comparison than the newly unlocked ones. The tool accounts for this dilution by allowing you to specify total weight of the applicable family (vs the names specifically). This makes you see that adding more potential targets isn’t always beneficial since it introduces more noise into the mix too.
Players generaly overlook this and just spam chaos stone while waiting for a miracle. However, the math shows why this wastes currency over time. There’s also a level of tag multipliers where our intuition falls apart. Harvest or Fossil, for example, will increase your likelihood of getting a specific affix because it has the same tag, assuming you know which other mods has similar tags. The odds improve significantly when the fossil have a tag in common with the notable you want to craft. Without that, you’re just wasting currency.
Fortunately, the tool comes with some reference tables explaining how various crafting schemes put pressure on tags. You’ll be able to quickly determine if an alternative approach (Regal + Alteration) is worth it given your own notable count, or if you need to swap over to something more aligned with tags. You are not just blindly following some general guide, but aligning the mechanic with the mod itself.
The last boss of cluster crafting is space management. Rolling the perfect notables doesn’t help if they go into affix slots that were randomly filled with minor mods in earlier steps of the craft. To handle that, the calculator takes into account the number of suffix and prefix slot left open, then adjusts odds accordingly. For example, let’s say you need 2 prefixes on a piece, but only have one open after your first few craft steps. Your actual hit rate becomes low.
This is where folks screw up. They’ll see weights of the notables and forget about the structure of the item itself. Getting the names right isn’t enough; they also has to go into the correct spots on the item in order for the craft to succeed. At the end of the day though, cluster jewels are about as much skill as they are risk management. If you don’t understand the probability curves you can have every single currency in the league and still lose.
Before you go spending, you should use tool to set some realistic expectations. Look at the confidence intervals to see exactly how many times you might actualy need to try. If it’s three hundred then maybe consider whether that build is going to be worth the pain. The answer is sometimes no and that’s okay. Knowing when to stop is just as valuable as knowing when to craft. On one hand you want the perfect jewel but on the other you don’t want to mess up your inventory. Let the math help you make decisions and balance those desires. Maybe you’ll even go home with a stone that not only fits into an endgame build, but also looks like it belongs there. Lucky, you’ll still have to work on that.