🃏 Holdem Resource Calculator
Plan Texas Hold'em chip resources with stack size, blinds, antes, M-ratio, big blinds, pot odds, implied odds, level pressure, target stack, and risk units.
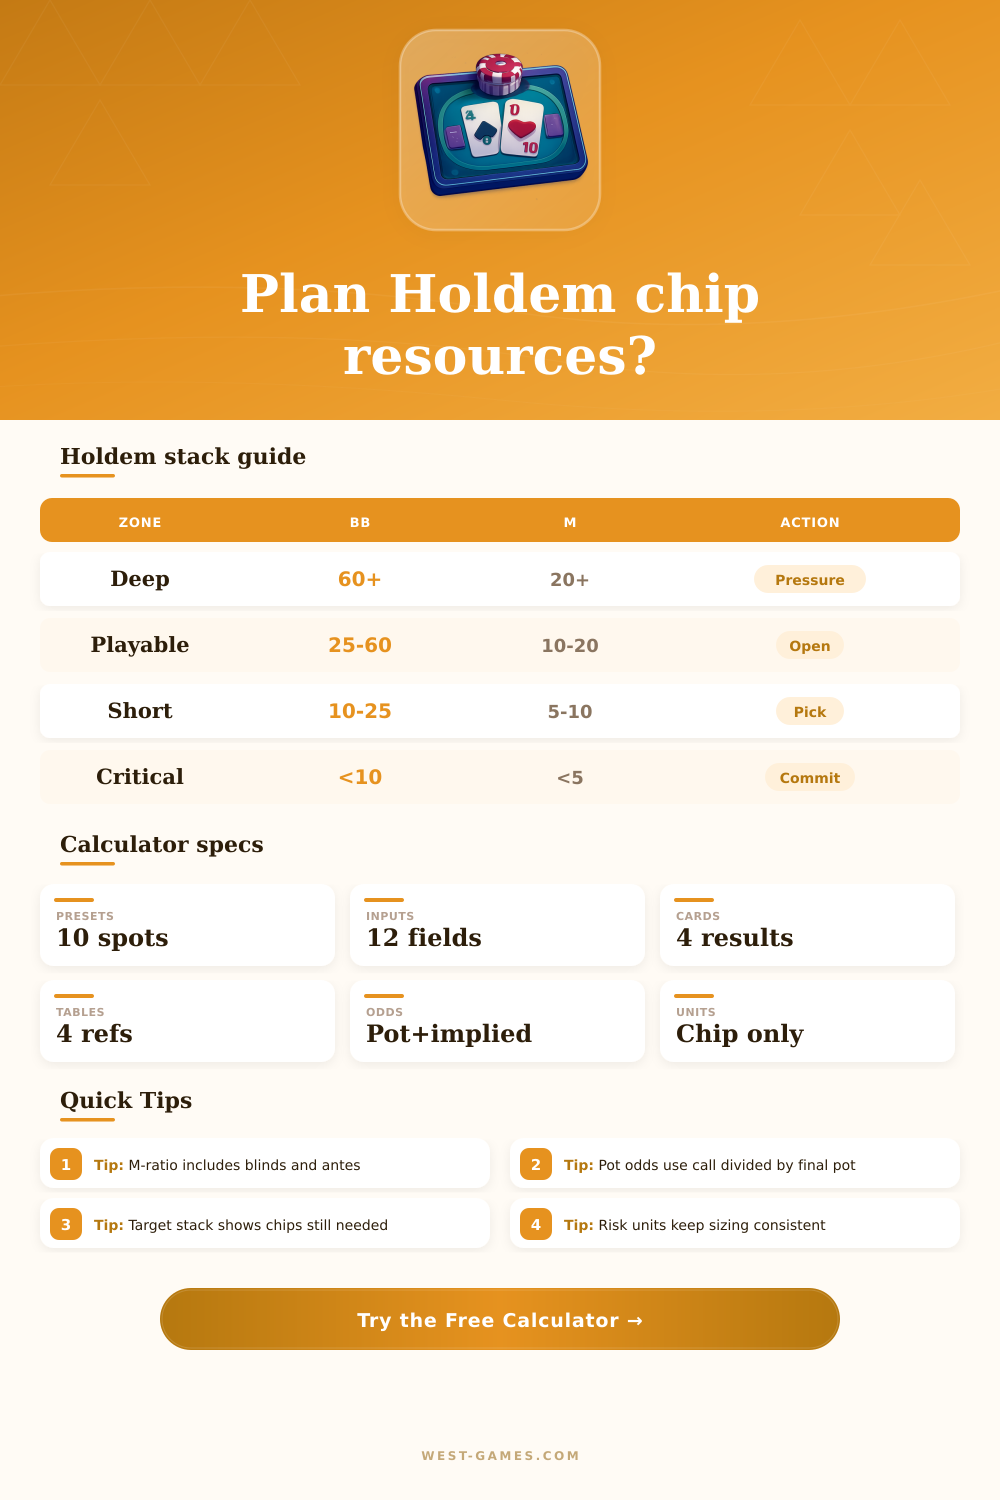
| Zone | Big blinds | M-ratio | Resource read |
|---|---|---|---|
| Deep | 60+ | 20+ | Multiple streets and pressure leverage available. |
| Playable | 25 to 60 | 10 to 20 | Normal opening stack with room for folds. |
| Short | 10 to 25 | 5 to 10 | Every orbit matters; sizing discipline is important. |
| Critical | Under 10 | Under 5 | Forced chips consume resources quickly. |
| Call | Pot before call | Final pot | Equity needed |
|---|---|---|---|
| 500 | 1,500 | 2,000 | 25.0% |
| 1,000 | 2,000 | 3,000 | 33.3% |
| 2,000 | 6,000 | 8,000 | 25.0% |
| 5,000 | 15,000 | 20,000 | 25.0% |
| Setup | SB | BB | 9-player orbit |
|---|---|---|---|
| No ante | 100 | 200 | 300 chips |
| 25 ante | 100 | 200 | 525 chips |
| 100 ante | 500 | 1,000 | 2,400 chips |
| BB ante | 1,000 | 2,000 | 5,000 chips |
| Risk unit | Stack | Units | Use case |
|---|---|---|---|
| 1 BB | 40 BB | 40.0 | Blind-based sizing review. |
| 2.5 BB | 40 BB | 16.0 | Open-raise resource planning. |
| 5 BB | 40 BB | 8.0 | Three-bet or continuation risk. |
| 10 BB | 40 BB | 4.0 | Large decision threshold. |
| Metric | Formula | What it shows | Main caution |
|---|---|---|---|
| Big blinds | Stack / BB | Blind-relative depth | Does not include antes. |
| M-ratio | Stack / orbit cost | Rounds before forced-chip pressure | Depends on active players. |
| Pot odds | Call / final pot | Break-even equity threshold | Needs hand equity separately. |
| Implied odds | Call / implied final pot | Threshold after extra future chips | Future chips must be realistic. |
If you don’t know what that means, simply put your ante, blind(s) and stack size into the calculator at the top of this article. It will do math for you. You won’t have to convert or guess at coefficients anymore. It is just strategy.
Every tournament has a moment when your chips no longer feel like money; they become as vital as oxygen. You’re still alive, but it’s getting thin up there. Without any fanfare, it happens. You’ve got the right amount of chip depth to both play creatively post-flop and apply pressure. Then the next orbit, you’re making decisions only out of survival instinct because you’re being forced to pay a bet. Knowing your position makes all the difference between playing poker and fighting off the inevitable.
How to Manage Your Poker Chips
Players obsess about their big blind count, but they hide dangerous variable in the math. They ignore the cost of every player sitting at the table paying an ante each round. If your blinds is 100/200 with a 25-ante, you’re losing way more than 300 chips per orbit. You’re losing the total value of all those little forced bets.
The M-ratio considers the overall drain. It says how long it will take before your stack become statistically irrelevant. If your M is twenty, you’ve got lots of time to wait for a good spot. If it’s below five, you’re running out of runway. But, it’s a clock that doesn’t stop ticking when you fold pocket tens in early position.
It has presets for popular situations (from bubble short stacks to deep opening levels) because your best plays varies significantly depending on your relative stack depth. When you’ve got sixty big blinds you can afford to play positionally, wait for premium hands and let the chips fall. Your stack is safe enough that you can absorbs some variance.
Once you get down to the ten-to-twenty range, however, that’s not going to cut it anymore. At this point you need to take swings at pots because no matter what you do, your stack will vanish in the game’s background noise. This is laid out clearly on page’s reference table, which shows when “Critical” depth requires commitment and when “Playable” depth lets you open up.
Another complication is pot odds, which we tend to calculate incorrectly in our heads while playing. To figure out whether or not to call, you have to be able to precisely calculate how much equity you’ll need to justify calling. That’s determined solely by dividing the cost of calling by the size of the pot. For example, if the pot gives you three-to-one odds then you require approximately twenty-five percent equity to get back even. The calculator figures out that number for you in real time, allowing you to match it up with your hand strength and implied odds.
Implied odds take into account any additional chips you’d recieve on later streets should you connect with your draw. So while actual math helps, experience plays an even greater role, since you need to read your opponent to estimate future bets.
Long-game planning involves target stacking. This is key if you’re on the bubble and looking to hold onto a lead or recover from a devastating beat. Having a number in mind will force you to stay consistent with your sizing. Units of risk. If you define what an “unit” is (i.e., two-thousand chips, a single big blind), then you’ll be able to standardize how you judge the riskiness of each decision. Emotional changes will not distort your judgement when things get heated.
Long story short: Chip management is all about maintaining choices; the ability to make optimal versus forced decisions with sufficient resources on hand. Once you know what a call costs and what an orbit costs, you quit playing cards and play resources instead. Not only do you survive the blind structure but you use it against your opponents as well as protect your equity within it. And ultimately, that feeling of control transforms your dwindling stack from liability to a weapon.
You should of known that management is everything for any player wanting to win more than just one single tournament.