🔥 DS3 Drop Rate Calculator
Estimate Dark Souls 3 farming odds from Luck, Crystal Sage Rapier, Symbol of Avarice, Covetous Gold Serpent Ring variants, Rusted Coins, covenant item goals, dry streaks, and route pace.
| Target | Enemy route | Base rate | Planning note |
|---|---|---|---|
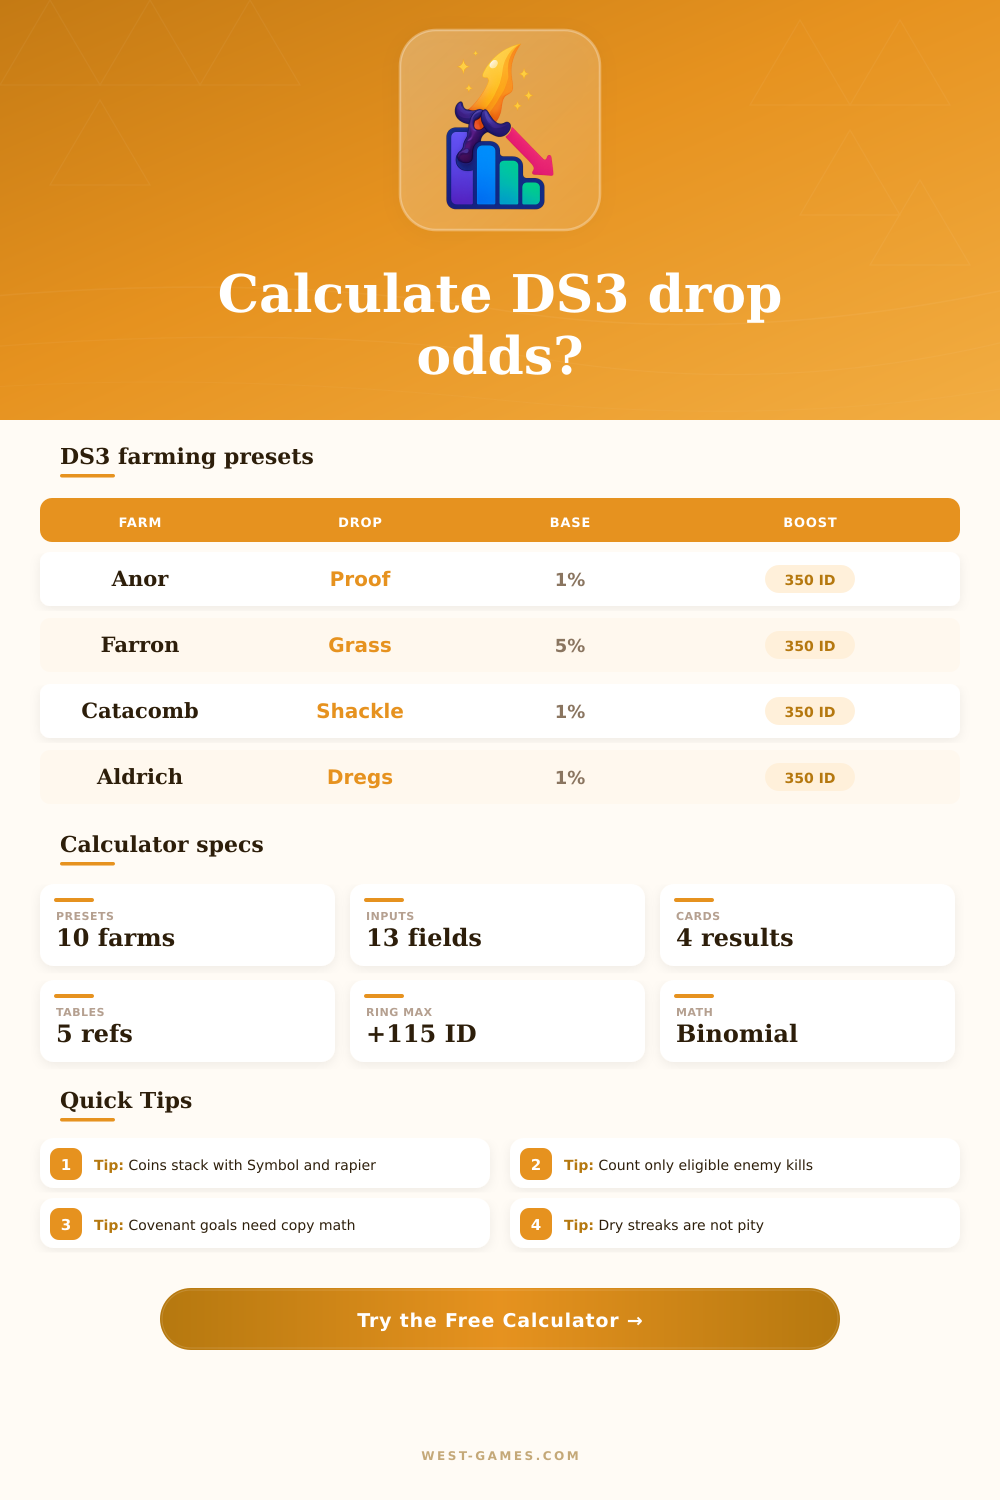
| Proof of Concord Kept | Anor Londo Silver Knights | 1% | Darkmoon covenant farming |
| Vertebra Shackle | Catacombs Carthus skeletons | 1% | Mound-maker covenant goal |
| Wolf's Blood Swordgrass | Farron Keep Ghru | 5% | Watchdogs covenant route |
| Human Dregs | Post-Pontiff deacons | 1% | Aldrich Faithful rewards |
| Pale Tongue | Farron Darkwraiths | 5% | Rosaria covenant material |
| Sunlight Medal | Lothric Knights | 2% | Warrior of Sunlight farming |
These are practical planning defaults. Edit the base chance field when your route, enemy variant, or data source uses a different value.
| Component | Discovery bonus | Stacks? | Calculator input |
|---|---|---|---|
| Base character | 100 + Luck | Always | Luck stat |
| Crystal Sage Rapier | +50 each | Yes | Rapier select |
| Symbol of Avarice | +100 | Yes | Symbol select |
| Gold Serpent Ring | +50 to +115 | One ring | Ring variant |
| Rusted Coin | +50 | Temporary | Coin select |
| Rusted Gold Coin | +100 | Temporary | Coin select |
The calculator does not force equip-load or HP-drain penalties; reflect unsafe routes by increasing minutes per run.
| Ring | Bonus | Typical timing | Use |
|---|---|---|---|
| Base ring | +50 ID | Irithyll Dungeon | First serious farm stack |
| Gold Serpent +1 | +75 ID | NG+ | Replay farming |
| Gold Serpent +2 | +100 ID | NG++ | High covenant farming |
| Gold Serpent +3 | +115 ID | Ringed City | Best single ring bonus |
| No ring | +0 ID | Any time | Combat ring comfort |
Ring +3 is strongest for farming, but a safer combat ring can still win if it keeps the route faster and death-free.
| Metric | Formula | Inputs | Meaning |
|---|---|---|---|
| Displayed ID | 100 + Luck + gear | Luck and boosts | Estimated stat screen value |
| Kill chance | Base x ID / 100 | Drop and ID | Chance per eligible enemy |
| Run chance | 1 - (1 - p)^kills | Kills per route | At least one drop per reset |
| Expected kills | Copies / p | Copy target | Average rolls for target copies |
| Dry streak | (1 - p)^dry | Dry kills | Chance of zero drops so far |
| Goal chance | 1 - binomial miss | Runs and copies | Chance to meet the copy goal |
Independent probability creates ugly streaks. A 90% plan still leaves a 10% chance of not meeting the target.
| Farm | Eligible kills/run | Common target | Counting warning |
|---|---|---|---|
| Anor Londo Proof route | 2 Silver Knights | 30 Proofs | Do not count non-knight enemies or menu time as rolls |
| Catacombs Shackle route | 2 skeletons | 30 Shackles | Use the exact skeletons that can drop Shackles |
| Farron Swordgrass route | 3 Ghru | 30 Swordgrass | Only Ghru with the drop table count |
| Post-Pontiff Dregs route | 6 to 9 deacons | 10 or 30 Dregs | Long routes can lose coin uptime |
| Lothric Knight medal route | 1 to 3 knights | 30 Medals | Deaths and elevators lower real kills per hour |
| Mimic Symbol hunt | 1 mimic | 1 Symbol | Each mimic is limited unless using charms |
For covenant rewards, set target copies to the number still needed, not the final rank total, unless you are starting from zero.
Dark Souls 3 is very much a game about farming. It’s not just about being good at it. It’s about having enough stamina left after standing around hacking silver knights to death over and over until some random item drop onto your screen. And you wonder, “Am I doing this right? Or am I barking up the wrong tree?”
Well, that frustration goes away when you know the drop rates, but you don’t. Enter the calculator. It calculates the numbers for you so you no longer have to guess and can go ahead and create a solid plan.
How to Use a Calculator for Farming in Dark Souls 3
First up: Item Discovery is not a straight stat. It’s a number calculated from multiple overlapping factors. The Luck stat form its base. Then various pieces of equipment; such as the Crystal Sage Rapier and the Covetous Gold Serpent Ring, apply substantial bonuses above this baseline stat. And these bonuses compound. You’ll end up with almost four times your character-sheet figure for effective discovery.
This explains why so many players has two rapiers in their inventory. They swap one for another when resting to keep bonus without hurting combat performance. It’s a minor mechanical oddity that pays big dividends on long grinds.
Then there are symbols (of Avarice) and the Rusted Coins, which offers massive temporary bonuses at the expense of risk. A coin might expire right when you are about to kill the eligible enemy, wiping out your hard-earned bonus. To compensate for that, the tool allow you to enter uptime percentages. Set that lower if you’re having trouble hitting a rhythm, and it’ll inform you what’s a more reasonable likelihood of success. That means understanding your farming effectiveness will depend on your own timing and consistancy.
After you’ve got your discovery set, then comes the fun part: Counting eligible kills. And that’s where most folks mess up. Most believe any kill count towards something. Not true! Some enemies dropped on some maps have a drop table containing things such as Vertebra Shackles or Proofs of Concord Kept.
The calculator asks for how many you need to encounter each reset run. So if you count additional mobs, you’ll artificialy inflate your chances of getting something and be disappointed when nothing drops. It will also cause you to waste runs. Precise kills help you avoid wasted run.
But it doesn’t stop at giving you a percentage. It also return the expected kills, indicating how many enemies you should expect to kill on average before reaching your desired quantity of kills. But averages are tricky; they don’t consider variance, which is why binomial probability model comes into play. This gives you the chances of actualy reaching your goal in a certain amount of runs.
So if the calculator says there’s a ninety percent chance, that means there is still a ten percent chance that, even if you do everything exactly right, you’ll fall short. Knowing the difference keeps you from beating yourself up for being unlucky, sometimes the numbers just wasn’t with you. Any random process involve dry streaks. It’s statistically normal to feel like you’re catching nothing for dozens of kill with zero drops.
This gets to us personally and the tool can help you keep that in perspective: it tells you how often you should of expect to have a dry run of any given length. When something goes wrong, it reminds you that randomness doesn’t remember. Just because you failed yesterday doesn’t mean today will be more likely to fail. It helps you remain calm enough to follow your route efficienty.
This changes a boring chore of planning your farm into something that’s doable, where instead of guessing, you’re optimizing. It allows you to know exactly which equipment to use and how long it will take you to farm whatever rare gear or covenant reward you want. It’s all about getting the item, sure, but doing so without driving yourself crazy.