Shots To Kill Calculator
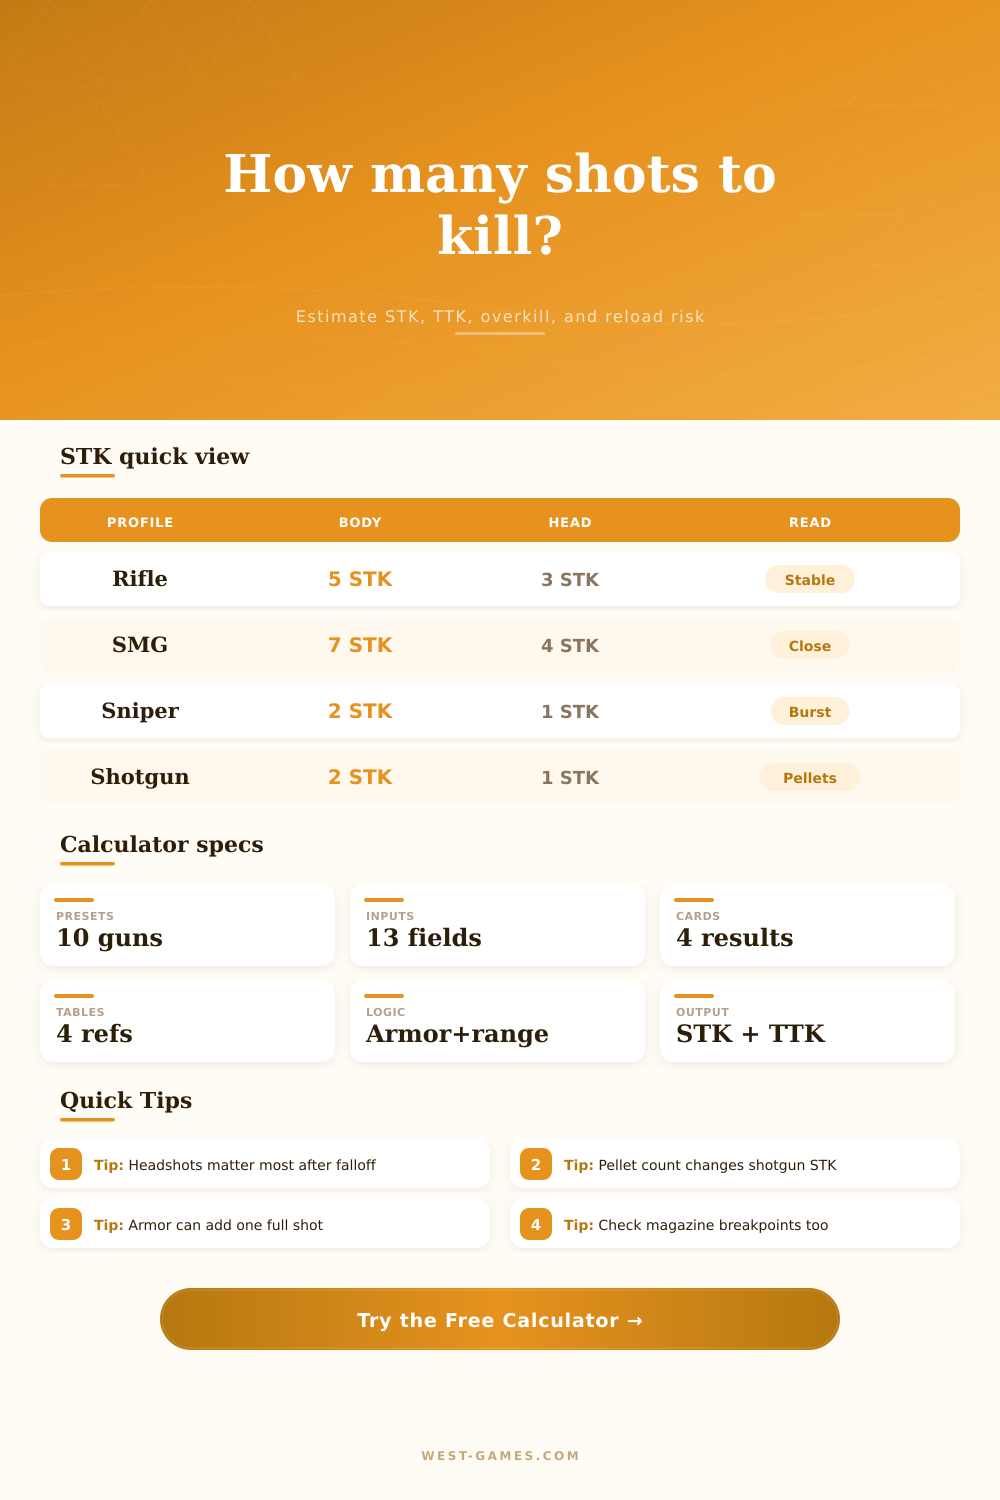
Calculate STK and TTK from body, head, and limb damage with armor, range falloff, pellets, projectile bursts, shield break, overkill, and magazine capacity.
Damage model: effective damage equals body, head, and limb hit mix after range falloff and armor. Pellet and projectile counts are treated as damage packets, then the calculator checks shield break, overkill, and whether one magazine can finish the target.
Damage Breakdown
Reliability Read
Ready: adjust the inputs to compare weapon breakpoints.
All Body
Uses body damage only, after armor and current range falloff.
All Head
Shows the clean weak-point breakpoint at this range.
All Limb
Tests worst practical hitzone damage before reload risk.
One Extra Head
Raises headshot share by 15 points to show aim value.
| Range check | Damage kept | Expected hit | Expected STK |
|---|
Rows keep armor, pellets, shields, health, and hit mix fixed while changing distance.
| Hit profile | Damage per shot | STK | TTK |
|---|
Shotguns and burst weapons include expected connected packets per shot.
| Defense setup | Total HP | Damage shot | STK |
|---|
Use this table to see whether armor or extra shield changes the next whole-shot breakpoint.
| Magazine | Kills per mag | Spare shots | Reload read |
|---|
Burst rounding can spend more bullets than the raw STK suggests.
| Preset | Combat profile | Key variable | Calculator use |
|---|---|---|---|
| Tactical Rifle | Mid-range automatic with moderate armor | Head mix and falloff | General FPS STK testing |
| Close Range SMG | Fast firing short-range pressure | Damage falloff starts early | Checks close vs mid range breakpoints |
| Precision Sniper | Slow high damage shot profile | Overkill and one-shot thresholds | Tests shield break and body-shot backup |
| Pump Shotgun | Pellet spread burst damage | Pellet connection rate | Shows why partial hits change STK |
| Burst Carbine | Three-round projectile burst | Trigger pull rounding | Compares bullets used to shots needed |
| Battle Royale LMG | Large magazine versus shielded target | Magazine capacity | Estimates multi-kill potential per mag |
The other player continues to walk towards you. You hear impact sound on your screen. You pulled the trigger and it sounded like you hit them, right? And yet they still have health. That’s a certain kind of frustration for shooters.
Competitive game shooting doesn’t often come down to raw aim; it comes down to math behind-the-scenes. Those shots to kill calculations makes the uncertainties of what feels like strong weapons into hard numbers that then tell you where to position yourself, how to control your weapon’s recoil and even which attachment to craft.
The Math Behind Game Damage
Damage is always presented as a static value on some sort of stat screen. “This gun deals 35 points of body damage. I have 100 health. I’ll drop him after 3 shots.” Most people believe that, but it never actualy works like that. There are too many variables to consider and that’s where our calculator comes into play.
It considers things like range falloff; a gun that feels awesome up close may not do anything at all from far away. It also takes into account armor mitigation. You aren’t actually dealing the same amount of damage as shown because armor reduce it, but you won’t realize that until you die. These thing aren’t sexy or fun to talk about, but understanding them will help you stop complaining about your lack of reaction time and adjust your engagements accordingly.
Multipliers for headshots are an obvious lever, and yet they’re deceptive. Sure, 2x sounds great when you compare it against three sustained body shots. But what if it requires ten shots instead of just three to get a single head? A more reasonable measure is expected headshot share, something the tool allows you to toggle.
Damage output and rate of fire come together to calculate time to kill, and this exposes where even most powerful guns can feel slow. What good is double damage if it takes five bullet-lining headshots to match the output of a machine gun on bodies alone? Practical value dissapears in close-quarters encounters.
Another problem is shields. Nowadays, games rarely let you shoot naked opponents anymore. And when they do have their shield up, it’s like having another health bar that resets your shooting count back to zero. So if you can kill someone in three bullets with the gun, it could take five on an opponent with a shield. This means you spend more time exposed to counter-fire. The calculator makes all of this explicit: It shows how many shots are breaking the shield vs doing health damage.
And knowing where to apply pressure… And when to fall back and regroup; is what makes the difference between winning and losing. Do I really want to engage long-range with a gun that takes two mags to take out an opponent? Time to swap weapons or change lanes.
Burst fire and shotguns introduce additional details the basic numbers don’t account for. A shotgun isn’t firing just one pellet at a time; it’s shooting many. Not every pellet hits. To replicate this, the calculator uses connection percentages based off actual shotgun spread patterns. That’s why shotguns feel fickle: sometimes they hit two, other times none. What should of been a reliable two-shot kill becomes a risky three-shot encounter at best.
Burst rifles suffers from bullet waste due to rounding during trigger pulls. If a rifle shoots in bursts of three and requires four shots to take down an enemy, you’re stuck with a fifth round that doesn’t even contribute to the kill. Over the course of a match, these losses add up, resulting in wasted ammunition, reduced magazine capacity, and increased reload risk.
Knowing how many bullets you traded someone in order to score that last kill makes you more aggressive the next time they engage. And reloading breaks your momentum. The page has all those breakpoints laid out in their reference tables which detail what each zone of armor mean for killing range and how many shots it takes to kill at any given distance.
One extra point of damage here, two fewer meters there, it’s all laid out so you know the exact instant where going from four shots to get a kill switches to three instead. That extra bullet can be the difference between life and death in a close call, or it can mean being exposed for too long while your gun reloads.
But you don’t have to pull out a spreadsheet while playing a match to learn this math. You simply need to understand that there’s always a hidden price of bullets (and time) behind each engagement. Don’t necessarily memorize all the coefficients, but do understand where your loadout’s breakpoints is.
If you feel like you’re playing poorly and missing shots, maybe you’re fighting a weapon at its disadvantage range. Back off or close the distance, target the body with consistent hits if going for heads means risking misses, and respect the limits of the magazine. It’s not about firing faster, it’s about making every shot count towards a definite end state. Know when the job is done so you can stop spraying and get moving.