🌡 Thermal Throttle Margin Calculator
Estimate CPU and GPU thermal throttle margin from current temperature, throttle limit, ambient temperature, load watts, cooler capacity, fan curve, case airflow, and reserved safety headroom.
High board power with a large air cooler.
Lower ratio means the cooler has more spare thermal capacity.
Balanced fan curve keeps capacity near the middle of the cooler range.
Extra watts available after keeping the selected safety reserve.
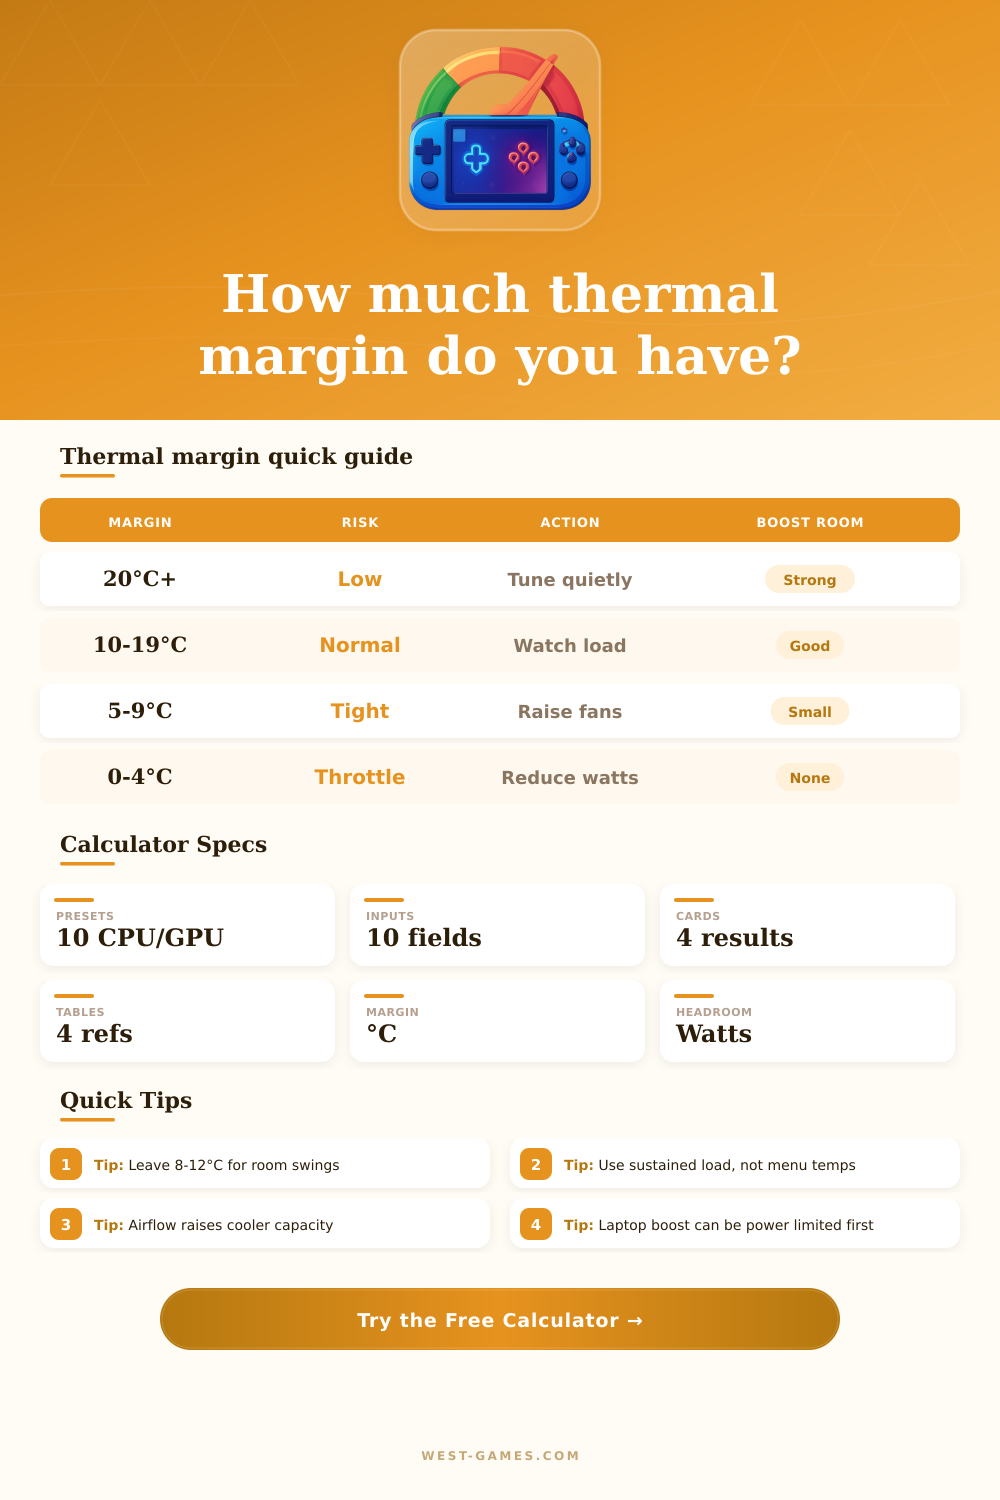
| Margin | Status | Best use | Boost advice |
|---|---|---|---|
| 25°C+ | Excellent | Quiet tuning or extra boost | Strong headroom if power limit allows |
| 15-24°C | Healthy | Daily gaming and rendering | Small to moderate boost room |
| 8-14°C | Normal | Typical high-end gaming load | Keep a reserve before adding watts |
| 4-7°C | Tight | Short runs or cool rooms | Prefer fan, airflow, or undervolt |
| 0-3°C | Throttle edge | Diagnostic only | No safe boost headroom |
The calculator uses the tighter of observed margin and modeled sustained margin.
| Cooler class | Typical watts | Thermal note | Common fit |
|---|---|---|---|
| Handheld blower | 15-35 W | Shared heat pipe, strict acoustics | APU handhelds |
| Laptop vapor chamber | 80-180 W | Strong bursts, tighter sustained margin | Gaming laptops |
| Tower CPU air | 160-260 W | Case airflow matters heavily | Desktop CPUs |
| 240-360 mm AIO | 220-360 W | Radiator intake temp dominates | High-end CPUs |
| Triple-fan GPU | 350-600 W | Board power and hotspot spread matter | Desktop GPUs |
Capacity is a planning number. Real coolers vary by die contact, fin density, fan model, and case layout.
| Curve | Capacity factor | Acoustic tradeoff | Use when |
|---|---|---|---|
| Silent | 0.78x plus fan duty | Quiet but warmer | Light games or undervolts |
| Balanced | 0.92x plus fan duty | Practical daily mix | Default gaming profiles |
| Aggressive | 1.06x plus fan duty | Louder, cooler spikes | Benchmark or hot rooms |
| Fixed manual | Fan duty weighted | Predictable but static | Testing a known RPM |
| Liquid loop | 1.10x plus fan duty | Slower heat soak | AIO or custom loop rigs |
Fan curves do not bypass chip firmware. Power, voltage, and hotspot limits can still cap boost.
| Preset | Temp limit | Load watts | Cooling style |
|---|---|---|---|
| RTX 4090 Air | 84°C | 430 W | Large triple-fan GPU cooler |
| RX 7900 XTX | 110°C hotspot | 355 W | GPU hotspot planning |
| Ryzen 7800X3D | 89°C | 85 W | Tower air or AIO CPU cooler |
| Core i9 Desktop | 100°C | 240 W | High-end AIO or tuned air |
| Gaming Laptop CPU | 95°C | 85 W | Shared vapor chamber |
Change any preset if your monitoring app reports a different power, hotspot, or throttle limit.
Your rig has top-of-the-line parts, but when you’re pushing it hard, frames stutters. That’s thermal throttling; your CPU reached its temperature limit and cranked back the clock to prevent damage.
Your thermal margin, the distance between where it is now and where it must stop, tells you how much more juice you have before things get unstable. (Or how much faster you could of go.) For most builders, this metric exist as a curiosity until it becomes a problem.
How to Find Your Thermal Margin
Use the tool up top to convert your thermal margin into a wattage figure that lets you safely overclock your machine. Once you have your monitoring data in there, the calculator does math for you. You won’t have to wonder about air flow efficiency or coefficients anymore.
Just select a preset to match whatever class of silicon you’re cooling: handheld APU, laptop CPU, desktop GPU. Then load up some decent defaults for cooler capacity and throttle limits. Overwrite these defaults with actual sustained temperature measurements of your own. Do not use the idle temps. Pull a number from a long gaming session or a heavy benchmark, a time when the system’s fully heat soaked.
The point is: know what goes into your system. How will you cool? Think differently than you do. Ambient is a bigger deal than folks realize. When you’re sitting in a room with an ambient temp of 24°C, sure, that’s not too bad. But that ambient is already the beginning of intake air flowing in your case. So if the air get hotter in the summer, you’ll have less thermal margin, all else being equal. Unless you offset it somewhere else.
And that’s where your duty cycle/fan curve profiles comes into play. Do you want a super aggressive fan curve? Great; but that’s going to suck up more of your cooler’s thermal budget. Do you want it quiet? That helps the acoustics but decreases thermal headroom. The calculator figures out this trade-off and tells you how much thermal headroom you’ve got left once you subtract out things like thermal paste degradation, dust build-up, and case airflow restrictions.
So it outputs two critical values: your margin degrees (how far away from the edge), and your safe boost headroom (that margin as watts). Your margin degrees says “you’re X degrees away from the edge.” So if your margin is high, you can bump up power/lift the voltage with no worries.
Your safe boost headroom takes that margin in degrees and expresses it in terms of watts. In other words, how many more watts can you add before you hit the wall, but still maintain a safety margin for any spikes? A lot of guides will say “add 10 percent more power, just to be sure!” That’s dangerous if you’re already on thin margin. The tool provides reference tables to show you what each range of margins realy means in terms of stability.
Handhelds and laptops faces more strict confines. They have tiny coolers, and their CPU and GPU compete for the same thermal capacity through shared heat pipes. Because physical size constrains air flow more than it does a desktop tower, you’ll frequently find narrower margins with mobile hardware. The calculator’s presets take those into account. If you’re working with a small blower unit inside a slim chassis, it’ll adjust your expectations accordingly. And if you’ve got a massive, triple-fan GPU cooler at your disposal, it will as well.
The boost headroom isn’t a command to push harder; it’s a budget. Adding voltage won’t buy you anything unless your wattage is already at 0. In that case, you’ll simply hit thermal throttling sooner. In such cases, you’re better off undervolting or increasing airflow instead. Open that side panel and clear the dust filters. Repaste if the interface health has declined over the years. Sometimes, the easiest solution is letting some of that stale air out for a few minutes.
A word on thermal: Thermal isn’t about reaching absolute zero temps. It’s about having a buffer. The moment your margin vanishes, it becomes hit-or-miss. Background updates and spikes in demand are things that you have no control over. They can tip you into the red at any time. A healthy eight-to-twelve degree reserve buffers that. It keeps your system running when air flows changes slightly and room temperature shift without costing you frames per second.
It’s not about raw power. It’s about delivering consistently on demand. A high clock that constantly dips isn’t as good as a low boost clock that doesn’t throttle at all. Use the tool to find the sweet spot. You want to run your cooling solution hard enough to avoid hitting its physical limits, but keep it hot enough to stay efficient when you realy need it.
These are the physical limits that we need to respect when building a stable and quiet rig. Knowing your actual thermal margin puts an end to guesswork and enables precise tuning. The result is smooth operation and less unexpected stuttering at critical times. Your system will thank you for this.