🖥 Supersampling Factor Calculator
Estimate render scale percentage, SSAA factor, internal resolution, pixel multiplier, VRAM and bandwidth load, downsampled output, and practical performance hit for games.
Baseline pixel count before supersampling.
150% render scale, balanced resolve.
125% scale for sharper edges with less cost.
200% scale is much heavier.
| Render scale | Axis factor | Pixel multiplier | Typical use |
|---|---|---|---|
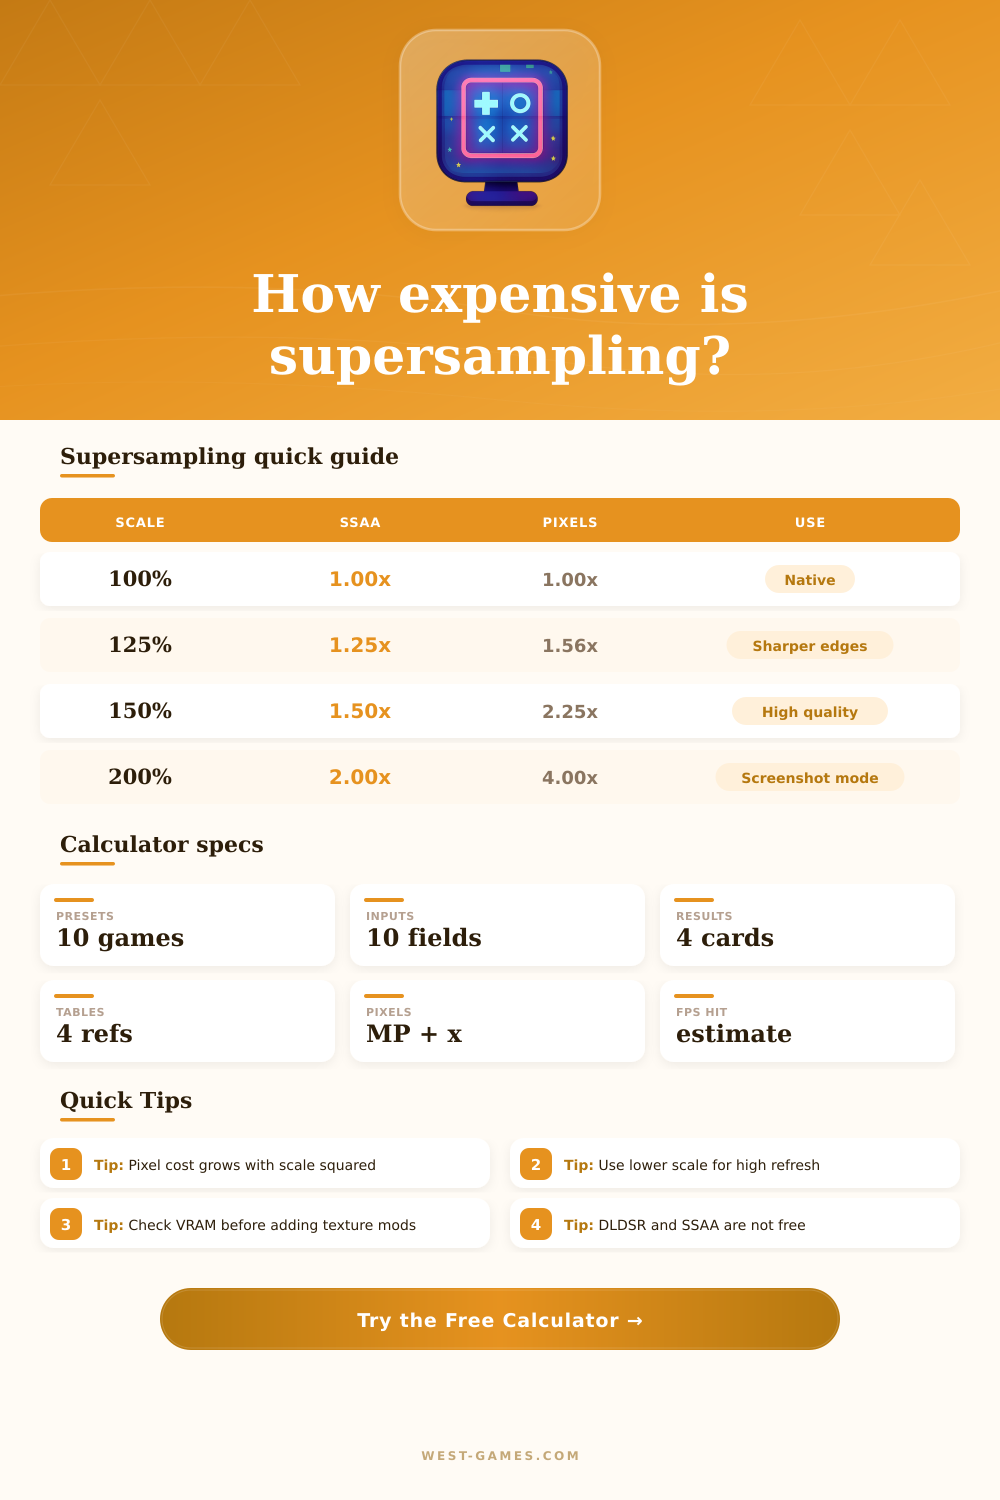
| 100% | 1.00x | 1.00x | Native baseline |
| 125% | 1.25x | 1.56x | Small clarity boost |
| 150% | 1.50x | 2.25x | High quality single-player |
| 175% | 1.75x | 3.06x | Photo mode or older games |
| 200% | 2.00x | 4.00x | Classic 2x SSAA |
| Output | 125% | 150% | 200% |
|---|---|---|---|
| 1920 x 1080 | 2400 x 1350 | 2880 x 1620 | 3840 x 2160 |
| 2560 x 1440 | 3200 x 1800 | 3840 x 2160 | 5120 x 2880 |
| 3440 x 1440 | 4300 x 1800 | 5160 x 2160 | 6880 x 2880 |
| 3840 x 2160 | 4800 x 2700 | 5760 x 3240 | 7680 x 4320 |
| Load | Render target footprint | Meaning | Action |
|---|---|---|---|
| Light | Under 256 MB | Usually safe | Watch FPS first |
| Moderate | 256-512 MB | Noticeable extra pressure | Check texture mods |
| Heavy | 512 MB-1 GB | Can push VRAM-limited games | Lower scale or buffers |
| Extreme | Over 1 GB | Screenshot or high-end use | Use carefully |
| Method | Scale type | Strength | Caution |
|---|---|---|---|
| In-game render scale | Per-axis percent | Simple and predictable | UI may stay native or scale differently |
| SSAA | Higher internal render | Excellent edge cleanup | Expensive because all pixels shade |
| DLDSR / VSR / DSR | Driver output mode | Works in many games | Desktop and capture paths can change |
| VR supersampling | Per-eye render target | Improves headset clarity | Comfort depends on stable frame time |
| Estimated hit | Load class | What it usually means | Good next step |
|---|---|---|---|
| 0-20% | Clean | GPU or CPU has enough headroom for the scale. | Try a small sharpen or keep it. |
| 20-40% | Balanced | Visible quality gain with a meaningful FPS cost. | Compare 125% and 150%. |
| 40-60% | Heavy | Likely fine for slower games, rough for high refresh. | Lower scale or use temporal AA/upscaling. |
| 60%+ | Extreme | Screenshot, old games, or very fast GPUs only. | Use 100-125% for normal play. |
Supersampling is an ancient trick to render your image at a higher resolution then what your monitor can show and shrink it back down again. The end result: less noise, crisper edges. There’s only one catch, it gets more and more expensive the more clear you make it. You don’t get something for nothing.
Your framerate drop as your render scale goes up, but it doesn’t drop linearly. Doubling your render scale require a much bigger hit on your graphics card. Before you tinker with those options, knowing how steep that curve is is important. Here’s what that means in numbers. With some help from the calculator up top, it do the math for you by converting those bare pixel into an estimate of VRAM pressure and potential FPS hit.
What is Supersampling?
And that’s where most people just guesstimate, sliding the slider to “150 percent,” which seems like a midpoint somewhere in between. But 150 percent is actualy rendering the game at 2.25 times its native pixel count. It is not even half again as hard. It is more than twice as hard.
Before that number gets in the way of your gaming experience, tool shows you that multiplier ahead of time. Enter your starting resolution, your current gameplay performance baseline, and how much of the workload depend on the CPU versus the GPU. GPU. Then it shows you whether or not the increased sharpness are worth it.
This comes down largely to VRAM. More pixel require more data stored in each frame. You might be swapping from disk to memory before your shader cores gets tired if you’re running at 4K with supersampling turned on. Each additional layer of post processing weigh down a frame that’s already fat. Memory usage scale with buffer complexity as you can see in the reference tables on the page. Each additional color target (high precision) or HDR double the footprint per pixel. Supersampling will cause stutters if you’re near your VRAM limit.
You should of also consider why you’re doing it in the first place. For something like an esport game where reaction time play into things, there’s no point in dropping frames just so your anti-aliasing looks a little sharper. On the other hand, for games that has a lot of exploration or screenshot taking, that added detail might come in handy.
There is a difference as well between simple bilinear down sampling versus more advanced temporal tricks. A sharpened filter will hide some of the softening effects from aggressive upscaling while adding its own minor overhead. It’s a tiny thing but it do matter if you’re battling for milliseconds.
But supersampling isn’t just used for jagged edges. Nowadays we have other forms of upscaling that provide the same benefit without eating so much memory (like FSR or DLSS). The GPU still has to crunch everything out initially when supersampling. No shortcuts there. Being so direct makes it both powerful and weak.
In a lot of situations, you get something better looking than an AI driven upscale. But you need hardware capable of dealing with the inefficiencies. If you’ve got a beefy card with some headroom, enabling supersampling is going to use your existing resource. If you’re on the bleeding edge trying to eke out 60 frames per second in native resolution, supersampling will make your performance issue worse.
That translates into some fairly straightforward practical advice: Try the smallest amount that works for you first. Don’t go much higher, there are diminishing returns on visual clarity after a certain point. Run the tool and see what resolution jump your memory budget can support. If it still puts you under your desired refresh rate, scale down. Ideally, you’ll want something that looks good without being sluggish.
Having a native sharp image beats having a muddy supersampled image that lags as you try moving around. You want clarity to improve the experience rather than disrupt it.