🎮 Analog Stick Response Curve Calculator
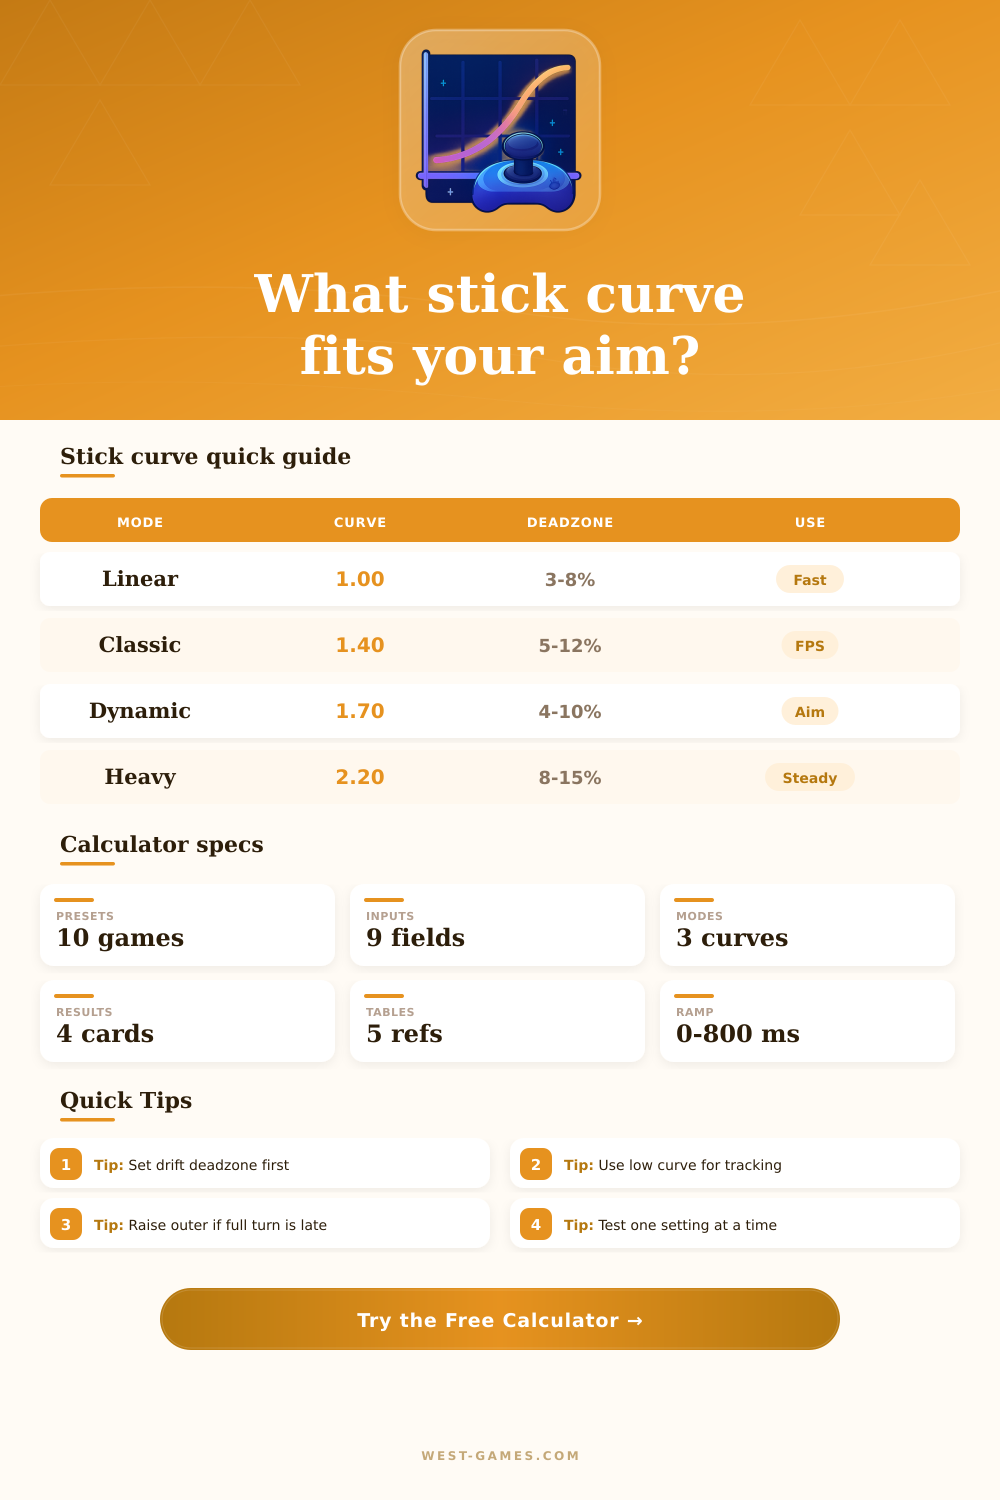
Model controller deadzone, outer threshold, exponent curve, anti-deadzone, sensitivity, stick deflection, output value, and aim ramp in linear, exponential, or dynamic modes.
Deflection after inner deadzone and outer threshold remapping.
Direct response for fast tracking, steering, and predictable recoil pulls.
Slower center aim with stronger output near the stick rim.
Blended response that gives a quick start without losing edge control.
| Stick deflection | Normalized input | Linear output | Exponential output | Dynamic output |
|---|
| Deadzone | Stick condition | Best feel | Tradeoff |
|---|---|---|---|
| 0-3% | Fresh Hall effect or very tight stick | Maximum micro aim | May reveal drift |
| 4-7% | Typical modern controller | Balanced FPS aim | Small center trim |
| 8-12% | Worn stick or high tension thumbstick | Stable centering | Less fine control |
| 13-20% | Visible drift or loose stick | Stops accidental input | Heavy center feel |
| 20%+ | Temporary drift workaround | Playable menus | Poor aim precision |
| Exponent | Curve feel | Good for | Watch for |
|---|---|---|---|
| 0.70-0.95 | Fast center | Vehicle steering, arcade aim | Can feel jumpy |
| 1.00 | True linear | Tracking and recoil pulls | No extra precision |
| 1.25-1.70 | Classic FPS | Hipfire and ADS balance | Needs outer tuning |
| 1.80-2.30 | Precision center | Sniping, tactical angles | Slow turn start |
| 2.40+ | Heavy curve | Very steady aim | Hard to track fast targets |
| Setting | Low value | High value | Use when |
|---|---|---|---|
| Outer threshold | 88-94% | 97-100% | Use lower if full turn is hard to hit |
| Anti-deadzone | 0-3% | 8-15% | Use higher if aim feels delayed |
| Sensitivity | 0.70-0.95x | 1.10-1.50x | Scale after curve shape is right |
| Active window | 60-75% | 85-100% | Wide windows give smoother range |
| Ramp time | Acceleration | Feel | Best use |
|---|---|---|---|
| 0 ms | 0% | Instant output | Competitive tracking |
| 80-160 ms | 10-30% | Light smoothing | Modern FPS aim |
| 180-320 ms | 30-70% | Controlled turn start | ADS or tactical aim |
| 350-600 ms | 70-140% | Slow build-up | Vehicles, camera pans |
| Preset | Mode | Deadzone | Outer | Exponent | Ramp |
|---|---|---|---|---|---|
| Apex ALC Linear | Linear | 3% | 99% | 1.00 | 0 ms |
| Apex Classic | Exponential | 8% | 96% | 1.55 | 120 ms |
| CoD Dynamic Aim | Dynamic | 5% | 98% | 1.65 | 180 ms |
| Warzone Linear | Linear | 6% | 97% | 1.00 | 80 ms |
| Fortnite Exponential | Exponential | 7% | 95% | 1.75 | 220 ms |
| Halo Infinite Default | Dynamic | 10% | 95% | 1.80 | 260 ms |
If you’ve ever played with someone who seems to lose their character’s rotation mid-turn or their crosshairs fail to track an object at critical times, you’re familiar with the symptom. This isn’t a hardware problem, nor are they doing anything wrong with their thumb. They’re experiencing drift, software misunderstanding the motion of your body as it converts your physical tilt into in-game action.
Aim sensitivity is commonly represented by a single slider, yet this perspective overlooks the nuance of analog input. To visualize each millimeter of stick deflection as on-screen velocity, a stick curve calculator untangle this abstraction.
How to Set Up Your Controller Settings
Most people start with their inner deadzone, but they usually do so for the wrong reasons. They’ll raise it up to eliminate reticle drift while sitting still. This eliminates drift but costs accuracy. You’re wasting useful stick travel. When you’re holding a crosshair steady on someone’s shoulder and don’t want to go past their target, a tighter inner deadzone means you can make finer adjustments in the middle of the reticle’s cone. To see that compromise, the calculator display exactly how much active travel remains once you’ve carved out neutral zone. Go too small and no matter what you set sensitivity to, your aiming will become clunky.
The shape of that curve; beyond the deadzone; determines the rate at which it accelerates when pushed farther outward. Raw immediacy (linear mapping) provides proportional output for even tiny inputs. It’s honest, but unforgiving if your hands jutter. Exponential curves provide a slower response to initial inputs but faster acceleration as you approach the rim. This rewards precision over speed, letting you maintain a sharp angle while turning quickly to scan a flank. Dynamic modes attempt to mix things in between, providing a faster get-up-and-go than exponential without the rawness of linear. Your choice comes down to whether you tend to overshoot or under-rotate into things.
Then there are anti-deadzone settings which requires the stick to produce at least a little something after moving out of neutral zone. It helps fight that dead feeling many sticks get when they’re moved the first few degrees. Your aim will snap into action without having to wait while the hardware registers that you’ve tilted a bit more than necessary. You may not see that in menus, but it makes all the difference in combat, a fraction of a second can mean the difference between locking on and watching an enemy slip away behind cover.
Instead of all inputs being instant, aim ramping adds delay. Output is slowly ramped up over hundreds of milliseconds, smoothing out any sudden jabs. Sounds smoother & more controlled, but it will cost you your reaction speed. Tactical players may be willing to pay that price in exchange for steadier camera work; fast-tracking shooters are often fans of zero ramp for immediate response.
All that is sitting atop the shaping logic are these sensitivity multipliers. These multiply the resulting value once the curve has been applied. And the reason to adjust sensitivity last is because adjusting it earlier hides how the curve actualy feels. Tuning your sensitivity without addressing your exponent and deadzone is simply painting over cracks in the foundation.
But presets aside, real-world use is everything. Hall effect sticks don’t have the same physical resistance in the middle as traditional potentiometers, so they behave a little different than them. As your match count increases so does the way in which you use stick, your thumb fatigue. Steep curves becomes difficult because they require a lot more strength for tiny adjustments. It’s an iterative process. If you change one thing, go out and play in a situation where your weakness will be exposed. Adjust accordingly. You don’t have to nail all of them simultaneously.
Remove the drift by creating a dead zone that doesn’t eat into travel. Next choose a curve shape that fits your play style. Finally use sensitivity to tweak general speed. It’s not about making perfect; it’s about predictable. Knowing exactly what it takes to make it do a right angle turn stops you from worrying about your inputs and lets you get back to playing the game. And that consistency stems from knowing what the math looks like behind the movement, regardless of whether or not you ever recieve the numbers themselves.