🏜 Dune Awakening Resource Calculator
Plan Dune Awakening water, spice, ore, fiber, fuel, crafting tier, base modules, vehicle or gear targets, refining loss, storage trips, harvesting time, and final craft time.
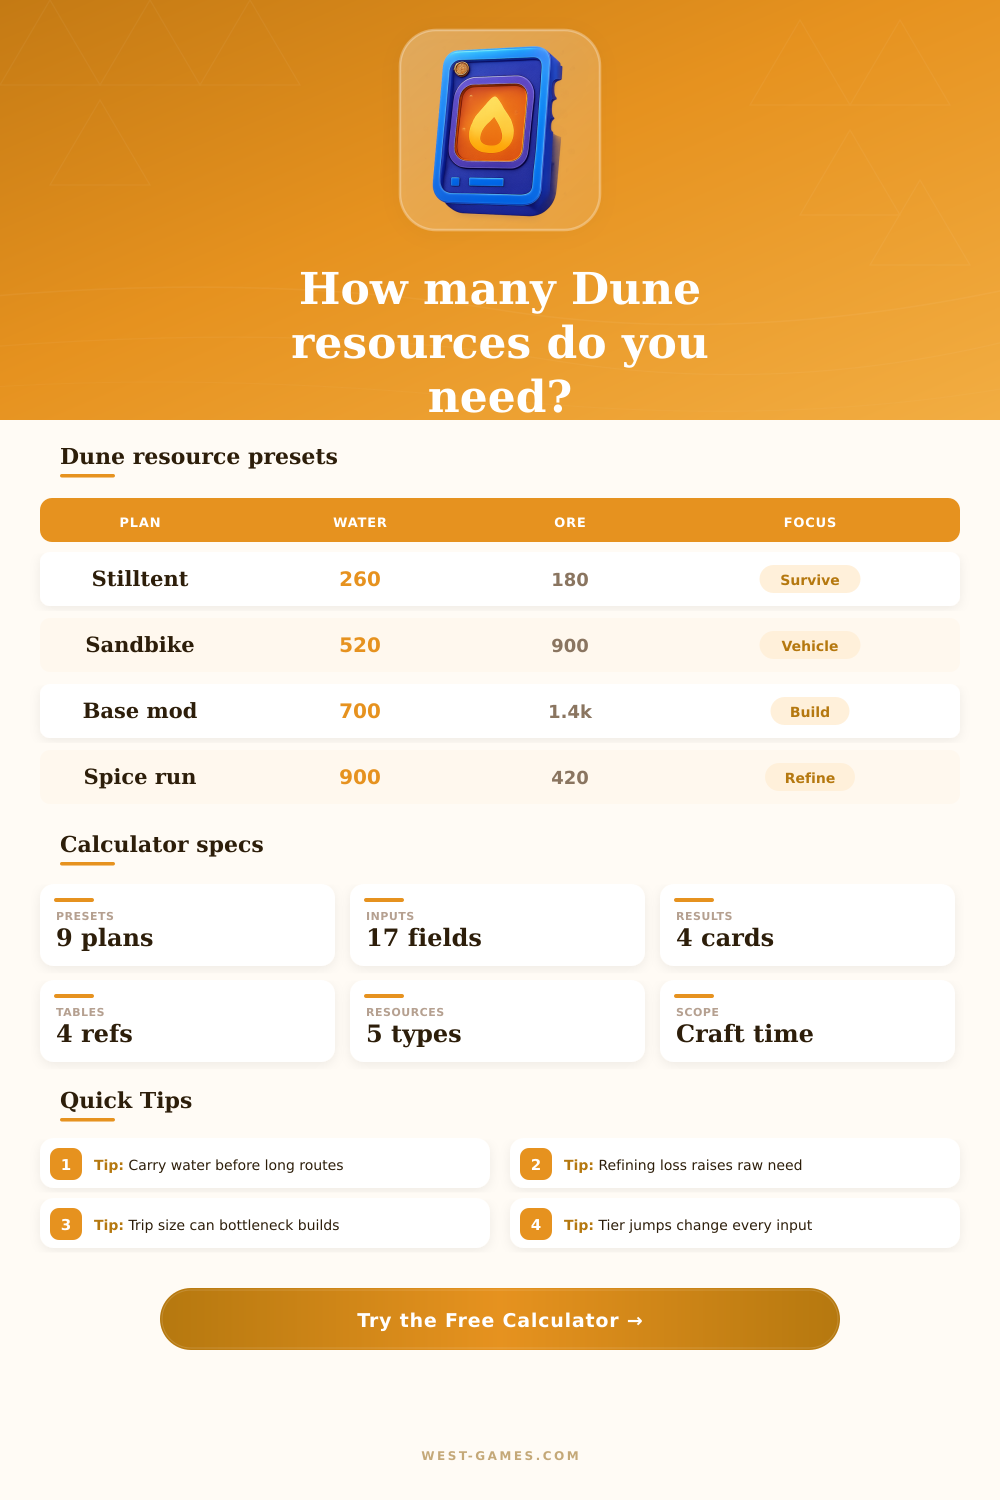
| Preset | Target type | Main bottleneck | Planning cue |
|---|---|---|---|
| Stilltent Survival Kit | Survival gear | Water and fiber | Low storage, fast queue |
| Sandbike Frame Push | Vehicle | Ore and fuel | Watch trip count |
| Harvester Crawler Parts | Vehicle support | Ore, fuel, spice | Refining loss matters |
| Base Module Expansion | Base building | Ore, fiber, water | Module count scales hard |
| Spice Refinery Run | Processing | Spice and fuel | Queue stations early |
Use these as editable planning anchors. The calculator is strongest when you copy values from your own crafting, storage, and harvesting screens.
| Tier | Multiplier | Typical use | Risk note |
|---|---|---|---|
| Tier 1 | 1.00x | Field basics | Small trip pressure |
| Tier 2 | 1.20x | Improved parts | Storage starts to matter |
| Tier 3 | 1.45x | Advanced assembly | Refining loss becomes visible |
| Tier 4 | 1.75x | Deep desert kit | Fuel and water route planning |
| Tier 5 | 2.10x | Endgame project | Batch queues and depots help |
Tier values are planner multipliers so one calculator can compare early tools, base expansion, vehicles, gear, and refining targets.
| Resource | Best tracked as | Loss applied | Common bottleneck |
|---|---|---|---|
| Water | Survival and processing stock | No | Long routes and base modules |
| Spice | Raw or processed equivalent | Yes | Refinery runs and advanced parts |
| Ore | Ore, salvage, or ingot units | Yes | Vehicles and base construction |
| Fiber | Plant fiber or fabric units | Yes | Survival kits and sealing work |
| Fuel | Fuel cells or burn units | Yes | Routes, refineries, vehicles |
Keep each resource in one consistent unit. Mixing raw and refined units without adjusting loss will overstate or understate the plan.
| Trip pressure | Trip count | What it means | Best adjustment |
|---|---|---|---|
| Light | 1 to 2 | Carry capacity is fine | Focus harvest rate |
| Moderate | 3 to 5 | Travel starts to tax timing | Use depot or larger vehicle |
| Heavy | 6 to 9 | Storage is a real bottleneck | Split gathering and crafting |
| Severe | 10+ | Route time may dominate | Raise storage before farming |
Trip pressure is based on the post-inventory deficit. Increasing owned stock or storage capacity can reduce total time more than faster harvesting.
The desert doesn’t care how much you love making a sandbike; it only cares that you have enough water to get back home. In Dune Awakening, resource management is less about collecting and more about logistics. Crafting quality gear is possible… But overestimating storage space means spending hours dragging ore around, which makes those gears quite costly.
Before committing to a plan, it calculates water vs. Spice vs. Ore vs. Fiber vs. It includes fuel, refining loss, storage trips, and crafting time. Turns vague ambition into real-play gameplay hours and lets you know exactly where your time goes.
Why You Need to Plan Your Resources Carefully
Invisible taxes result from refining loss. When you process your spice or smelt your ore, you don’t get back precisely as much as you started with. A certain percentage goes into the ether, but most players ignores this invisible tax while focusing on the raw numbers required for a recipe. They’re focused on the raw number of recipes, not the invisible tax on their time.
The calculator factors in this loss rate so that you’ll end up with sufficient raw materials to make what you want. If you neglect to consider refining loss, you’ll exhaust your supplies before finishing a project. This leads to a cringe-inducing switch back into gathering mode because players tend to plan around best-case scenarios rather than realistic yield estimates.
What really counts? Storage capacity! How fast can you collect something? Often it doesn’t matter as much as how quickly that item gets stored. If you have a small inventory space, you’ll find yourself making the same trek over and over again. To figure out how many trips are needed, the tool will take into account both your storage limits and the total deficit remaining after accounting for what you already own. That tells you if this project is worth doing or simply a waste of time. Oftentimes, it’s the latter. You should of build some depots or upgrade your hauler first.
Finally, crafting tiers adds complication due to their multiplier effect. Each tier after Tier 1 multiplies your inputs required and increases your finish time. To illustrate this, the calculator automatically multiplies all of those inputs by each additional tier, letting you observe that increasing your tier by even one can balloon the amount of resources needed. Scaling up often takes longer than expected. You may believe you’re good on a single component, only to discover you’re out of fiber and water as soon as the multiplier kicks in.
While some of the presets are good starting places for typical objectives, like expanding bases and making stilltent survival kits, they’re just a jumping off point. You can modify those based on what works best for you. What really shines is playing around with the input values to see how your gameplay preferences change things. If you get lots of resources but don’t have much storage space versus the reverse, results will be different. The tool lets you model these trade-offs without risking actual in-game failure.
This is about reducing risk. This is why you run the numbers before embarking on big projects so that you don’t get bottlenecked by things you didn’t think about and end up frustrated at yourself for not planning ahead. The right amount of hours and the correct number of trips makes it feel like a game of controlled execution instead of an exercise in chaos. It’s the reason preparation saves you from the cruel mercy of the desert.
Long route? Better bring your water, just like you did in the game itself.