🛡 MapleStory IED Calculator
Stack displayed IED, WSE lines, familiars, Legion, links, hypers, and debuffs against MapleStory boss PDR.
| Boss tier | PDR | Common IED aim | Use case |
|---|---|---|---|
| Early dailies | 50% | 70% to 80% | Zakum, Hilla, easy bosses |
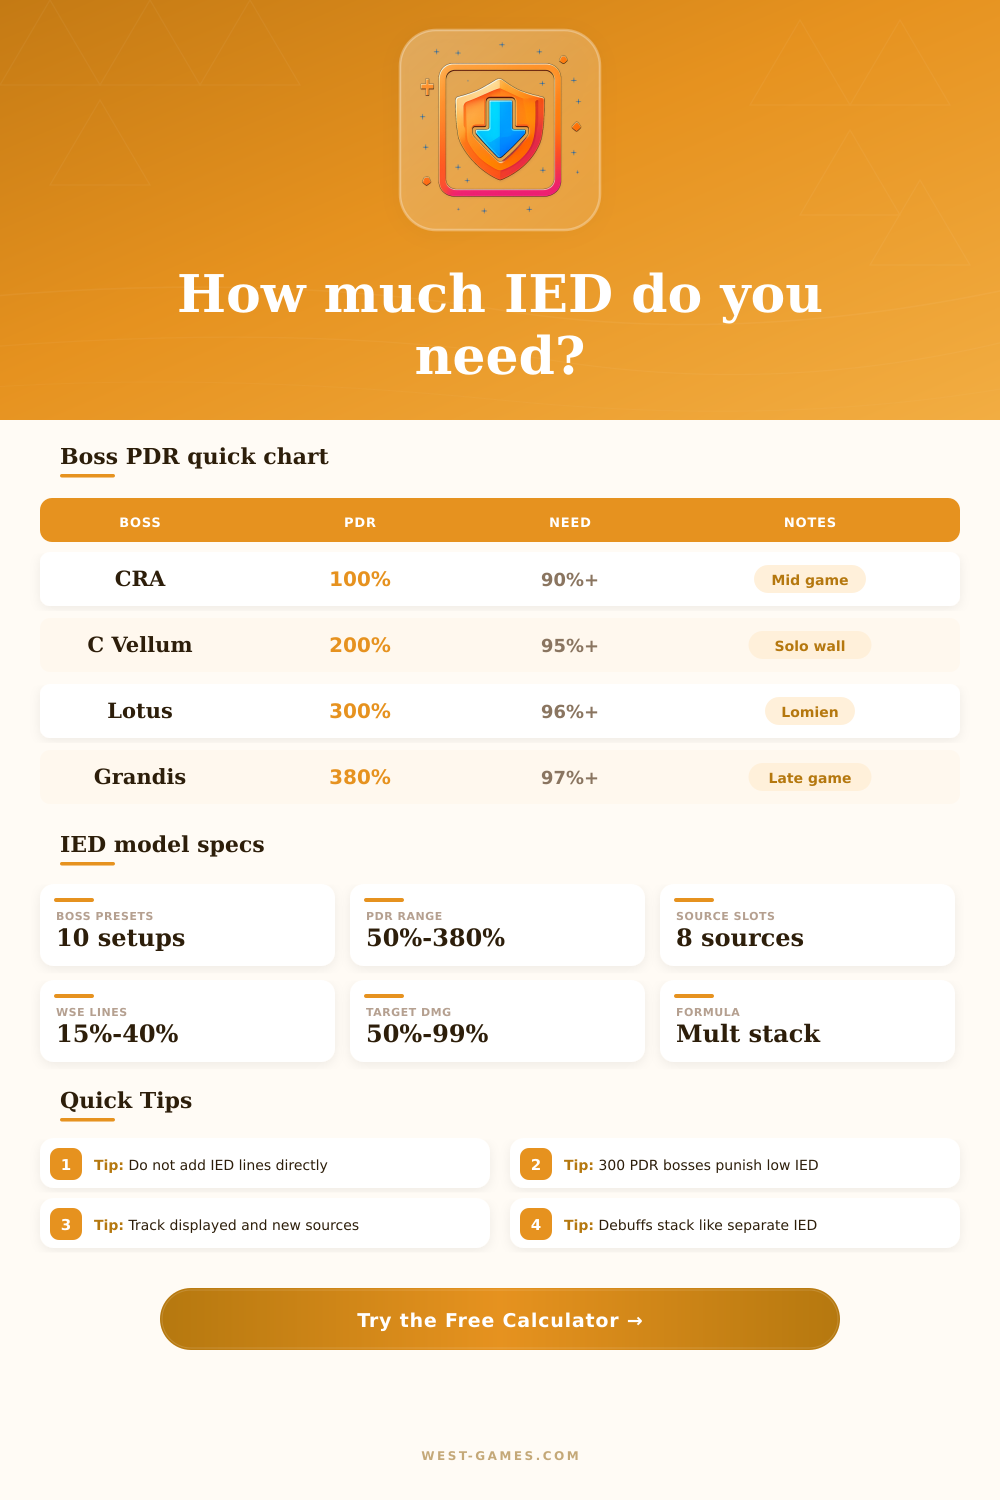
| CRA doors | 100% | 88% to 92% | Pierre, Queen, Von Bon |
| Magnus tier | 120% | 90% to 94% | Hard Magnus, Arkarium tier |
| Chaos Vellum | 200% | 94% to 96% | Solo progression wall |
| Lomien tier | 300% | 95% to 97% | Lotus, Damien, Papulatus |
| Arcane River | 300% | 96% to 97% | Lucid, Will, later bosses |
| Tenebris | 300% | 96% to 98% | Dusk, Darknell, Black Mage |
| Grandis high-end | 380% | 97% to 98%+ | Extreme and late bosses |
Boss data varies by region and patch. Use the closest PDR profile if your exact boss is not listed.
| Final IED | PDR left | Damage through | Meaning |
|---|---|---|---|
| 90.00% | 30.00% | 70.00% | Noticeable loss |
| 93.00% | 21.00% | 79.00% | Playable midgame |
| 95.00% | 15.00% | 85.00% | Common baseline |
| 96.67% | 10.00% | 90.00% | Strong target |
| 97.50% | 7.50% | 92.50% | Late-game comfort |
| 98.00% | 6.00% | 94.00% | Very high IED |
Formula: damage through defense = 1 - boss PDR x (1 - final IED).
| Starting IED | Added source | Final IED | Why it matters |
|---|---|---|---|
| 80.00% | 30% | 86.00% | 30% removes 30% of remaining 20% defense. |
| 88.00% | 30% | 91.60% | Gain is 3.60 points, not 30 points. |
| 92.00% | 40% | 95.20% | Large WSE line still helps on 300 PDR bosses. |
| 95.00% | 15% | 95.75% | Small sources have lower point gain at high IED. |
| 96.00% | 30% | 97.20% | Can be worth it for Grandis or Black Mage tiers. |
Every source multiplies the remaining non-ignored defense. That is why displayed IED never grows additively.
| Source | Typical value | Best timing | Calculator field |
|---|---|---|---|
| Weapon potential | 30% to 40% | When boss damage is already strong | Weapon IED line |
| Secondary potential | 30% to 40% | When WSE lacks an IED line | Secondary weapon IED |
| Emblem potential | 30% to 40% | Common planning slot before late optimization | Emblem IED line |
| Luminous link | 15% | Easy account source for boss mules | Link skill / passive |
| Legion board | Up to 40% | Flexible when swapping bosses | Legion board / artifact |
| Familiars | 15% to 40% | High value for solo progression | Familiar IED |
| Class debuff | 10% to 50% | Party burst windows or class kit uptime | Party debuff |
| Hyper stat | Variable | Fine tuning after core gear | Hyper stat / node |
If the stat window already includes a source, do not enter it again unless you are comparing a planned replacement.
Ignore defense is a statistic that reduce the amount of defense that a boss uses to mitigate the damage that you do to them. If a boss has high defenses, they will shrug off much of the damage that you do to them. The reduction of the damage that makes contact with a boss with high defense will turn the fight into a slow war of attrition for your party.
You may be able to plan for clears of certain bosses in short amount of time, but should the boss shrug off your damage, the fight will become a slow war of attrition. Ignore defense is an important statistic because it change the way in which all of the other stats on your damage sheet perform. While you may pay careful attention to your build and how much attack damage you have gathered, the amount of ignore defense that you have will ultimately determine whether you burst through a phase of a boss or struggle to scrape through it with the damage that you can land.
What Ignore Defense Is and How to Use the Calculator
Ignore defense works by reducing the portion of a bosses defense that applies to the damage that you do to them. Each source of ignore defense multiply against the defense remaining after other sources of ignore defense have been applied. Thus, each additional source of ignore defense does not provide the full value of that defense stat if you already have high stats for ignore defense numbers for yourself and your party.
The calculator that is provided to you will calculate these values for you. It will ask for your current displayed ignore defense and any additional sources of ignore defense. Based on these numbers, it will calculate the percentage of your damage that will get through the boss’s physical damage reduction.
With this information, you can decide if another thirty percent line of ignore defense is worth obtaining for your party, or if it is better to invest those resources into another stat. Some bosses requires higher levels of ignore defense than others. Some of the early content that you will face in the game has lower physical damage reduction requirements for players to meet.
However, bosses such as Lotus or Damien have a 300 percent tier of physical damage reduction, which means that their remaining defense after other sources of physical damage reduction is removed progresses more slowly. Thus, small amounts of ignore defense is costly for these bosses. The reference table that is provided for each boss will make clear these tiers, allowing players to understand what their target should be for each boss fight.
By understanding how many ignore defense is required by each boss, players will not have to guess which preset for ignore defense is appropriate for the bosses that they encounter. By choosing the proper profile for the boss fights that you will face, you can more easily determine whether a temporary debuff for the party is worth incorporating into your strategy for clearing those bosses, or if you must spend your resources to obtain such a debuff from permanent sources. Ignore defense stats are not all equal in value.
While it may seem like every stat of ignore defense is the same, the order in which those stats are obtained is more important than the total number of stats that you have. For instance, an emblem of ignore defense that you have may be small in number, but still remove a chunk of defense from the bosses should your displayed ignore defense still be in the low nineties. However, a thirty percent ignore defense will remove less defense if you obtain it later in the fight.
The damage calculator will help you to determine this. The damage calculator will show you how adding one source of ignore defense will change your total amount of defense that you have. This will allow you to more easily determine if that upgrade will help you to reach your goal of dealing with damage with your party.
Ignore defense values is different for solo players and parties that use burst damage debuffs. For solo players, every point of ignore defense is important for the entire fight with the specific boss. For parties with burst damage debuffs, the debuff is only used for short bursts of time during the fight, meaning that players will need to have a high level of ignore defense to supplement their damage during those bursts.
The build selector that is offered to players will allow you to determine which target for ignore defense you should aim for based on your situation. If the bursts of damage debuff for your party dont have high uptime during your runs at the bosses’ fights, you will have to ensure that you have a high degree of your own personal ignore defense. A common mistake with ignore defense is to purchase the same lines of ignore defense twice.
For instance, should you purchase the same line of ignore defense twice, you will have high expectations for that defense stat, but you will be short of the amount of damage that you will find with the bosses in the game. Each field for sources of ignore defense in the damage calculator are meant to represent only those stats that you purchase for your own characters, or for specific party members. Thus, if you maintain this focus on each stat, you will not have an issue of spending resources on ignore defense that will not make it into your displayed defense of ninety-seven percent.
By properly calculating the amount of ignore defense that you will require for the bosses that you fight in the game, you can look forward to shorter phases of the bosses that you fight, and fewer bosses will be required to carry your party through the fights. You will no longer have chunks of your damage dissapears into the defense of the bosses, and you can expect your damage output to remain even with the effort that you put into your gear. This consistency in your damage output will transform the progression bosses from walls in your journey into the game to scheduled clears of those bosses, without the need for any additional attack stats for your characters to fight those bosses.