📦 Rust Loot Respawn Calculator
Estimate monument crate and barrel respawns, route timing, server population pressure, team share, wipe phase, crate tier mix, expected respawns per hour, and dry route risk.
| Monument route | Crates | Barrels | Planning note |
|---|---|---|---|
| Roadside barrels | 1 to 3 | 18 to 35 | High movement, easy reset checks. |
| Supermarket or gas | 4 to 6 | 6 to 10 | Fast loops with recycler pressure. |
| Dome | 8 to 12 | 8 to 14 | Strong crate count, visible approach. |
| Train Yard | 12 to 18 | 14 to 24 | Card route with wider patrol area. |
| Launch Site | 18 to 28 | 18 to 32 | High-value path with heavy contest. |
Counts vary by map seed and how much of the monument your path actually checks.
| Population state | Respawn feel | Denial risk | Route action |
|---|---|---|---|
| Dead server | Slower | Low | Run longer loops. |
| Low pop | Stable | Low-mid | Full clear safely. |
| Medium pop | Normal | Medium | Time rechecks carefully. |
| High pop | Faster | High | Prioritize crate tiers. |
| Queued wipe | Fastest | Extreme | Expect partial routes. |
Population can make loot cycle faster while also making every route less reliable.
| Tier | Typical route | Respawn value | Dry signal |
|---|---|---|---|
| Basic | Roads, stores, small monuments | Scrap and components | Boxes open, food gone. |
| Military | Dome, Train, Airfield | Weapons, tech trash, comps | Green crates missing. |
| Elite | Launch, Tunnels, Oil | High-tier components | Red room stripped. |
| Barrels | Roads and monument edges | Scrap, pipes, blades | Road is cleaned out. |
The calculator uses tier odds as route quality weights, not as exact Rust loot-table probabilities.
| Wipe phase | Loot pressure | Team behavior | Best timing |
|---|---|---|---|
| Fresh wipe | Very high | Road and store rush | Short loops only. |
| Early wipe | High | Cards and comps | Return after depot. |
| Mid wipe | Medium | Roam and recycle | Run planned circuits. |
| Late wipe | Spiky | Control groups camp | Scout first, loot second. |
The wipe phase changes who contests you and how often partial clears happen.
| Dry risk | What it means | Route decision | Adjustment idea |
|---|---|---|---|
| 0% to 25% | Most loot should be present. | Full clear is reasonable. | Recycle after route. |
| 26% to 50% | Partial clear is likely. | Check crate clusters first. | Delay recheck or split path. |
| 51% to 75% | Another player may beat you. | Skip low-value barrels. | Move to nearby fallback. |
| 76% to 100% | Route is probably stripped. | Scout, fight, or rotate. | Wait a full window. |
Dry risk combines timing, population, contest level, and route length. It is best used for choosing when to rotate, not for predicting a single crate.
You feel an empty sensation as you race to a Launch Site and discover all the crates is empty. It is not bad luck. It was just bad timing. Respawning Rust loot doesn’t adhere to any set schedule. It follows the flow of player traffic, server activity, and even shape of monuments.
Once you input your route information into the calculator above, it crunches numbers so you don’t have to guess if running around again will be a waste of your stamina or net an extra pile of scrap. Knowing how these factors work together turn random looting into efficient farming.
How to Get More Loot with Better Timing
The key takeaway here is that population pressure is a double-edged sword. On one hand, with more players on the server, the engine will check objects more quickly. On the other hand, that same increase in player count generaly results in someone beating you to them. That is where the balance comes in. If you choose a high-population option, the tool will adjust the respawn window accordingly based on an accelerated cycle. But at the same time, it will spike your dry route risk.
This is what most folks seem to gloss over: they see the quick respawning, think “sure, I’ll get loot,” and forget that if it’s busy enough for me to respawn fast, then it’s probably busier than someone else to get there first too. You can’t have your cake and eat it too.
It’s also about distance traveled. That seemingly fast run around the supermarket may seem efficient, but when you factor in trip home to recycle, it doesn’t work out so well anymore. Ten minutes of looting isn’t worth spending 20 minutes on road regardless of how many crate respawn. That travel buffer and route time input puts you face to face with this truth. You have to accept that running all the way to Train Yard for an extended haul may actualy net you more overall loot over the course of an hour than dashing from one end of town to another collecting a few random roadside barrels. In this respect, the tool can help you identify the point at which diminishing returns begin to set in.
There’s another wrinkle in team number. While it lets you cover more territory by splitting up, that means you’re also splitting loot. Unless a monument respawns at an incredibly high rate, your individual gain will be pretty low if three folks is getting a cut of a small monument’s output. Your expected hourly return takes that cut into account. It tells you mathematically whether it would make more sense to stick with your teammates and play defensively, or split up and cover more area based off your current gear level. Sometimes it won’t even matter what you choose because the monument simply don’t produce enough to sustain the group.
The wipe phase changes the whole dynamic. Chaos early, everybody gets wiped instantly so no need to time anything. Everything matters because of who is there. Things becomes stable later with predictable loops so you can plan ahead. Because of where you are in the server cycle, the tool shifts base assumptions to match. Aggressive short runs work best after fresh wipes. You can take calculated risks during mid-wipe phases. Know your phase to determine if you should rotate to a quieter area or take the fight for a spot.
The most helpful output is probably dry route risk. That’s the percent probability of your run being a bust. Above 50%? You’re likely better off changing targets or scouting prior to committing to a full clear. Go in, grab the good crates fast and split before a shootout breaks out. If there’s a significant chance someone has already cleared it, don’t waste time doing a full clear.
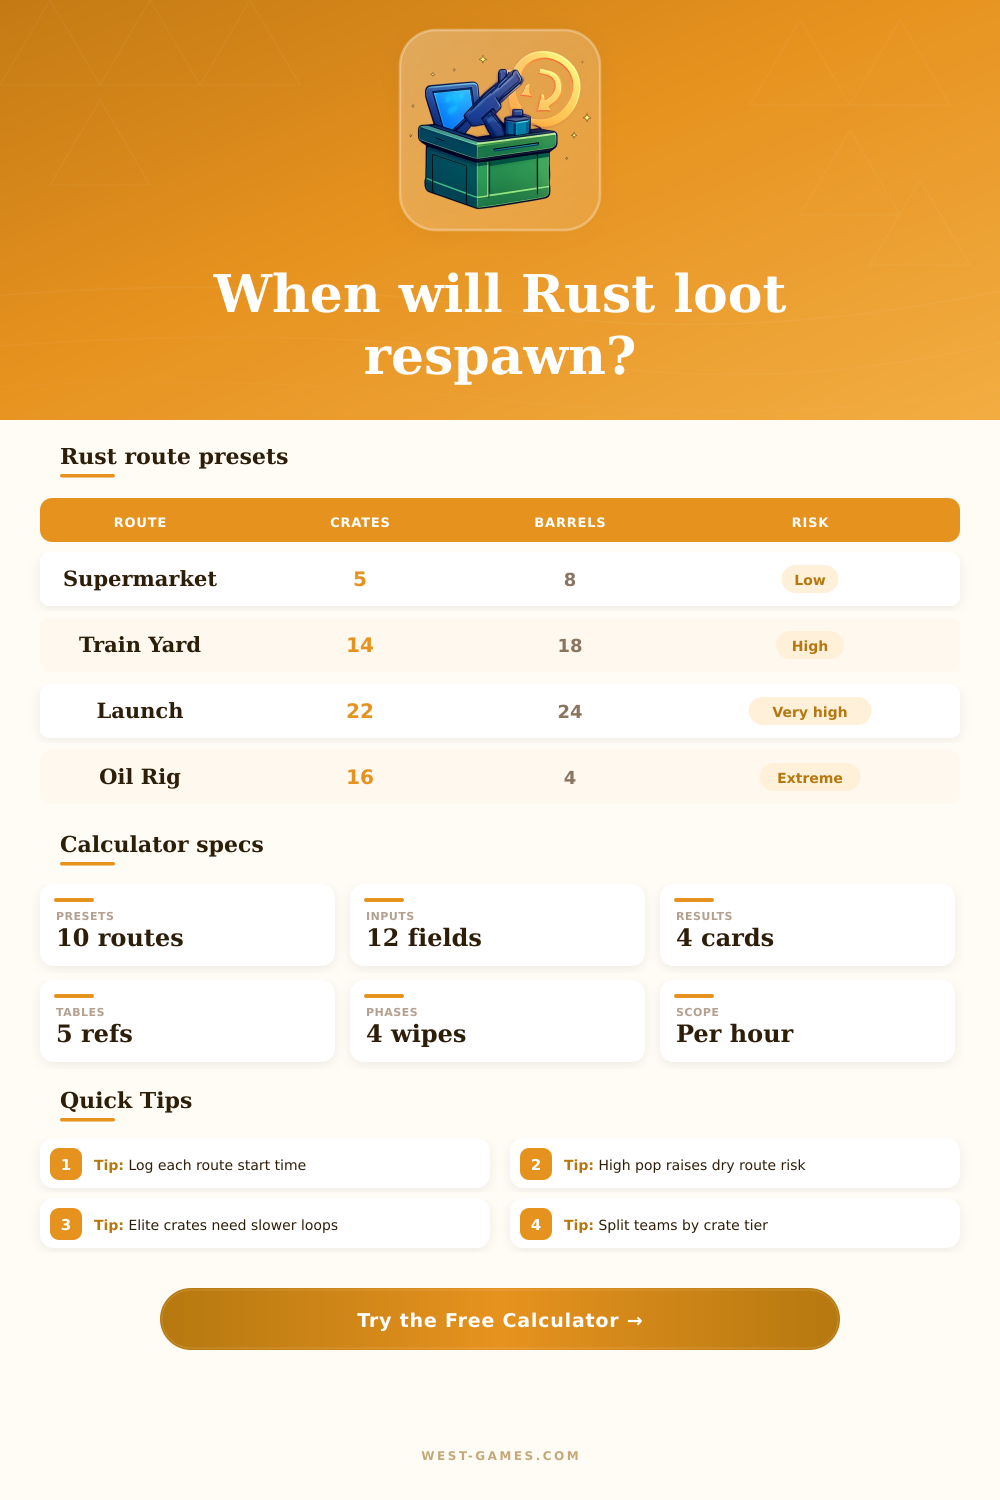
The page has some handy reference tables detailing the risk profiles for different types of monuments depending on circumstances. For example, an Oil Rig can provide crazy loot but comes with super-high risk relative to something like climbing a dome. So, at its core, loot farming is all about managing probability, rather than seeking out guarantees.
You have no way of knowing when someone else will show up. What you do control, however, is your timing and your route selection. Think of these estimates as guidelines, not absolutes. Adjust accordingly to what you experience in-game. For example, if you’ve got a 90% chance of a full crate but find none inside, that means either the contest level has changed or the server population has. You should of adjusted to match.
Fastest runner doesn’t always make the best looter. It’s the one who knows when to stop running because the odds aren’t in their favor. That kind of discipline guarantees a steady stock in your inventory and an alive character for the following cycle.